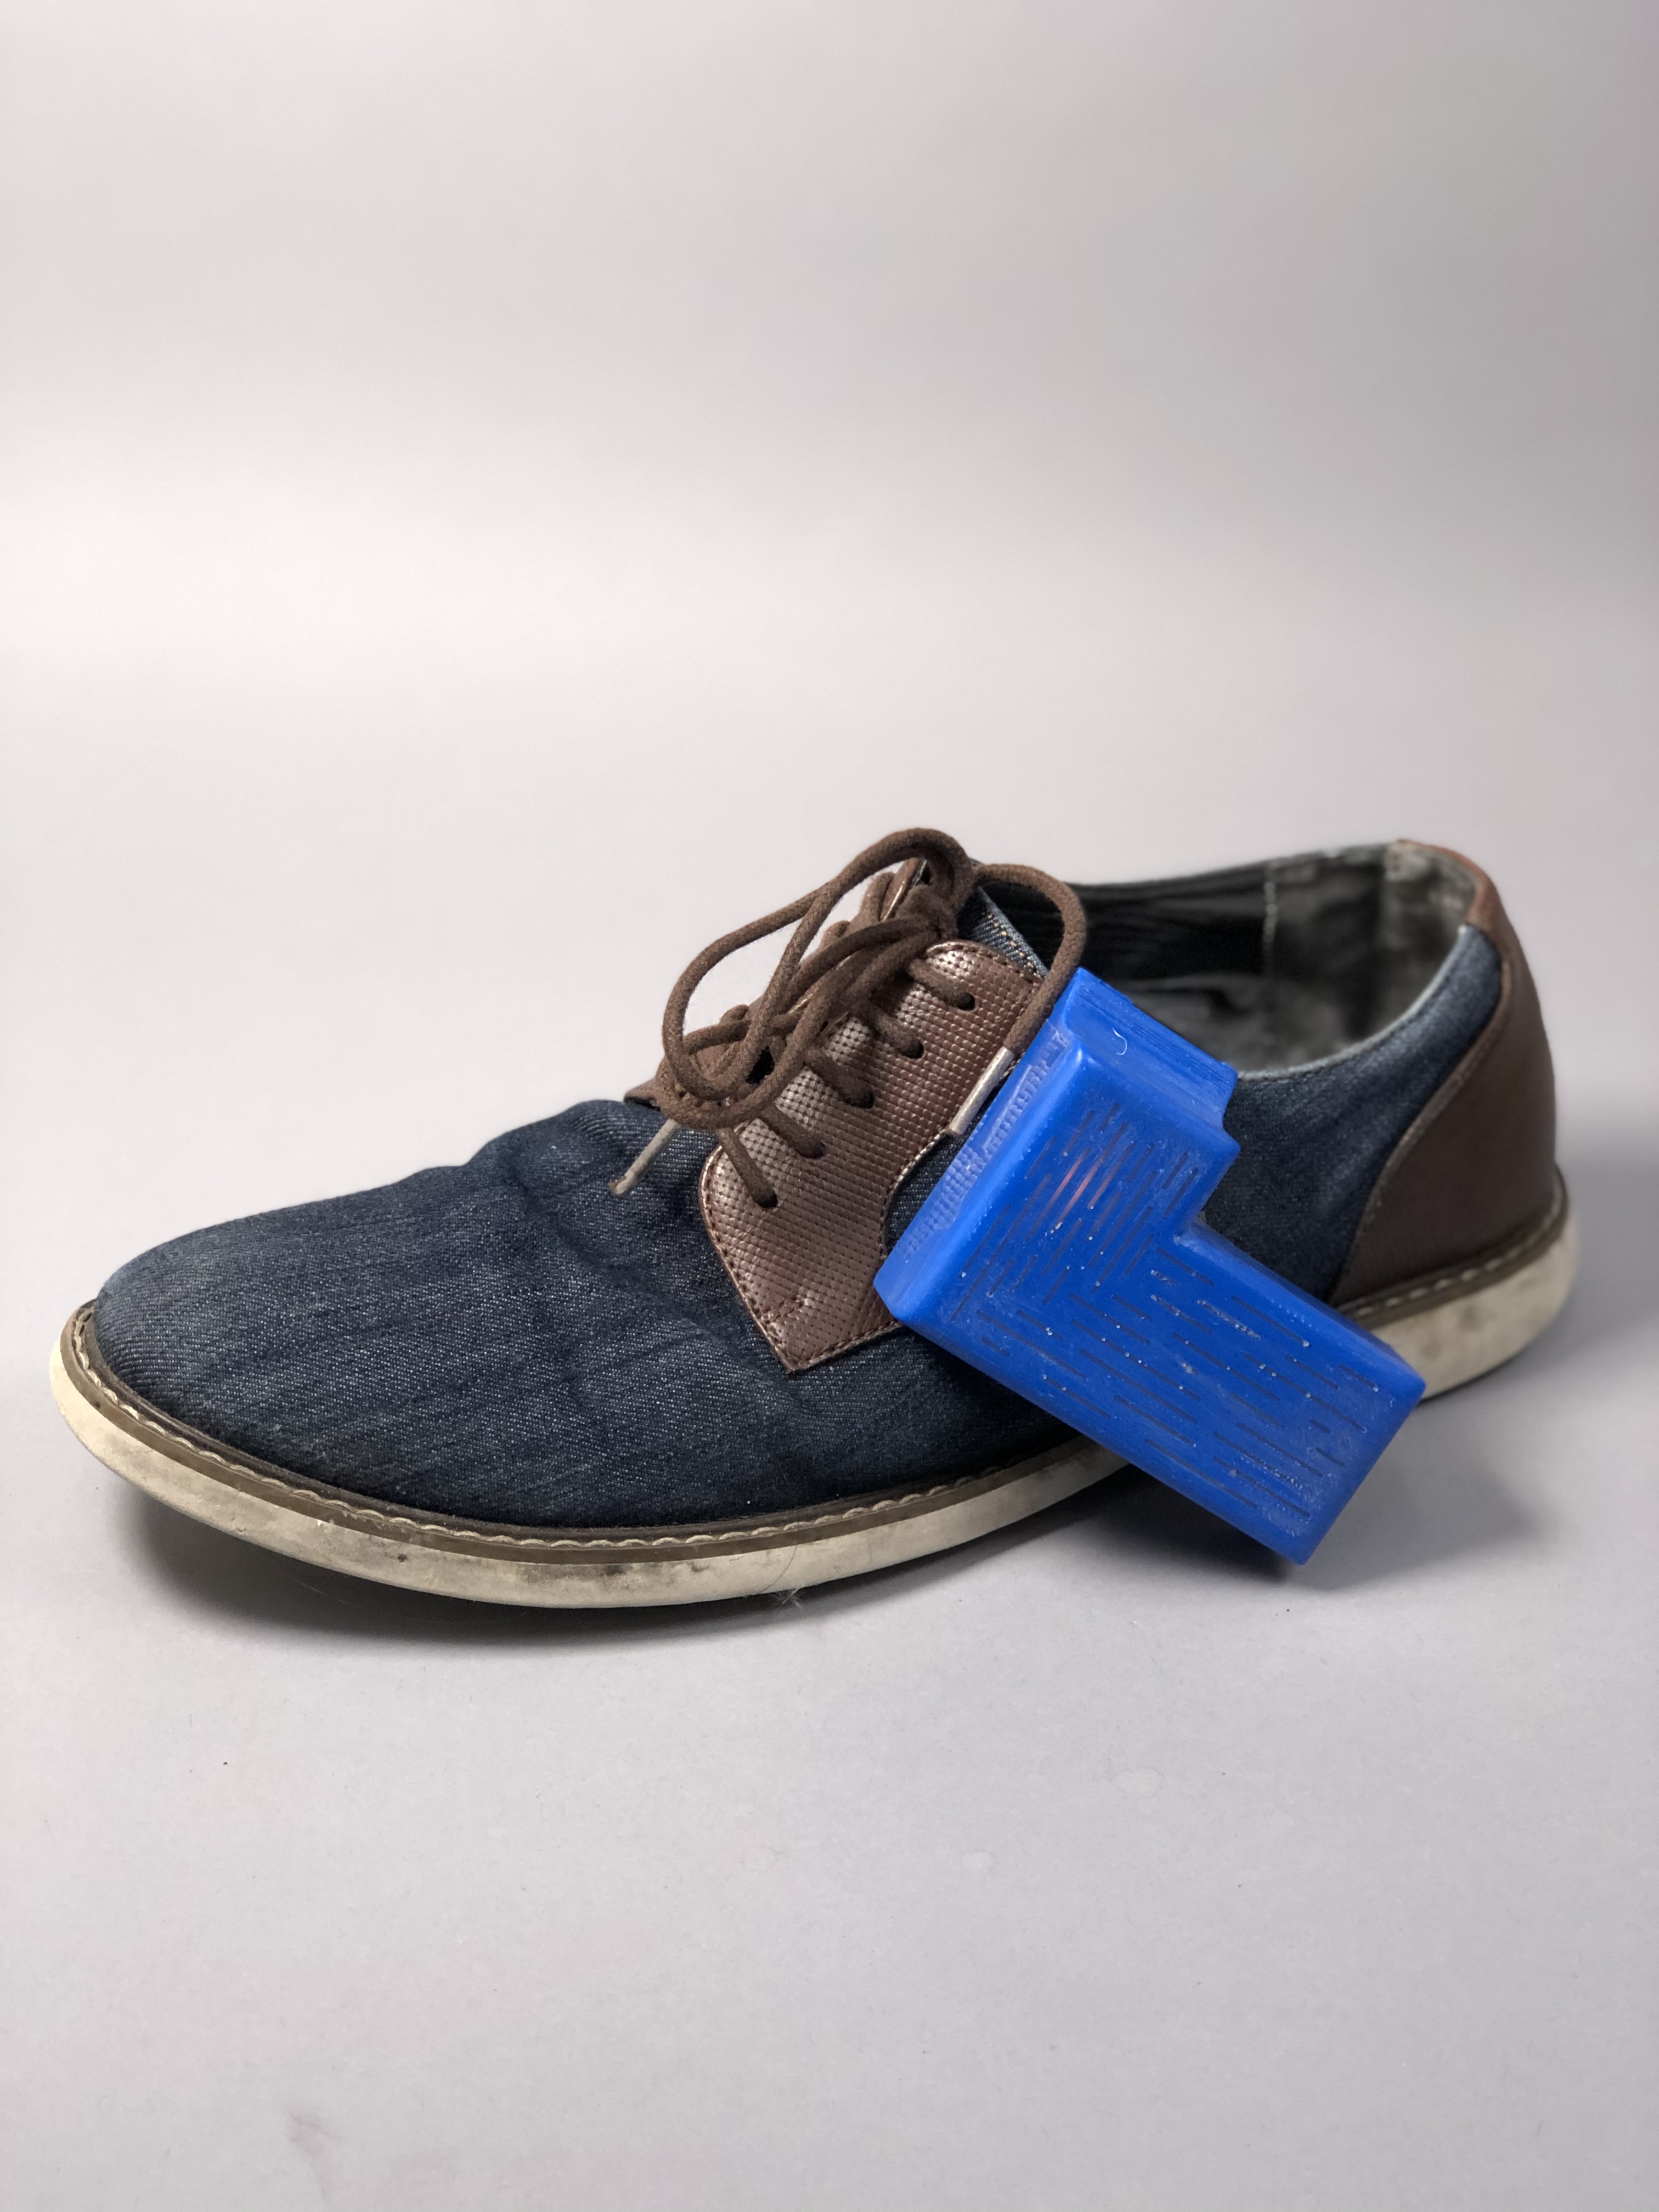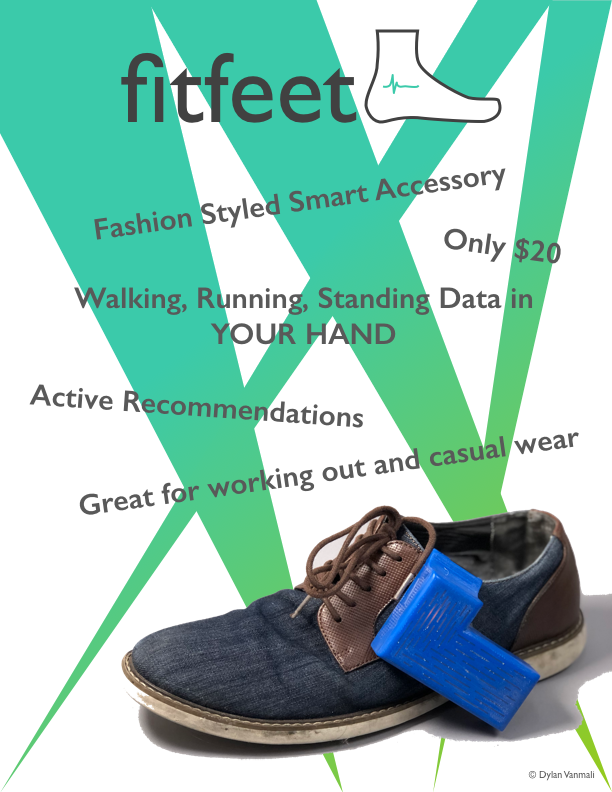
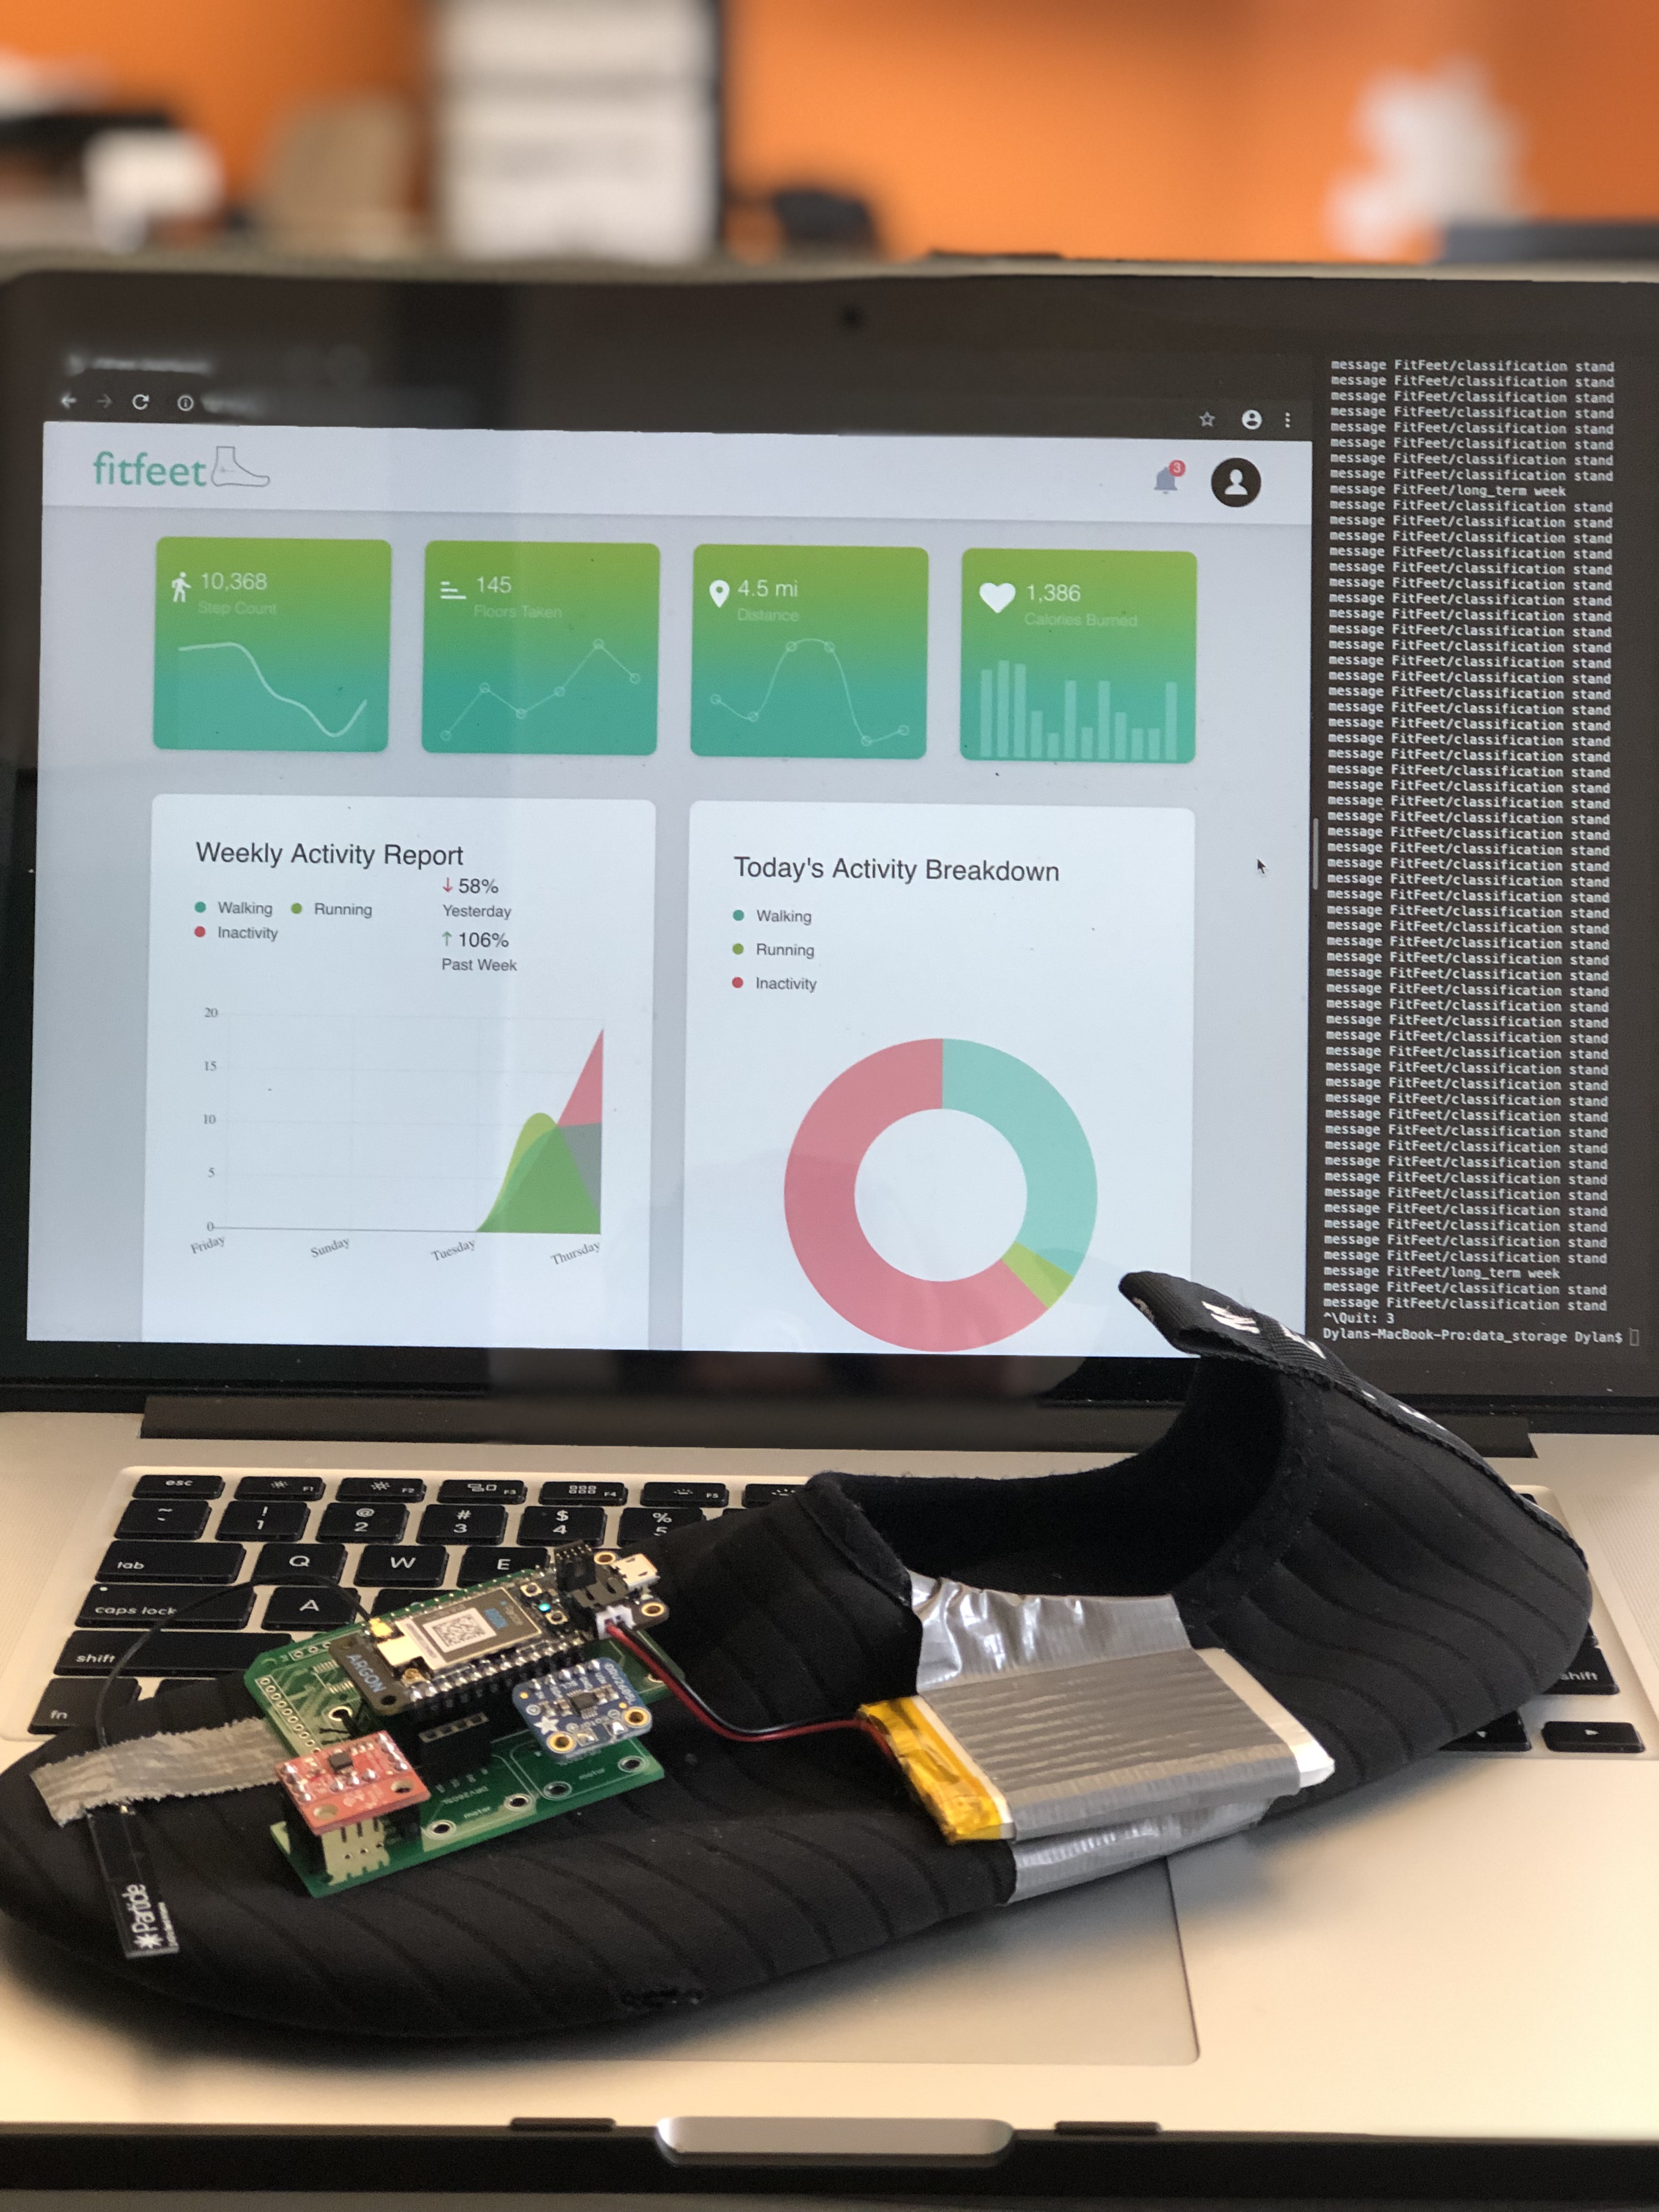
Athletes! Are you looking for a cheap wearable device that reports your athletic activity with no interaction? Well, FitFeet is your newest fashionable wearable device for wanting to understand the way you move with higher accuracy at the location it literally counts, your feet. The machine learning algorithm embedded understands your movement patterns with 90% accuracy. The classifications are generated on device with minute to minute accuracy and sent to your internet-enabled device for easy viewing. A report of my project can be located at CMU here.
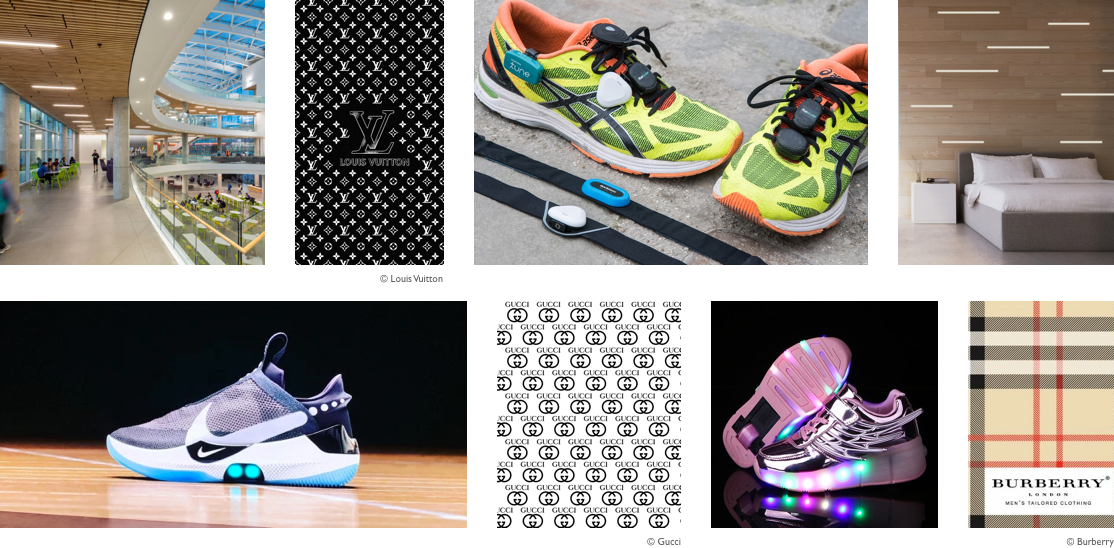
Existing market solutions target mobility away from the feet and rather on the wrist. Brands like Fitbit and the Apple watch generate approximate stepping data targeting athletes and tech enthusiasts. On the other end of the spectra, smart shoes exist in athletic apparel such as IOFIT Smart Shoes which has the ability to help golfers understand their weight distributions while swinging. Even companies like Bolt and Nike focus on running analytics and style to enable athletes to achieve peak performance.
To best of our knowledge, there does not exist any shoe company that combines performance analytics, movement classification, and recommendation services so health-conscious, style-minded consumers are more aware of their physical activity. With the growing movement for more active lifestyles, FitFeet would offer the perfect solution to understanding both short-term classification and long-term patterns.
Inspiration came from the minimalist and uniquely identifiable pattern of the high fashion industry like Louis Vuitton, Gucci, and Burberry. My pattern of choice came from the ceiling light patterns of the CMU Tepper Building using a random assortment of long LED filaments.

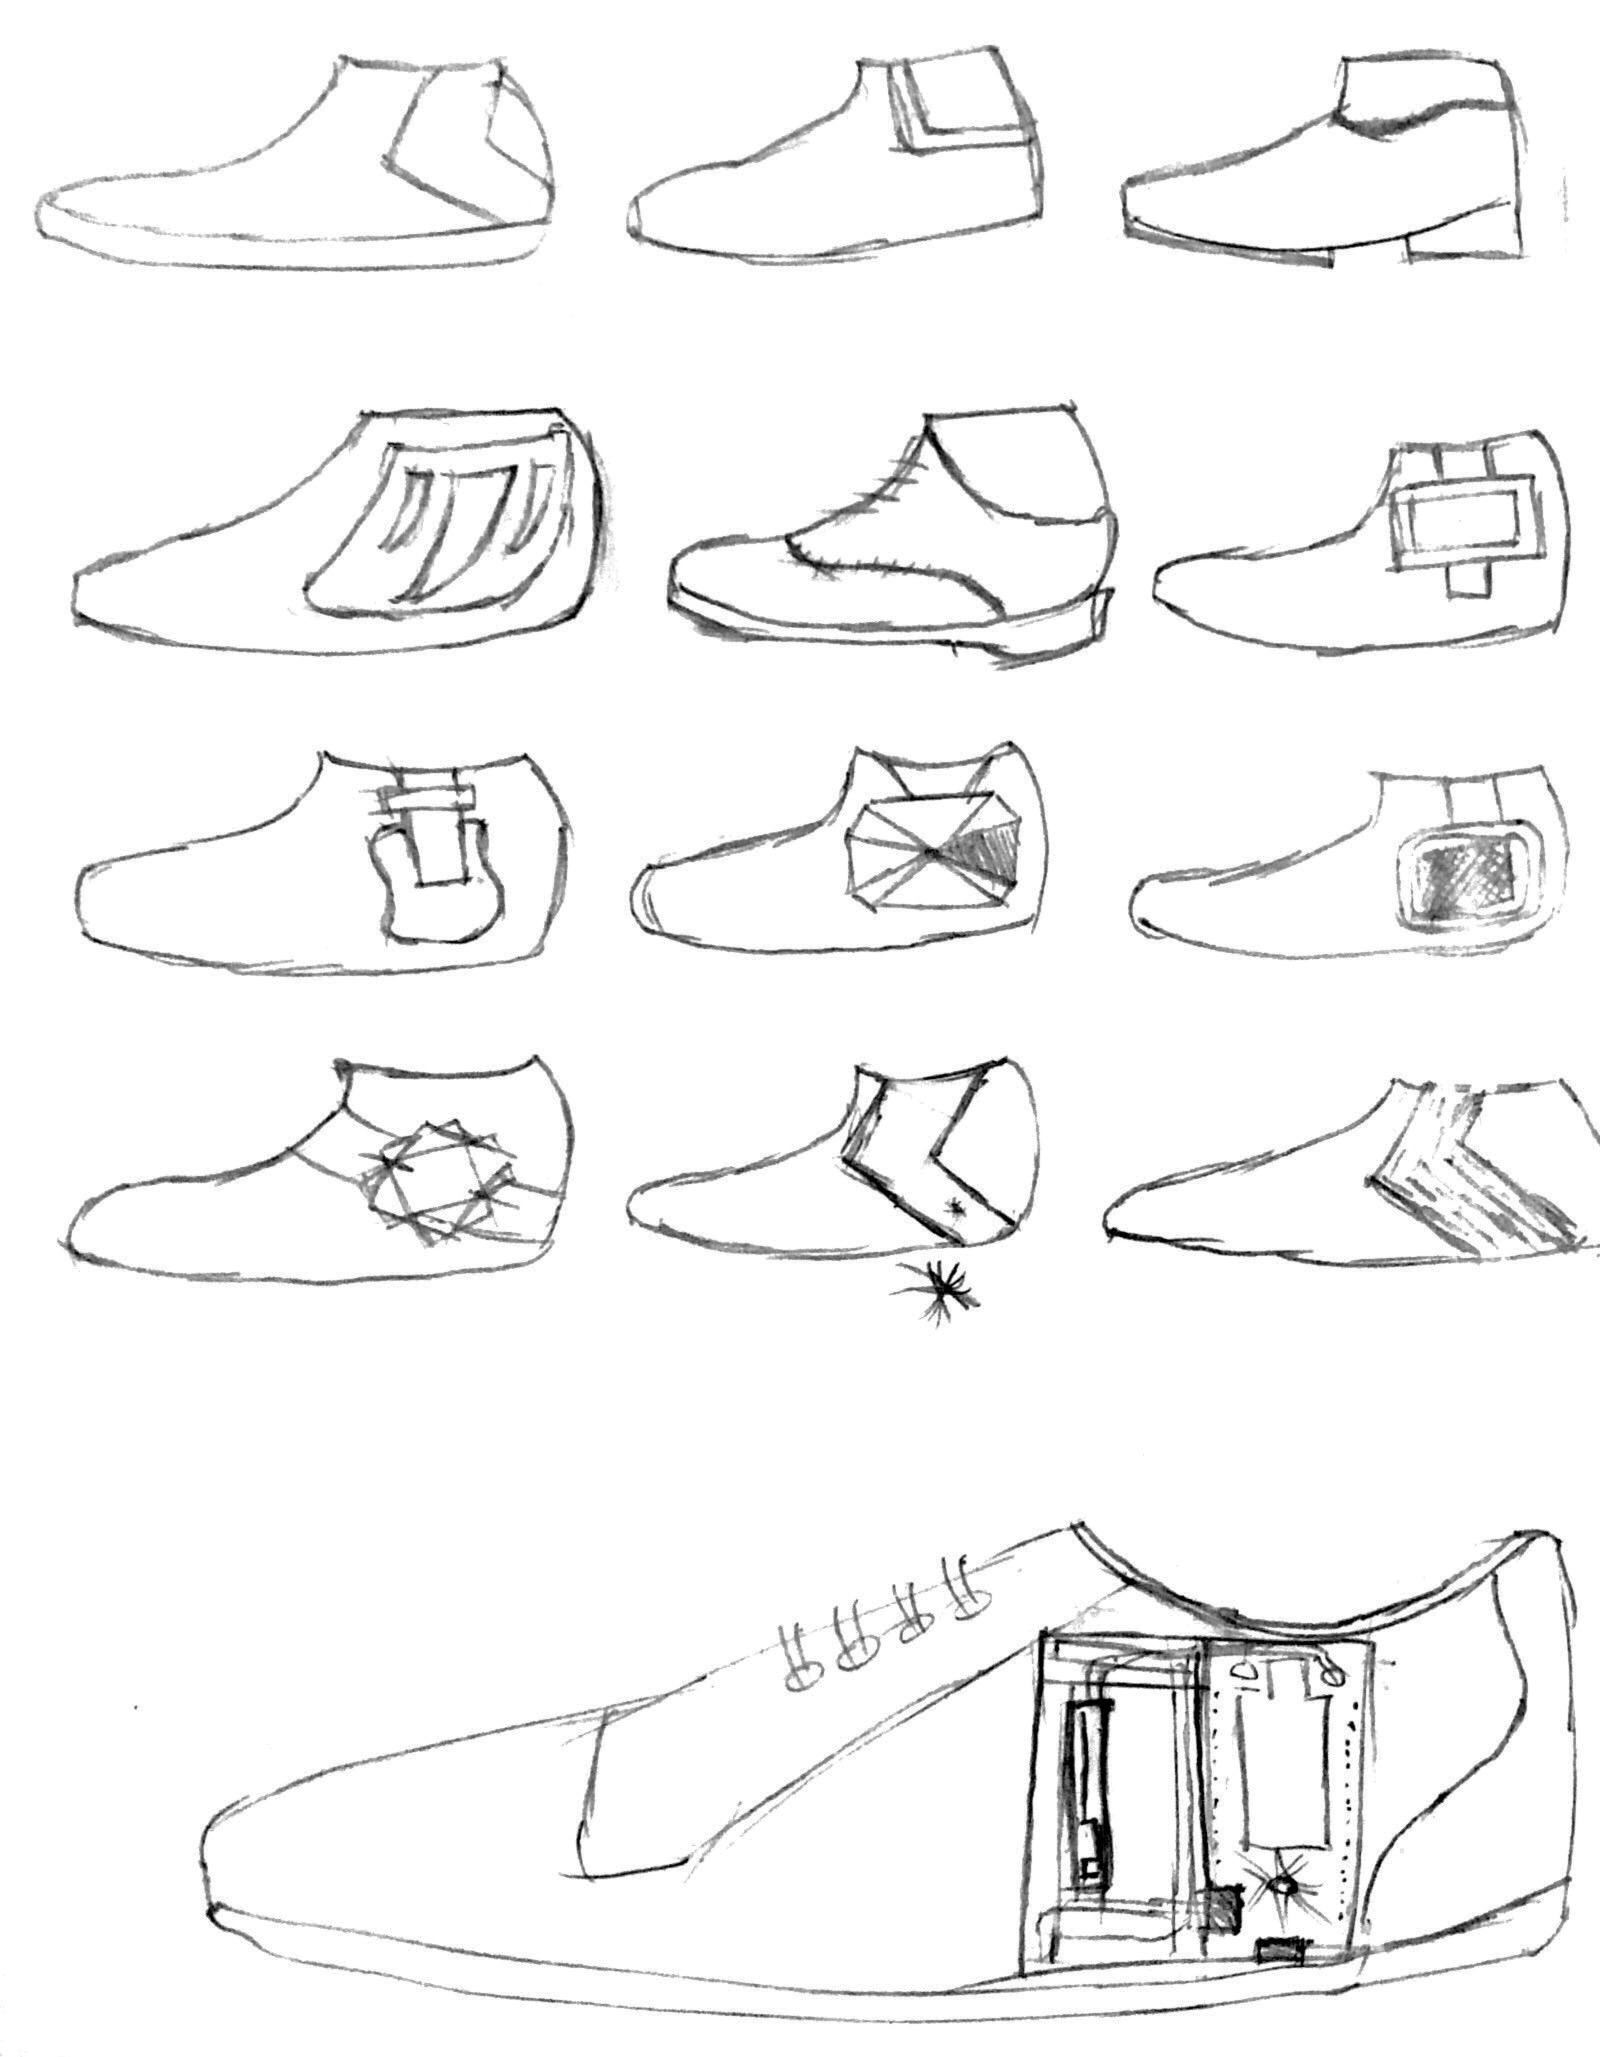
My favorite design shape formed with the shoe and did not extrude as much as my other design drawings. I choose the simple line and circle patterns in order to try a transparent resin casting technique where I could embed lights internally to it.
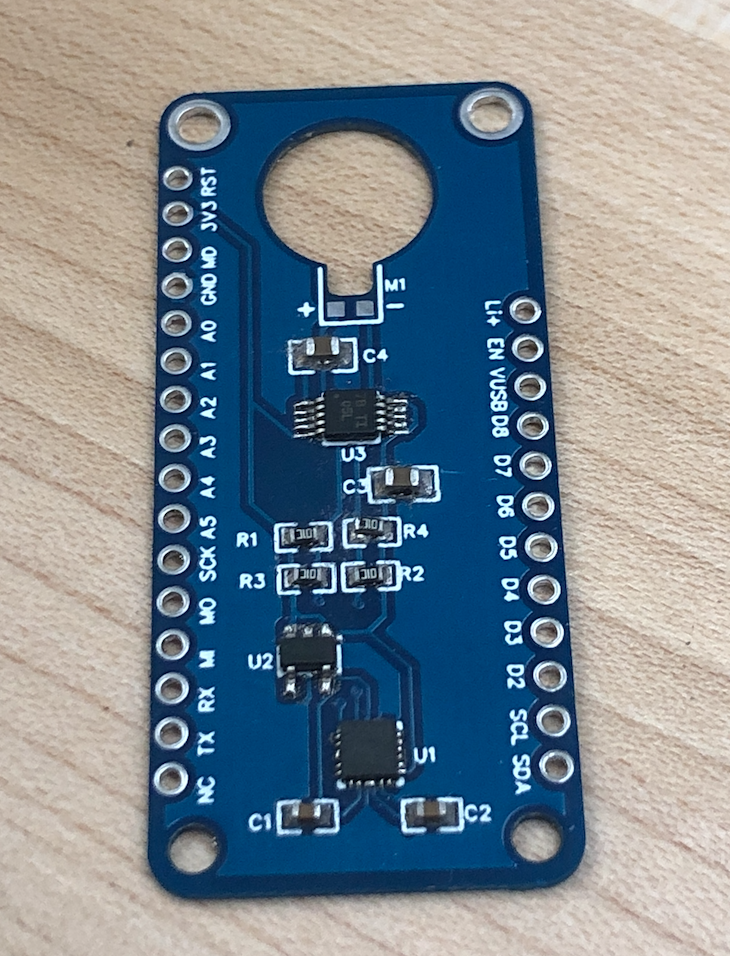
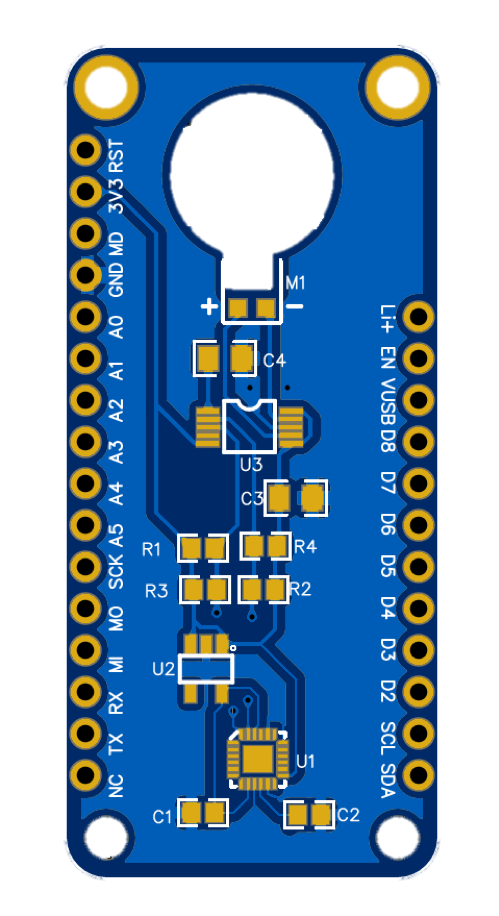
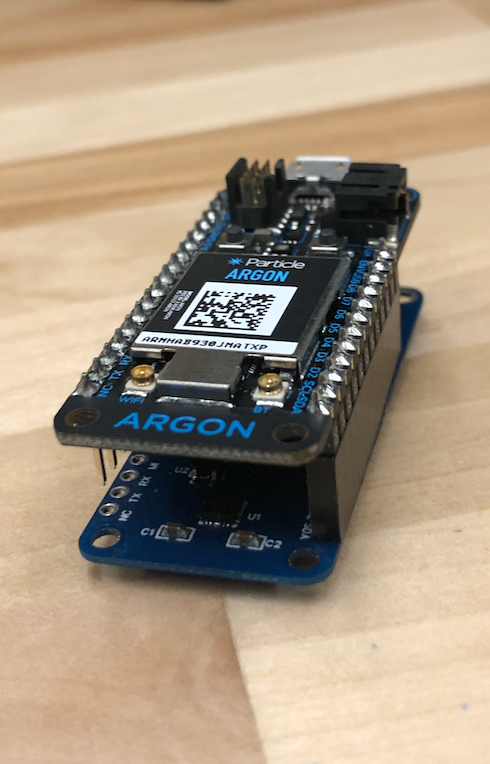
My initial circuit began as a sock with lots of wires. I was able to convert this same circuit into a tiny 0.9"x2" board. My new circuit only consisted of the IMU, Voltage Regulator, Haptic driver, and Haptic Motor.
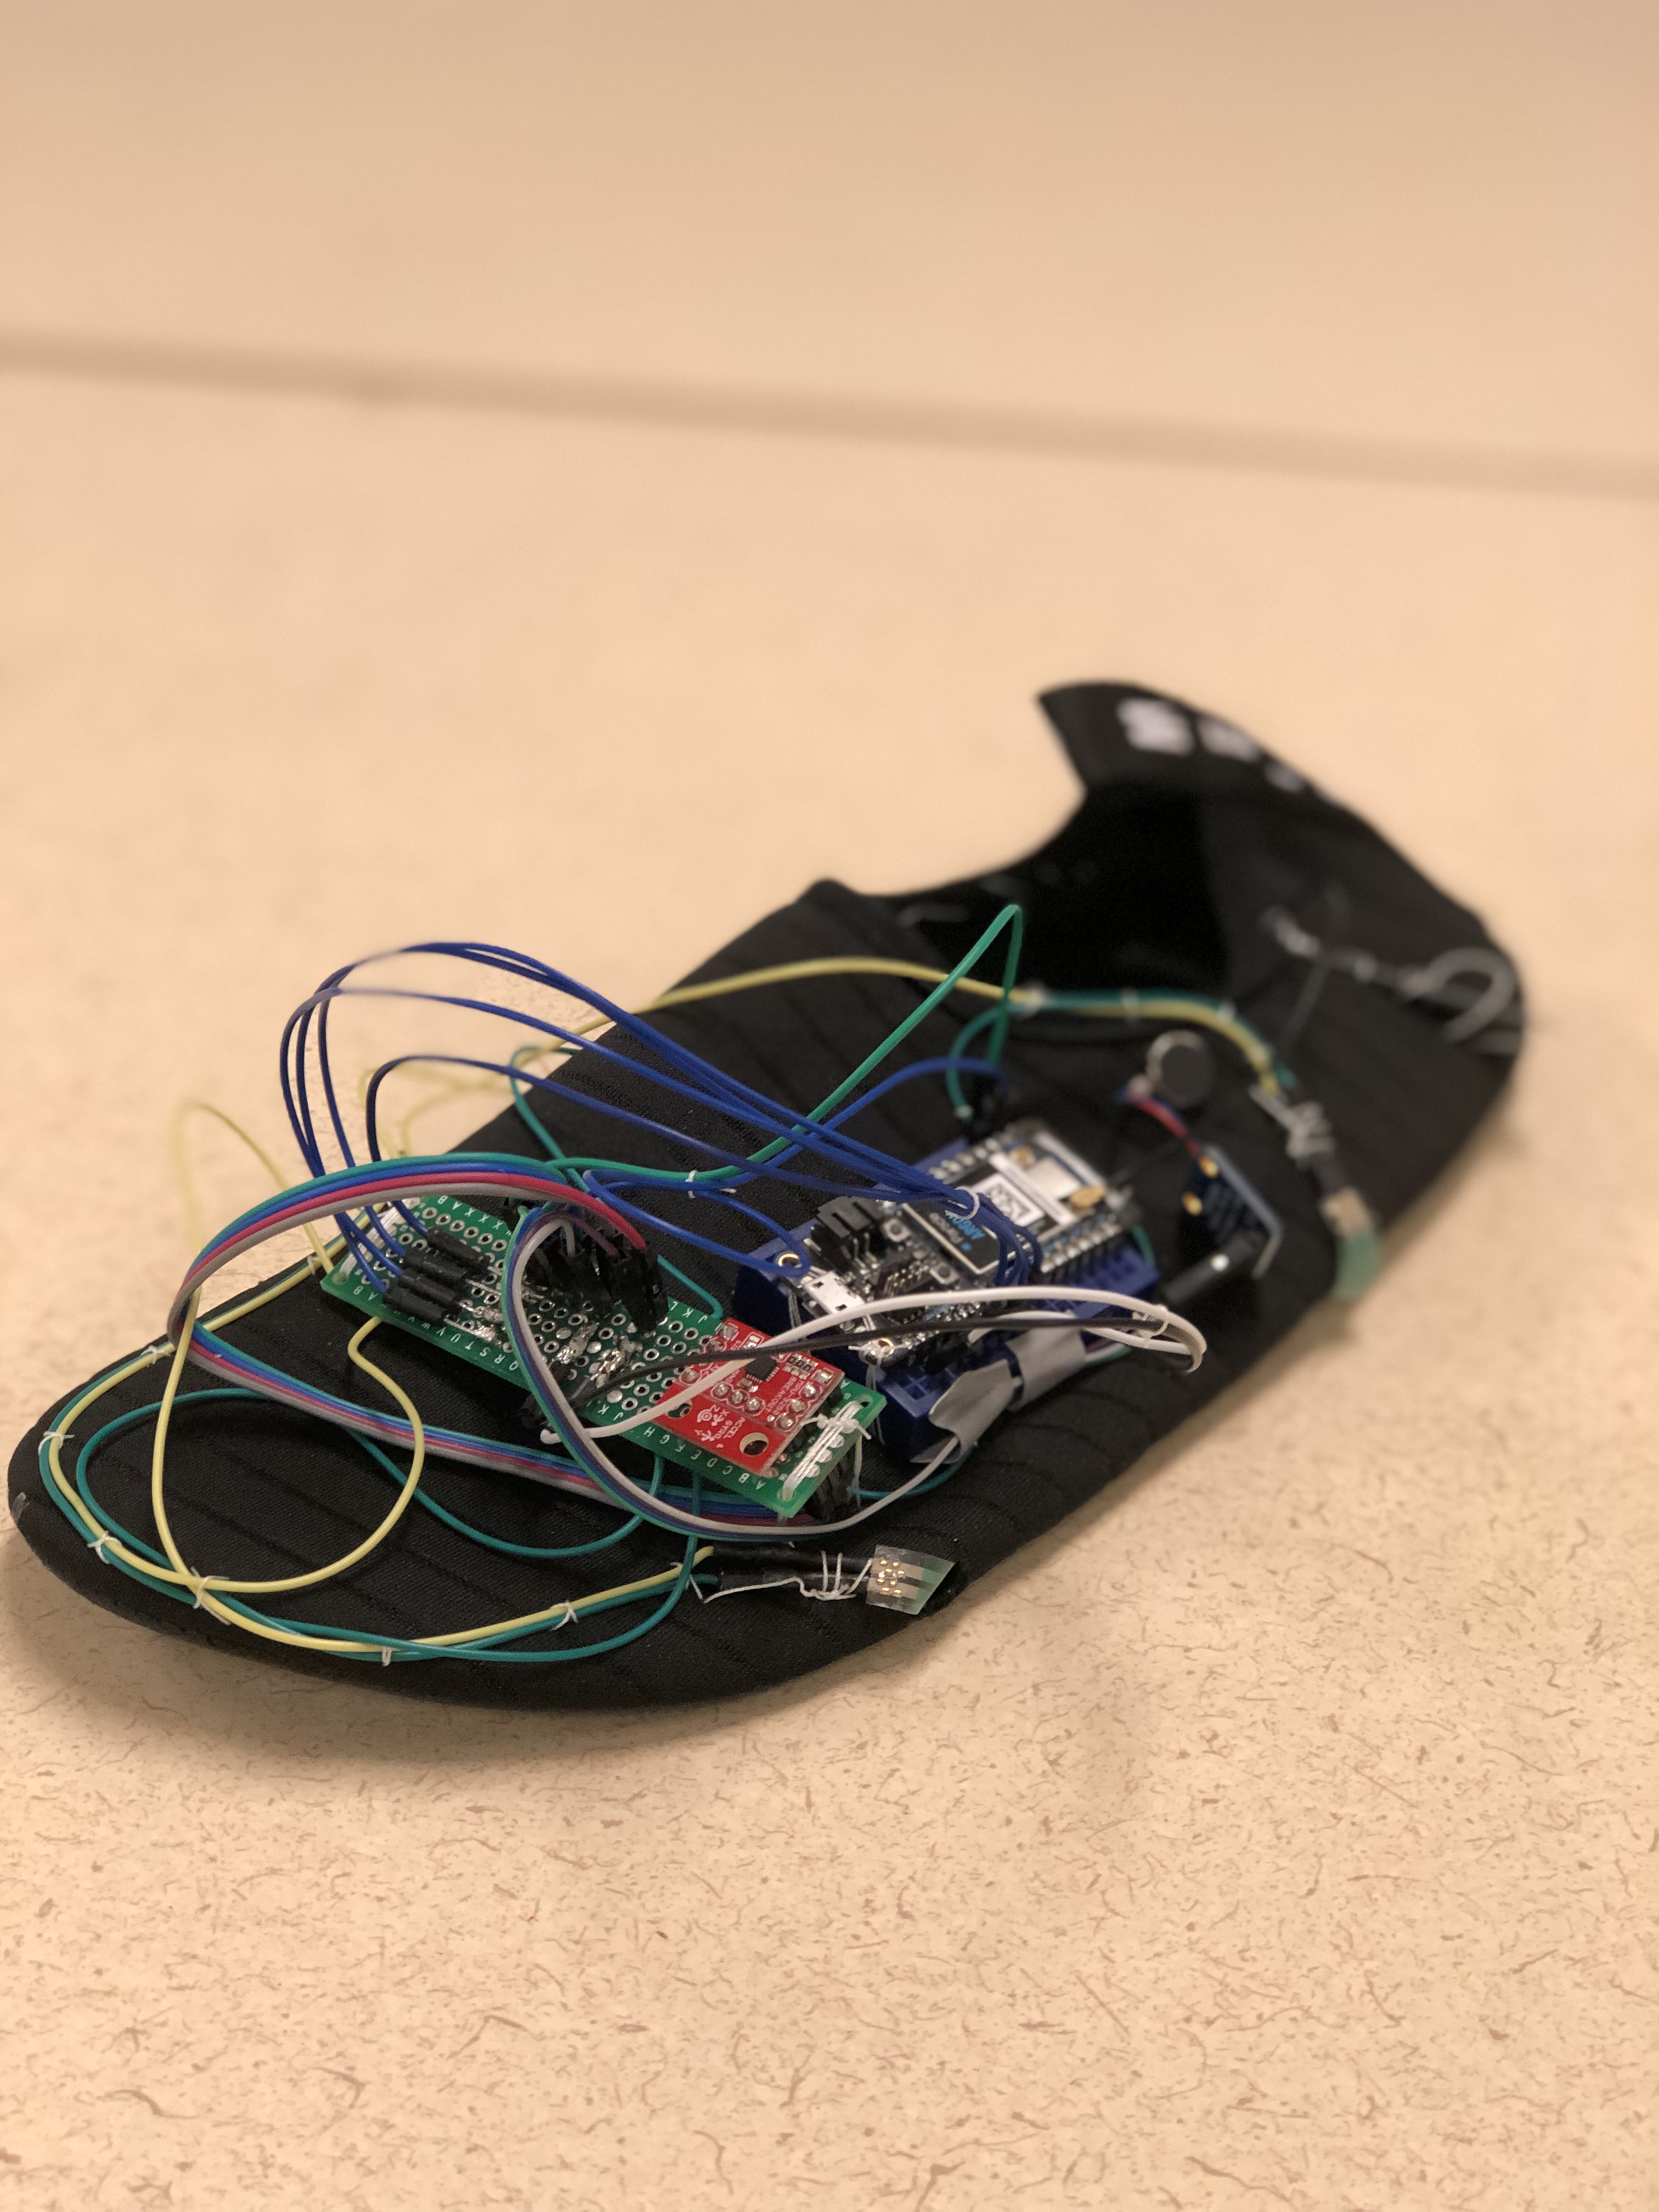
My ambitious feat was doing surface mount soldering of all these components myself, where I had one board survive in the process.
This was the first time for me to use Autodesk Fusion 360 and I learned it successfully over the span of two weeks.
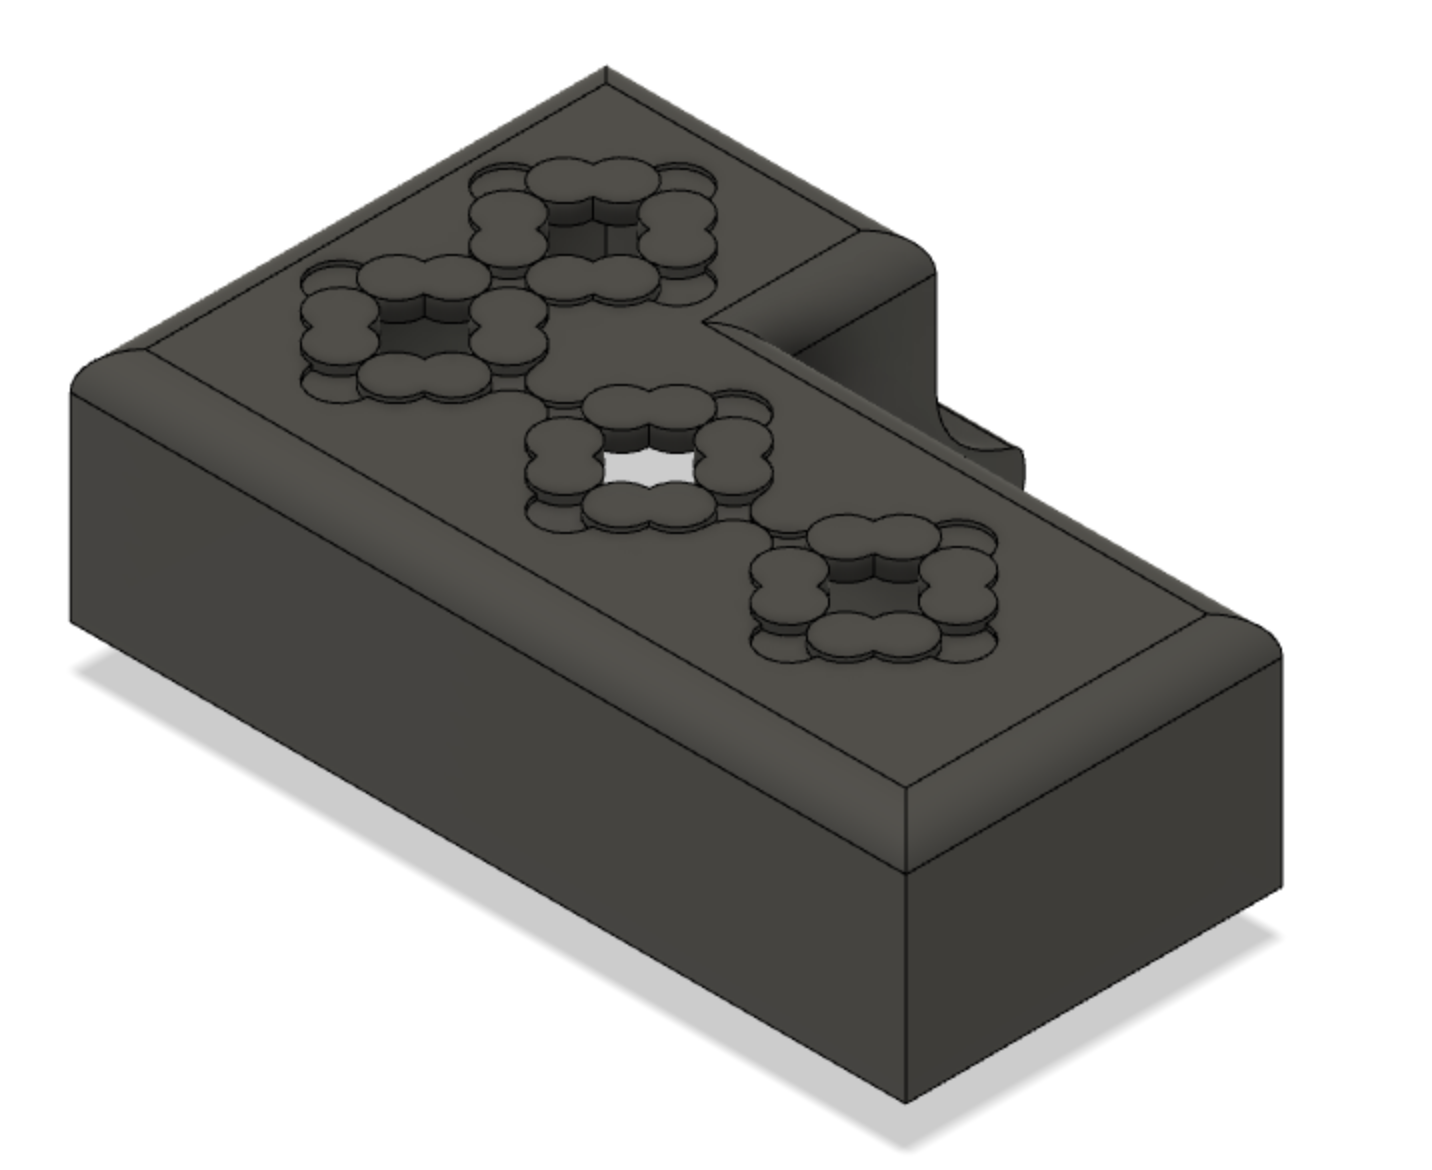
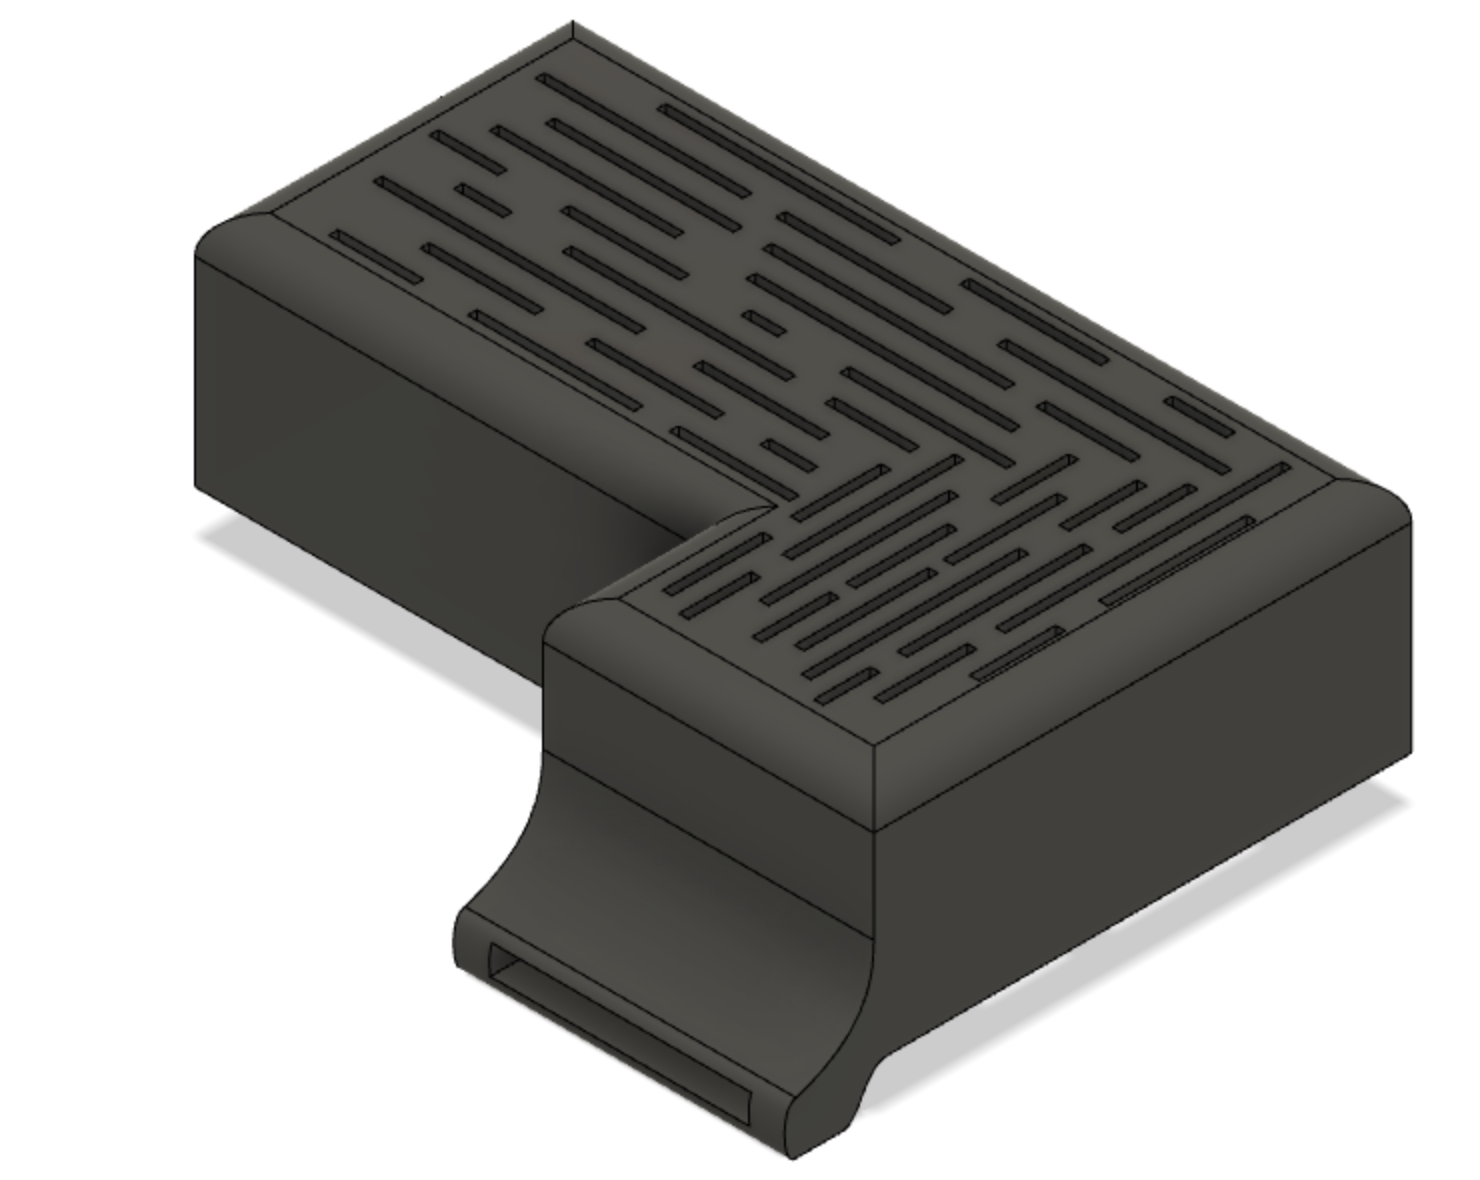
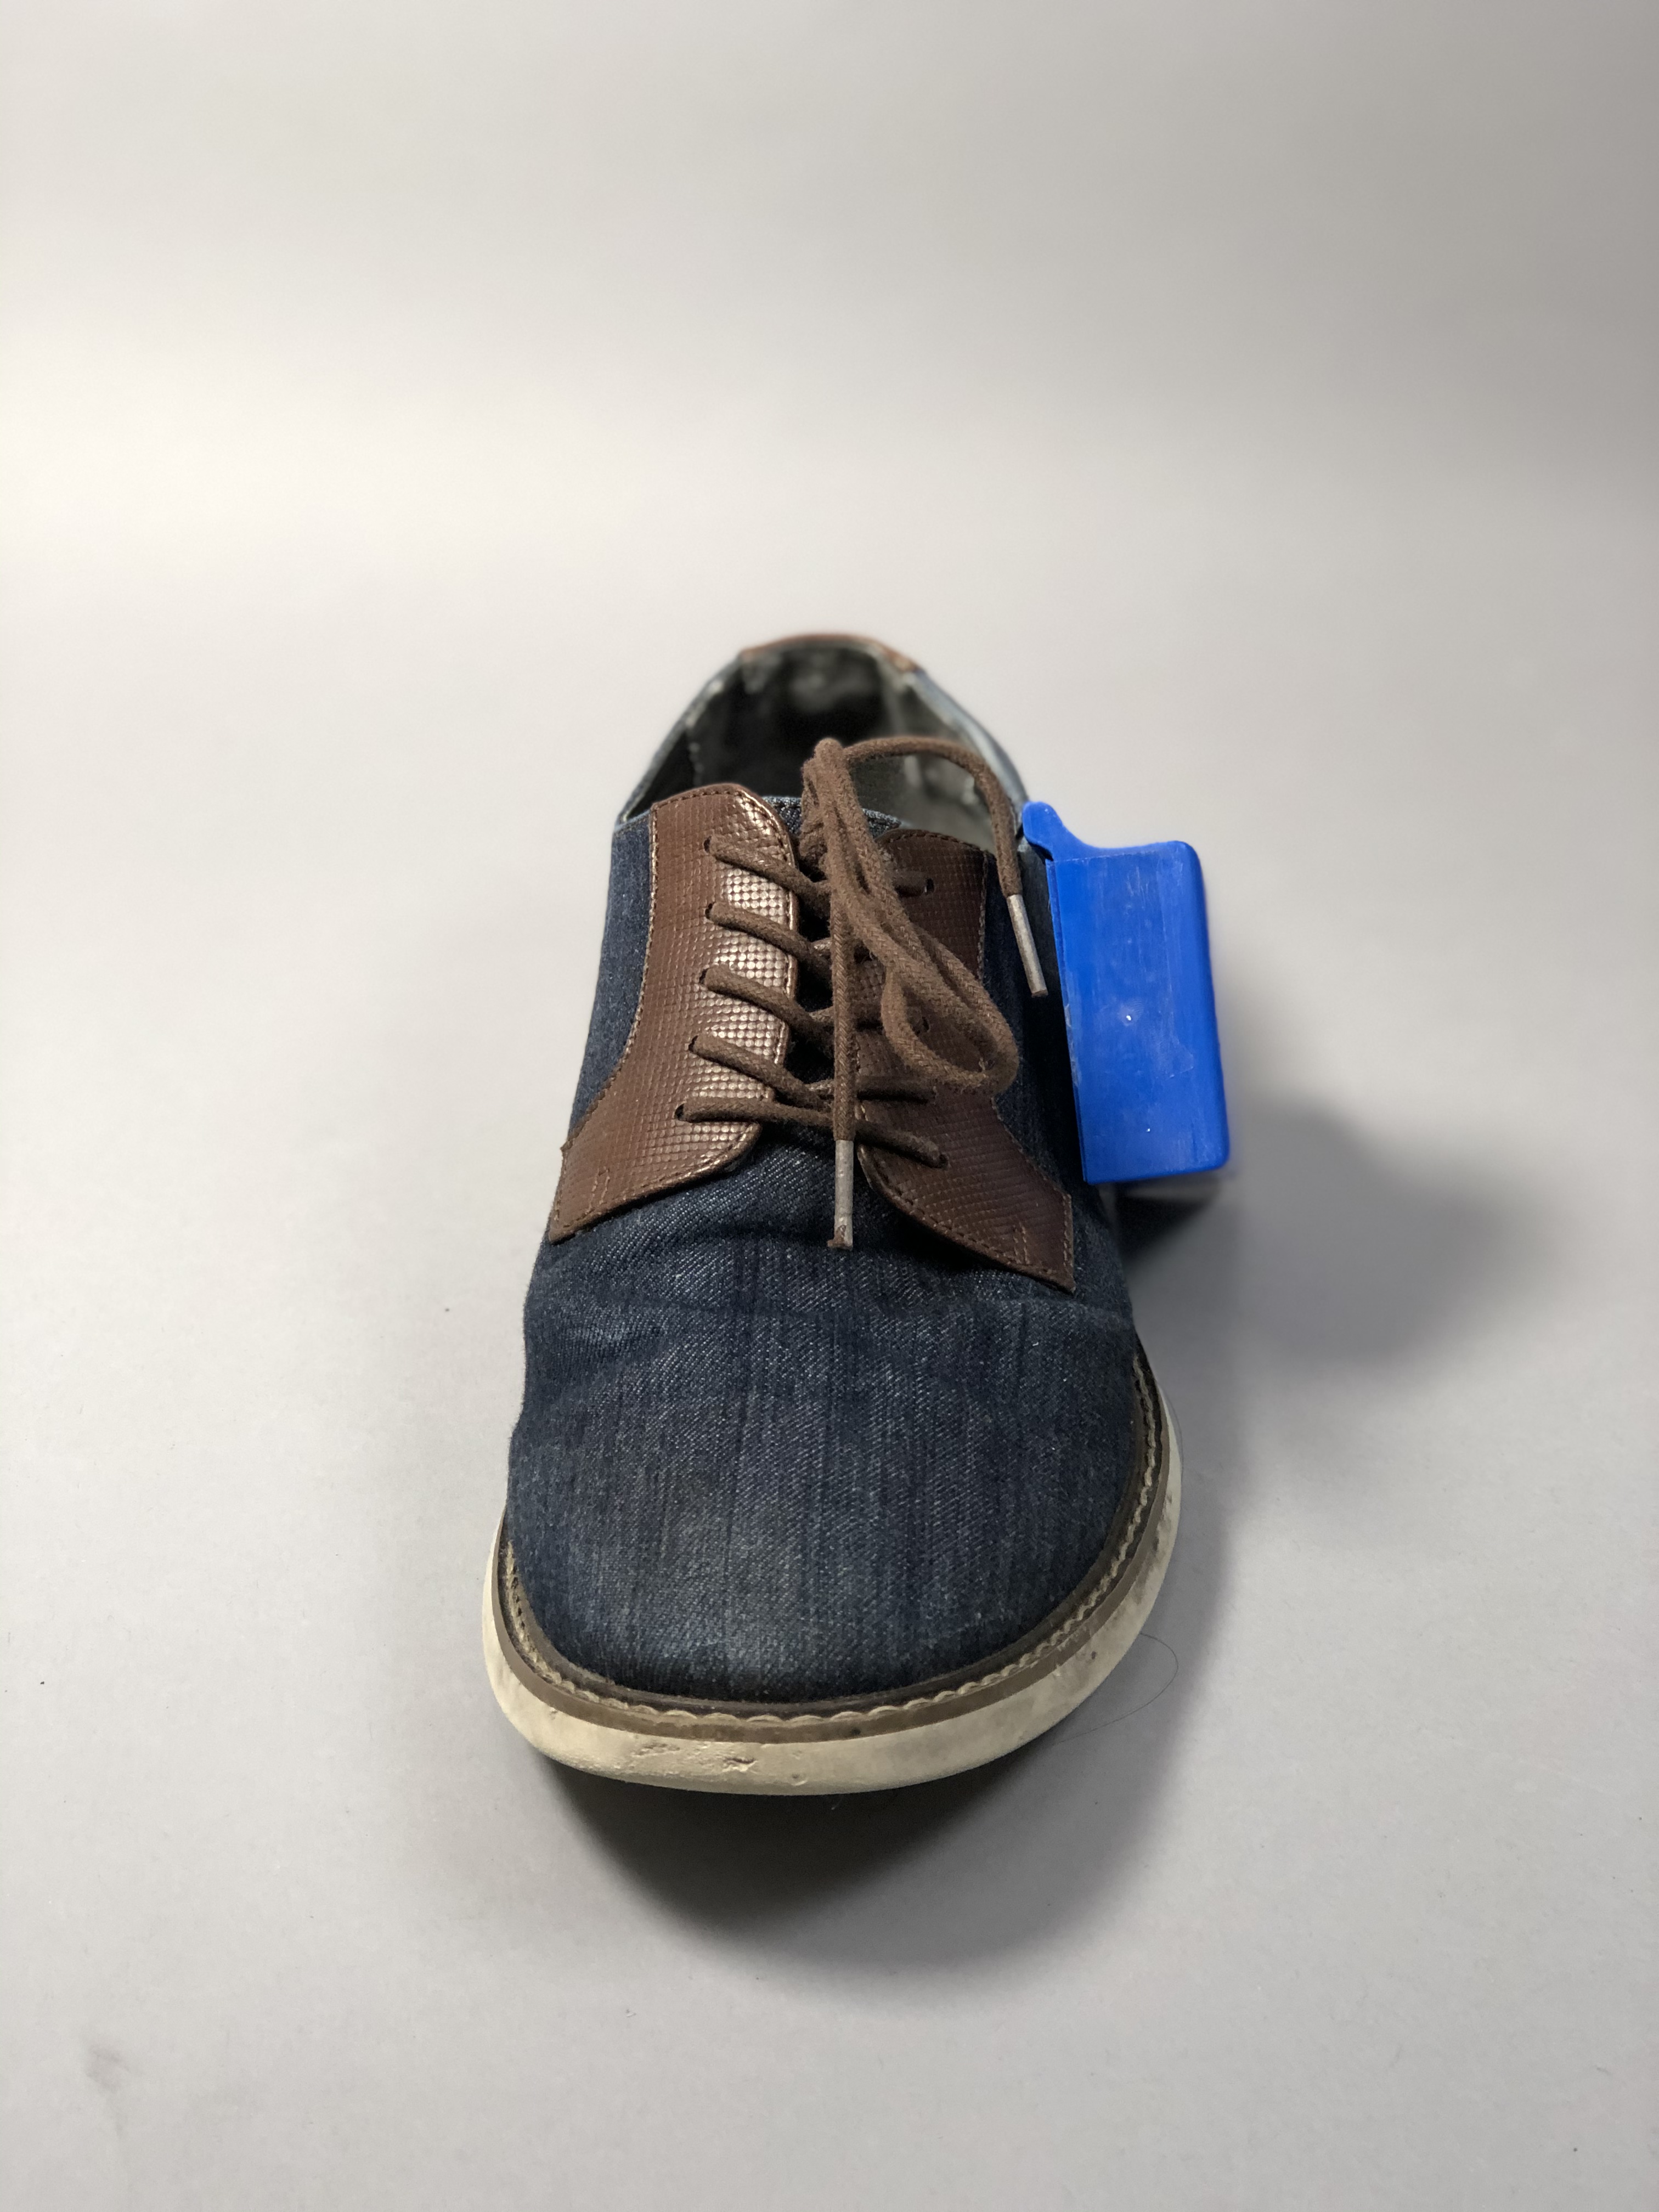
In order to completely enclose the device, only the bottom opens vertically and also keeps the parts in place. The clip to attach the device onto the shoe sticks slightly above to allow the bottom to open up to the circuitry and maintain a waterproof barrier. After 8 hours of creating the form in the Stratasys Dimension Elite FDM Machines, I was able to create this solid form without any issues and my circuit fit snuggly.
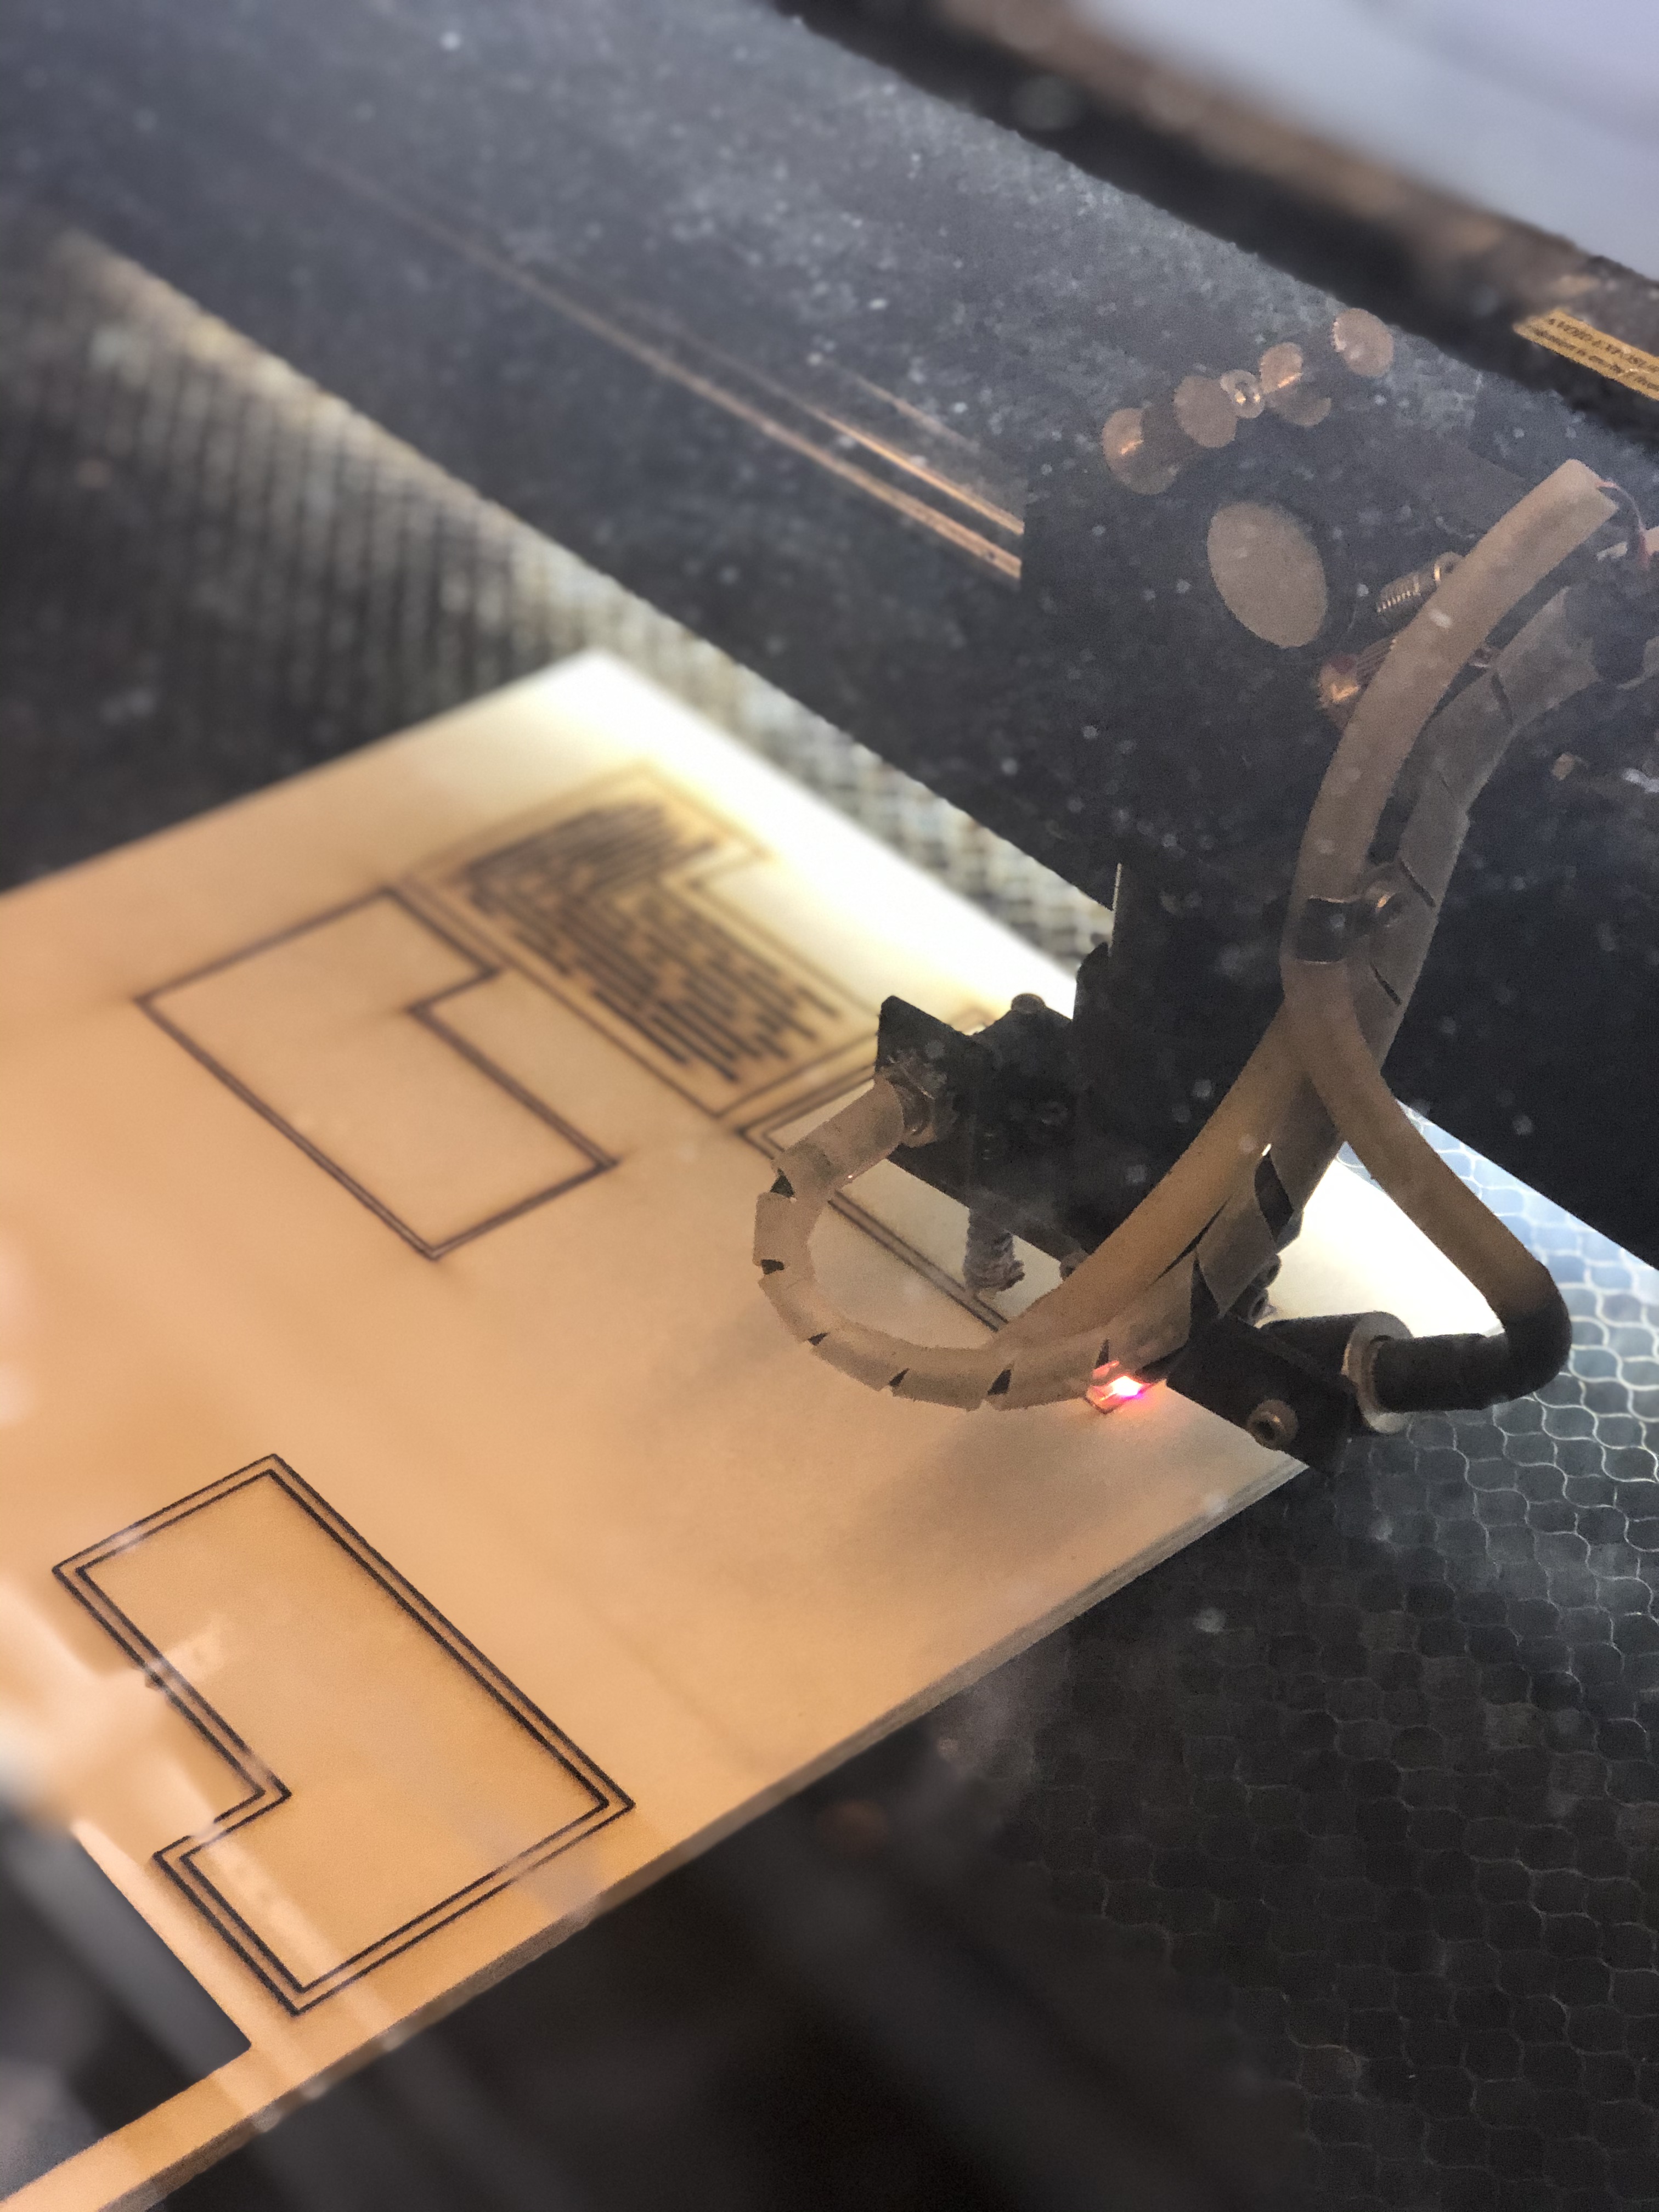
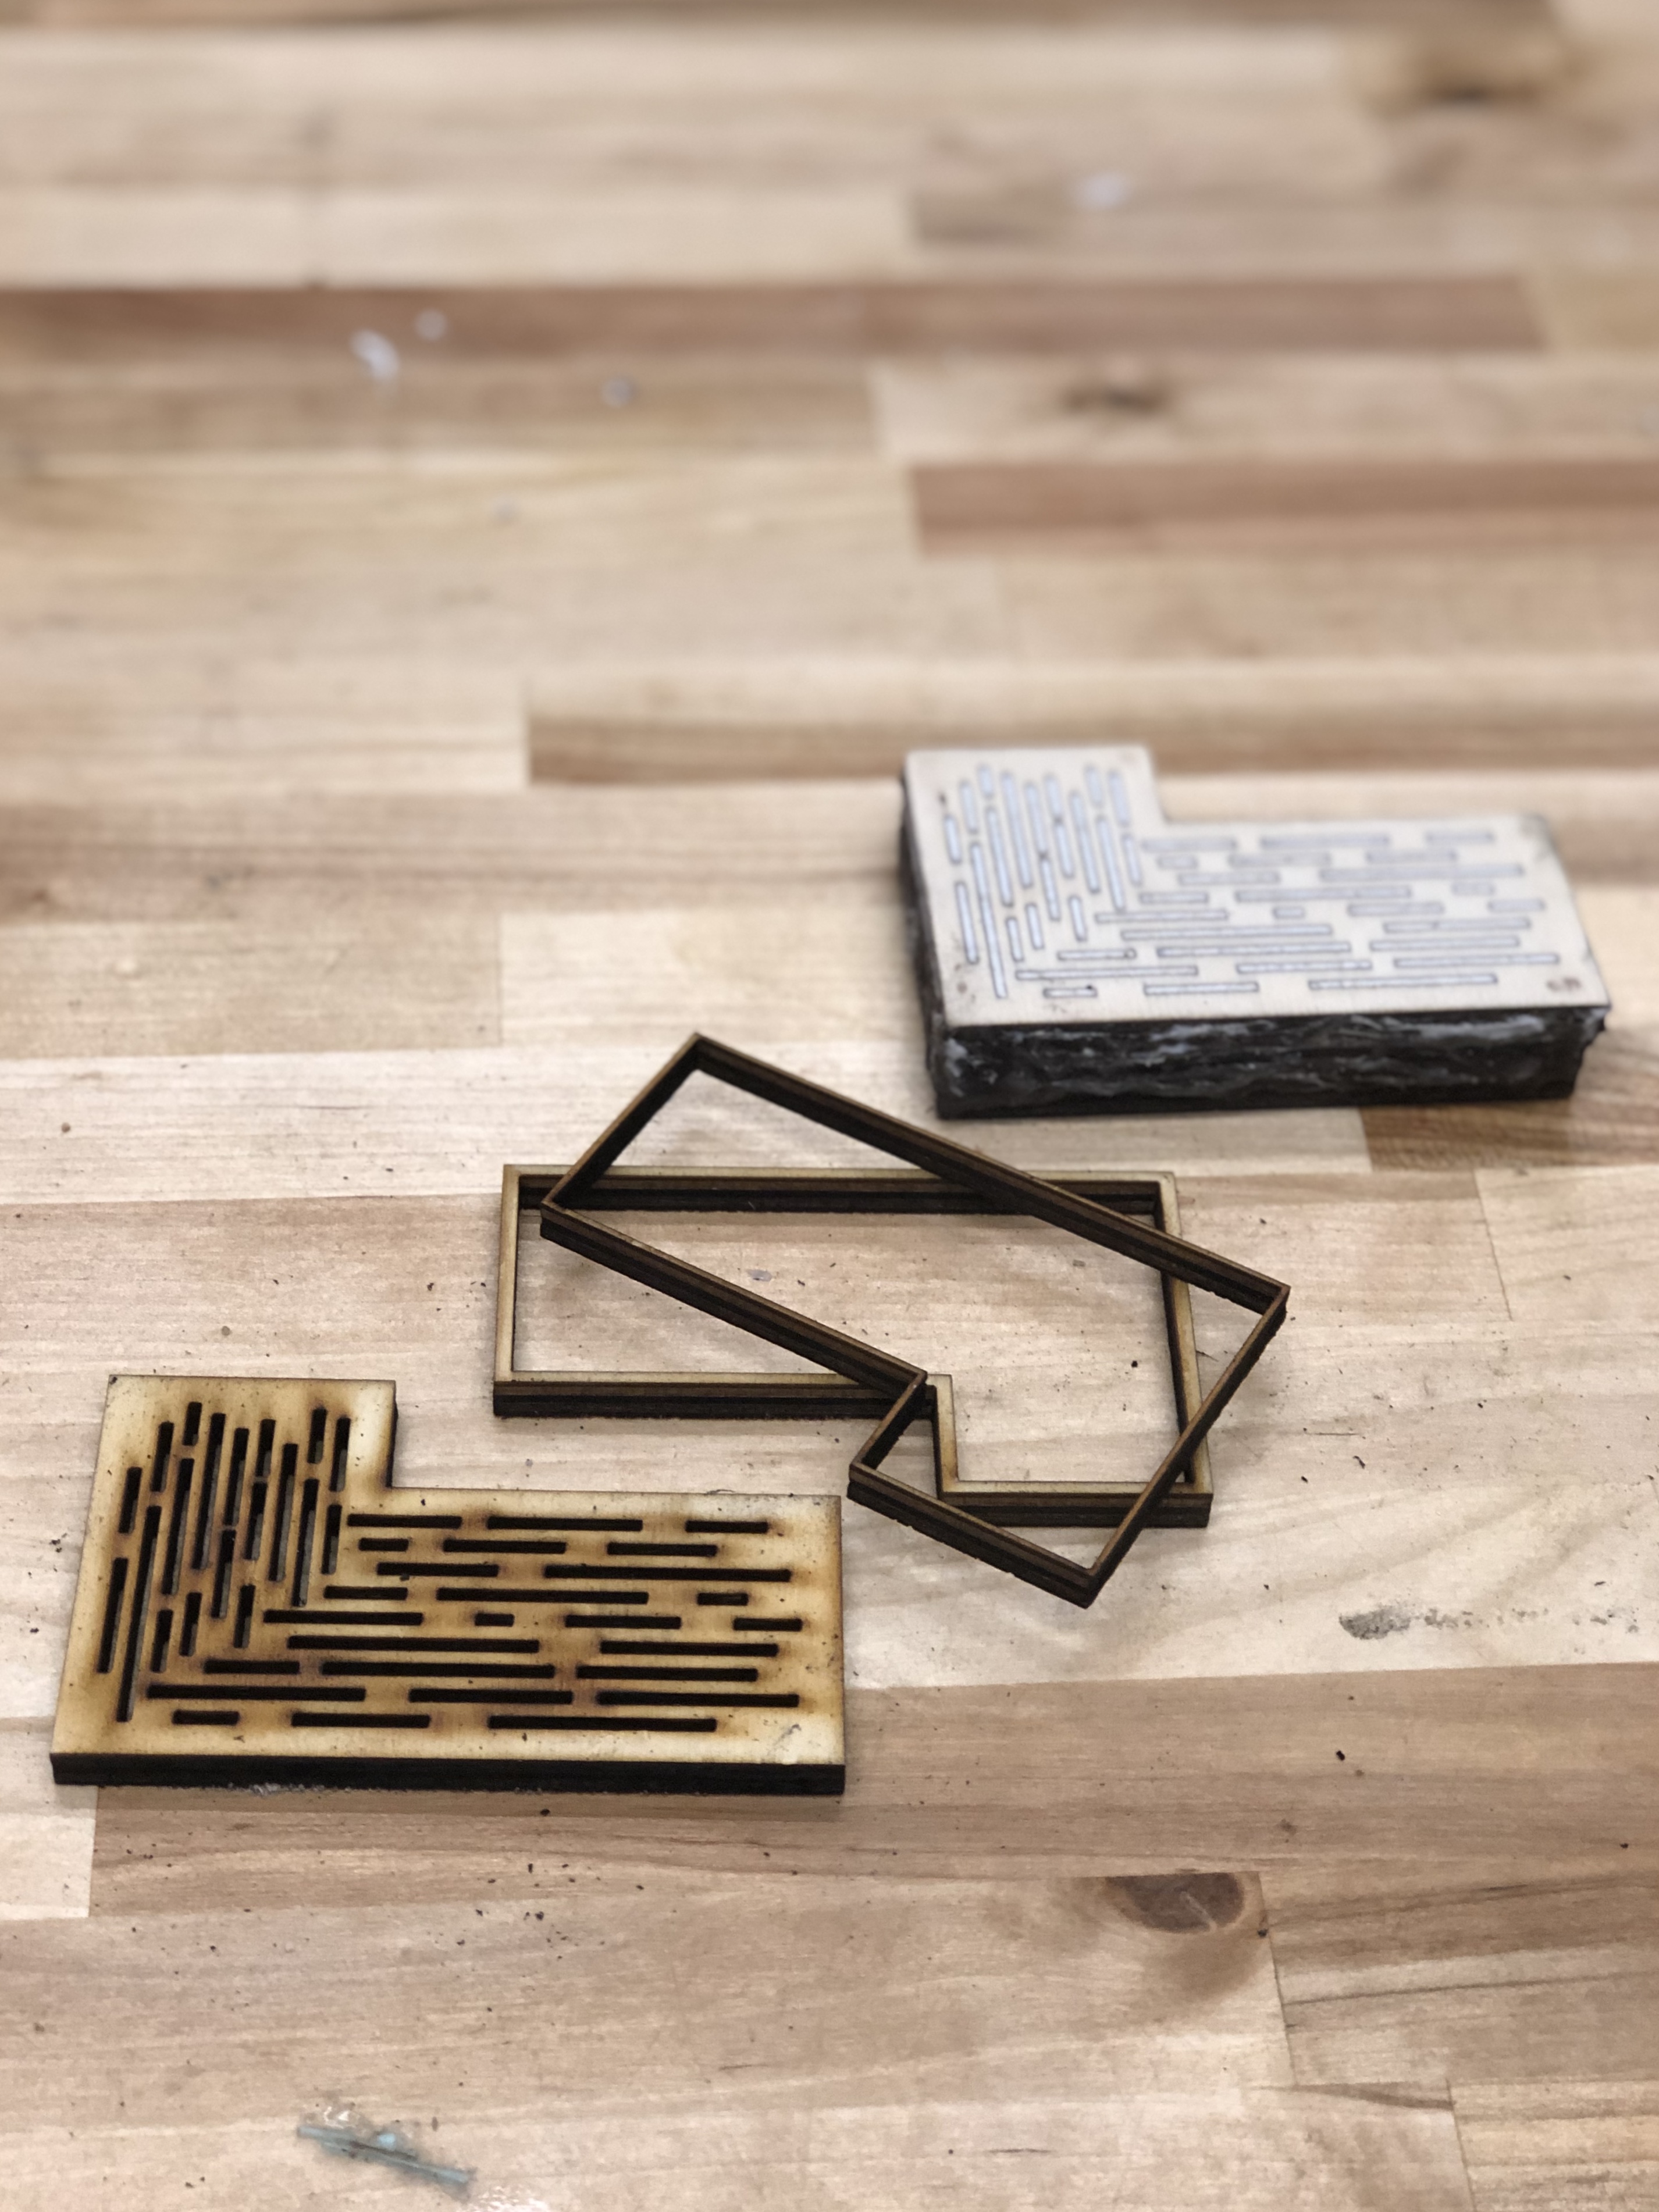
I laser cut a sample surface to test out the embedded epoxy resin technique.
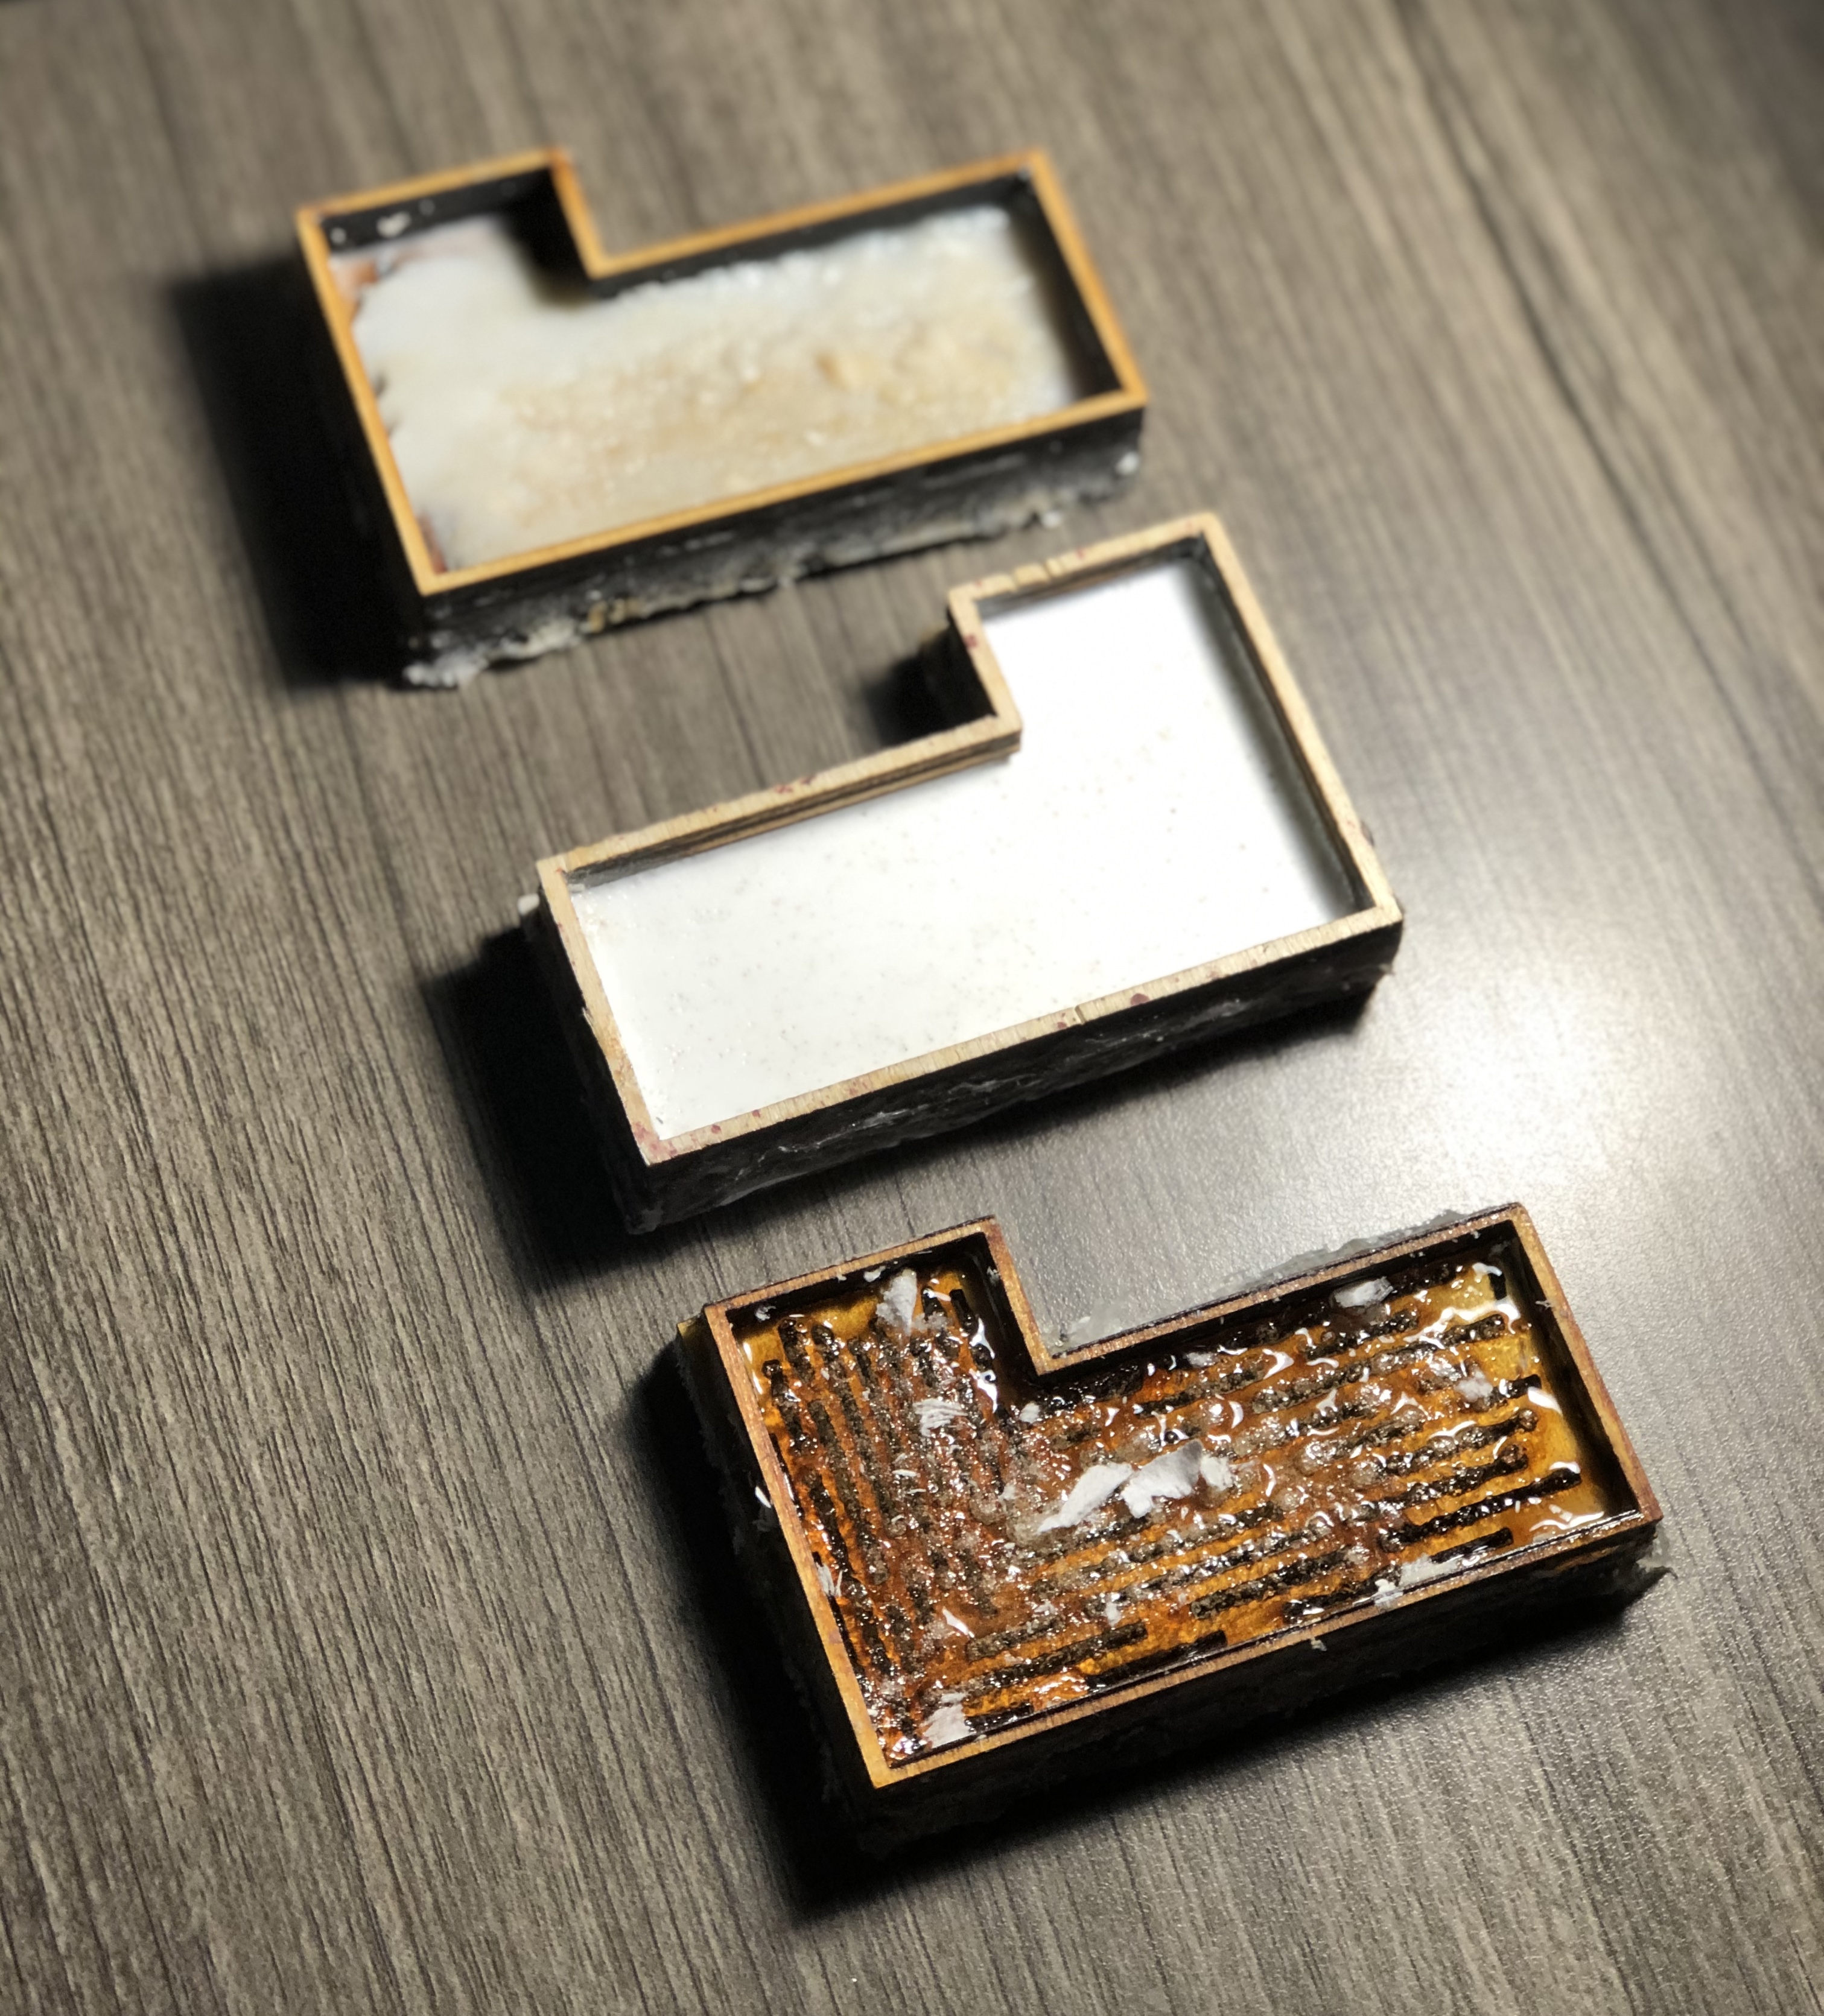
Upon realizing that the transparent Art Resin I bought was a 24-hr cure time, I experimented with various ways to speed up the process. The leftmost image is transparent resin mixed with a little white paint in an low-temperature oven, the middle image is the normal white epoxy from the soldering iron project, and the rightmost is the transparent resin I bought put under the heat of a low-temperature oven. The ones in the oven charred significantly and are sticky. I resulted in using the transparent resin with a dab of white resin at normal temperature.
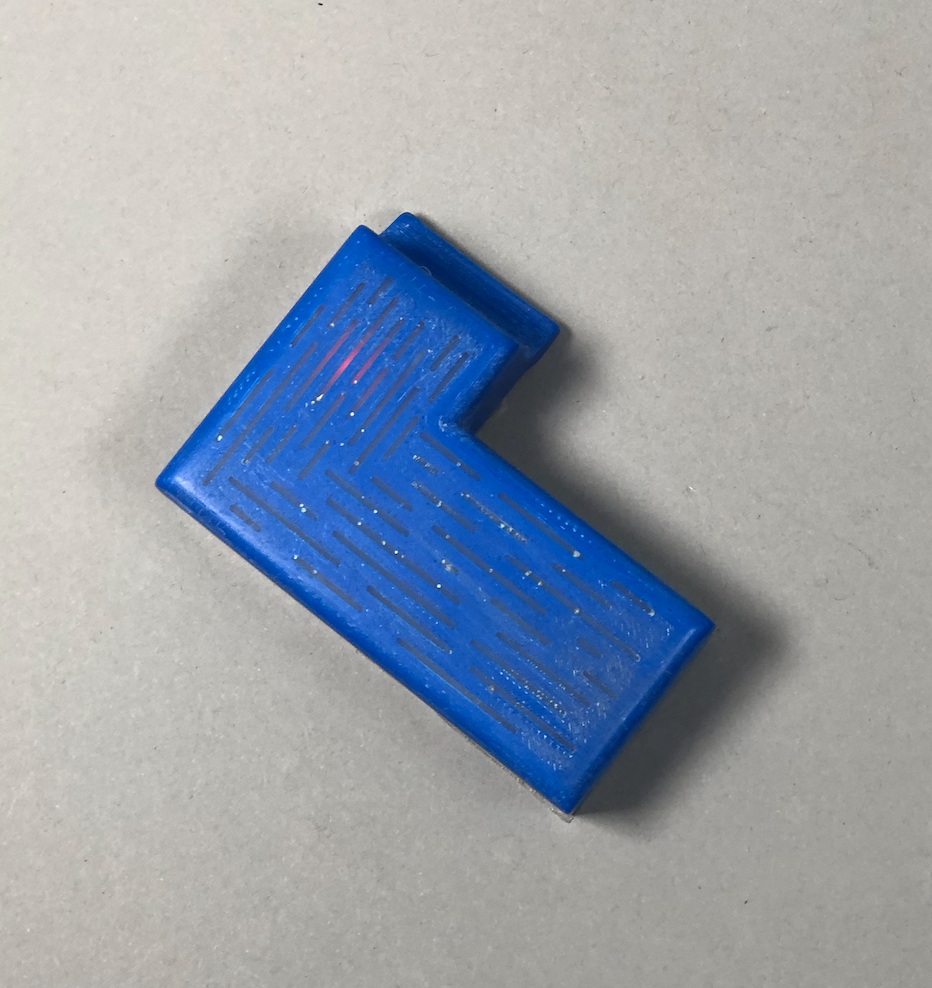
Using a technique called epoxy form resin casting inspired from table resin casting, I took my 3D model and layered a tiny 2mm thick of resin from the inside of my enclosure as depicted below using styrofoam and hot glue as a barrier. This technique was perfect to create a Flush waterproof barrier while maintaining style of the print.
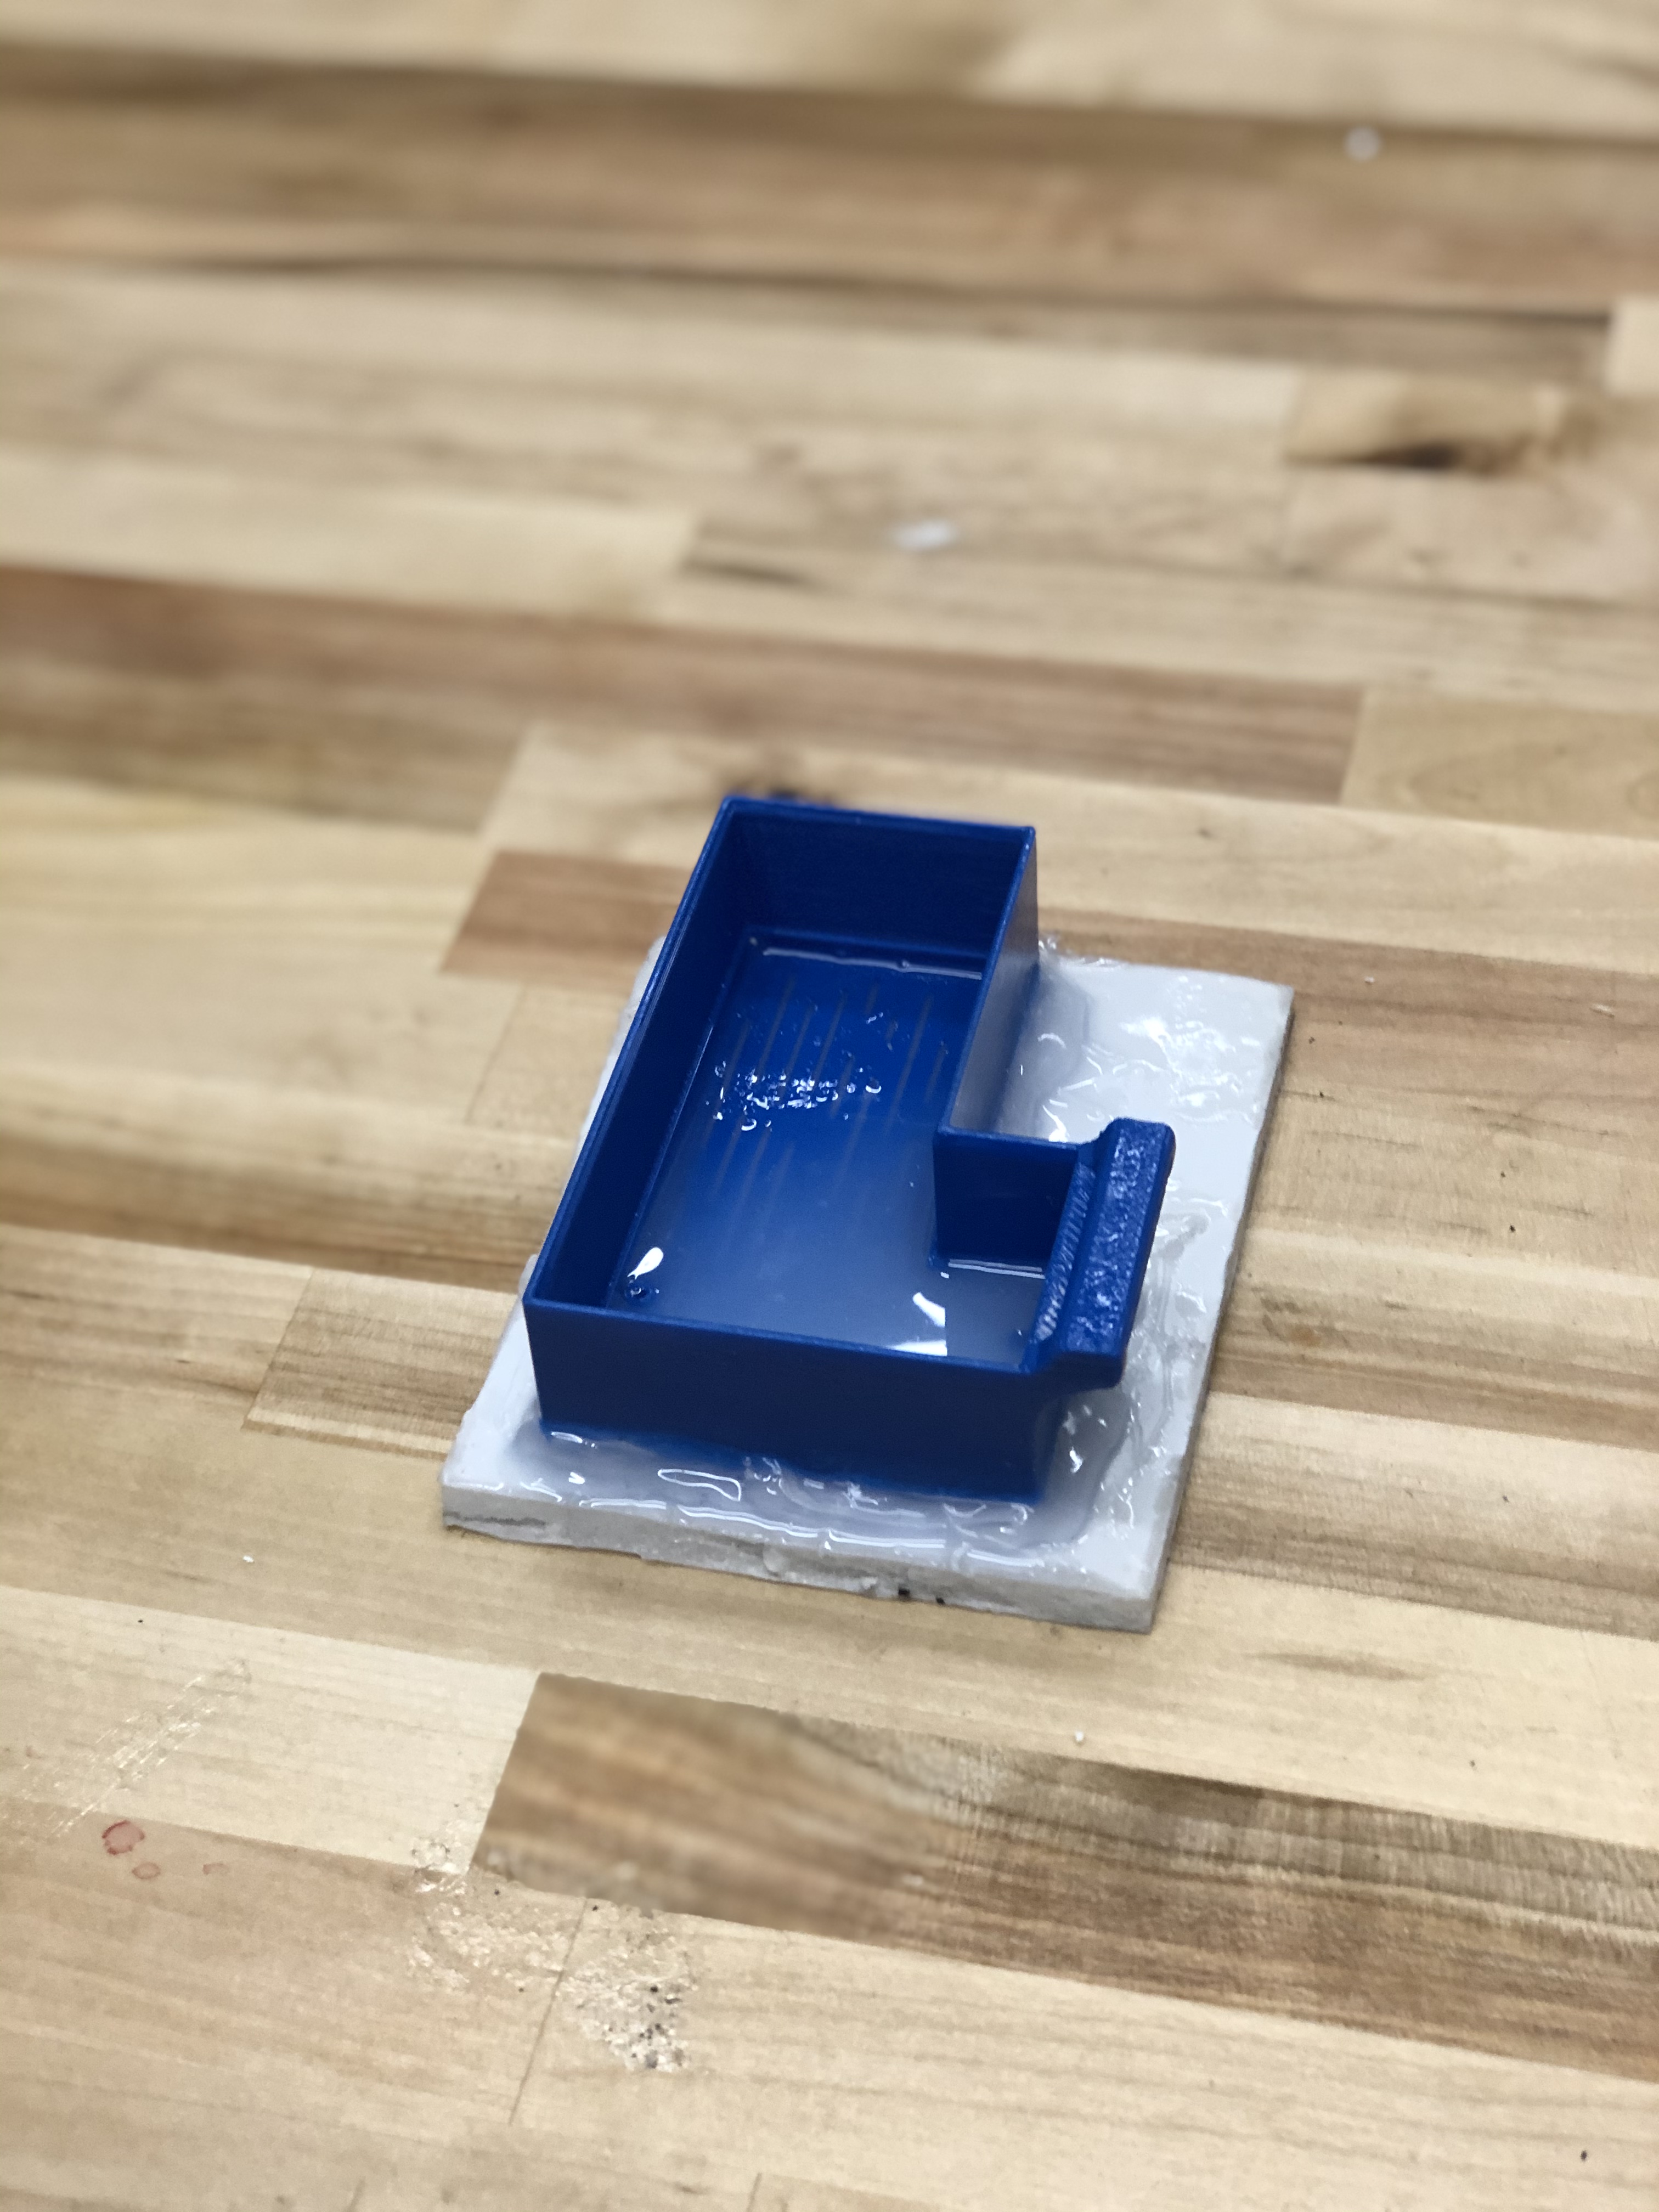
The perfect smart shoe clip for your geek chic look! You can see the sanded translucent layer of epoxy through the 3D print.
