Well I guess that I am all three dangerous things.
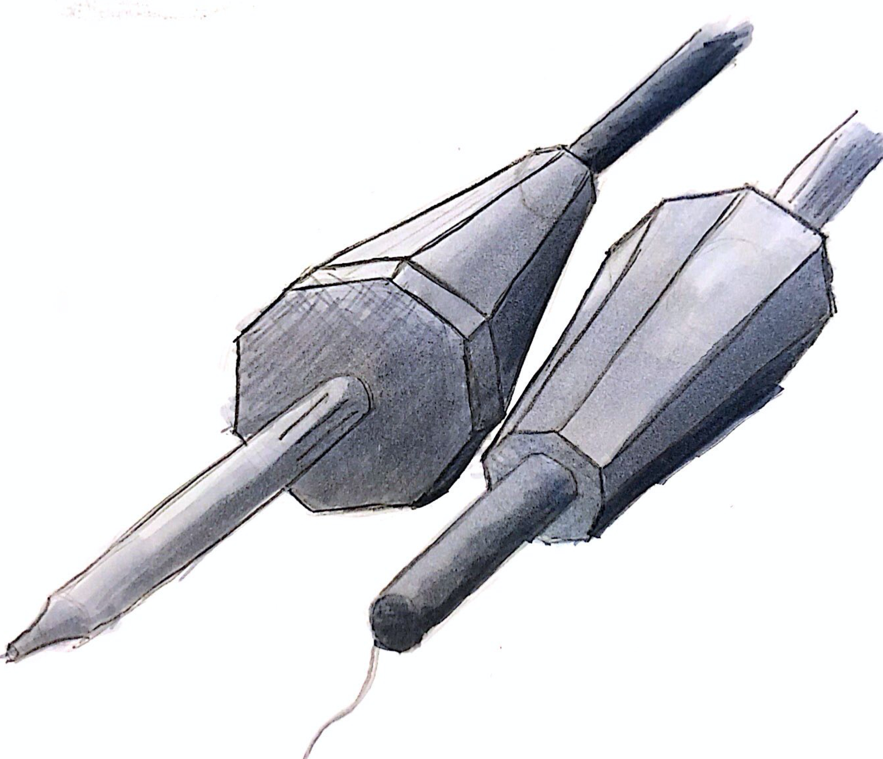
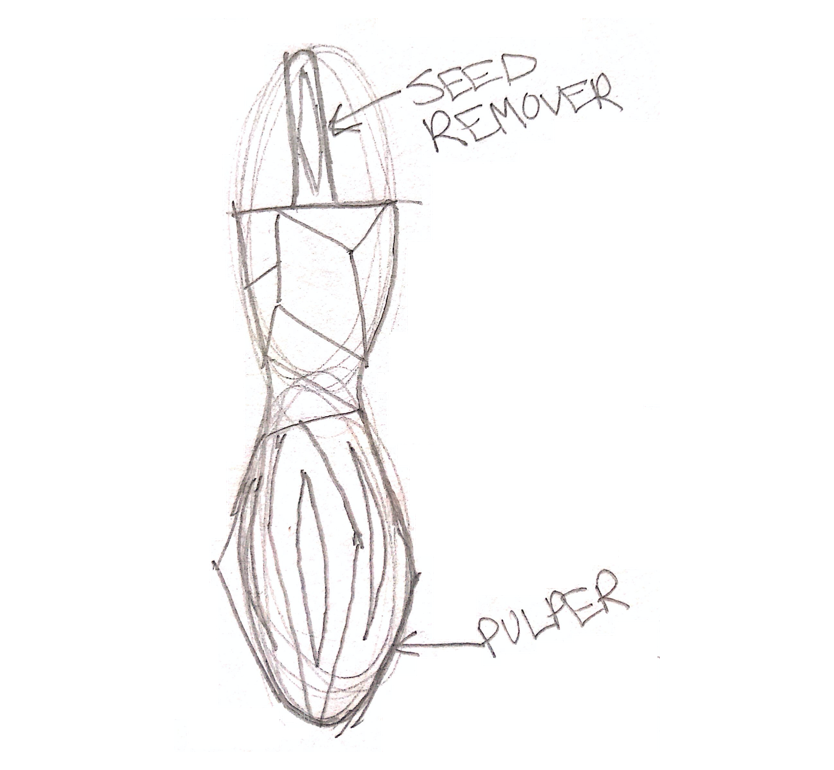
I became inspired by a pulper with its jagged edges and smooth surfaces. It has such a beautiful shape but bigger use. I played around with the design and morphing the idea to a simple shape that formed around my existing soldering iron. Simply put, the elongated octagon form to a narrow mouth can hold a nice grip yet maintain sleek form.
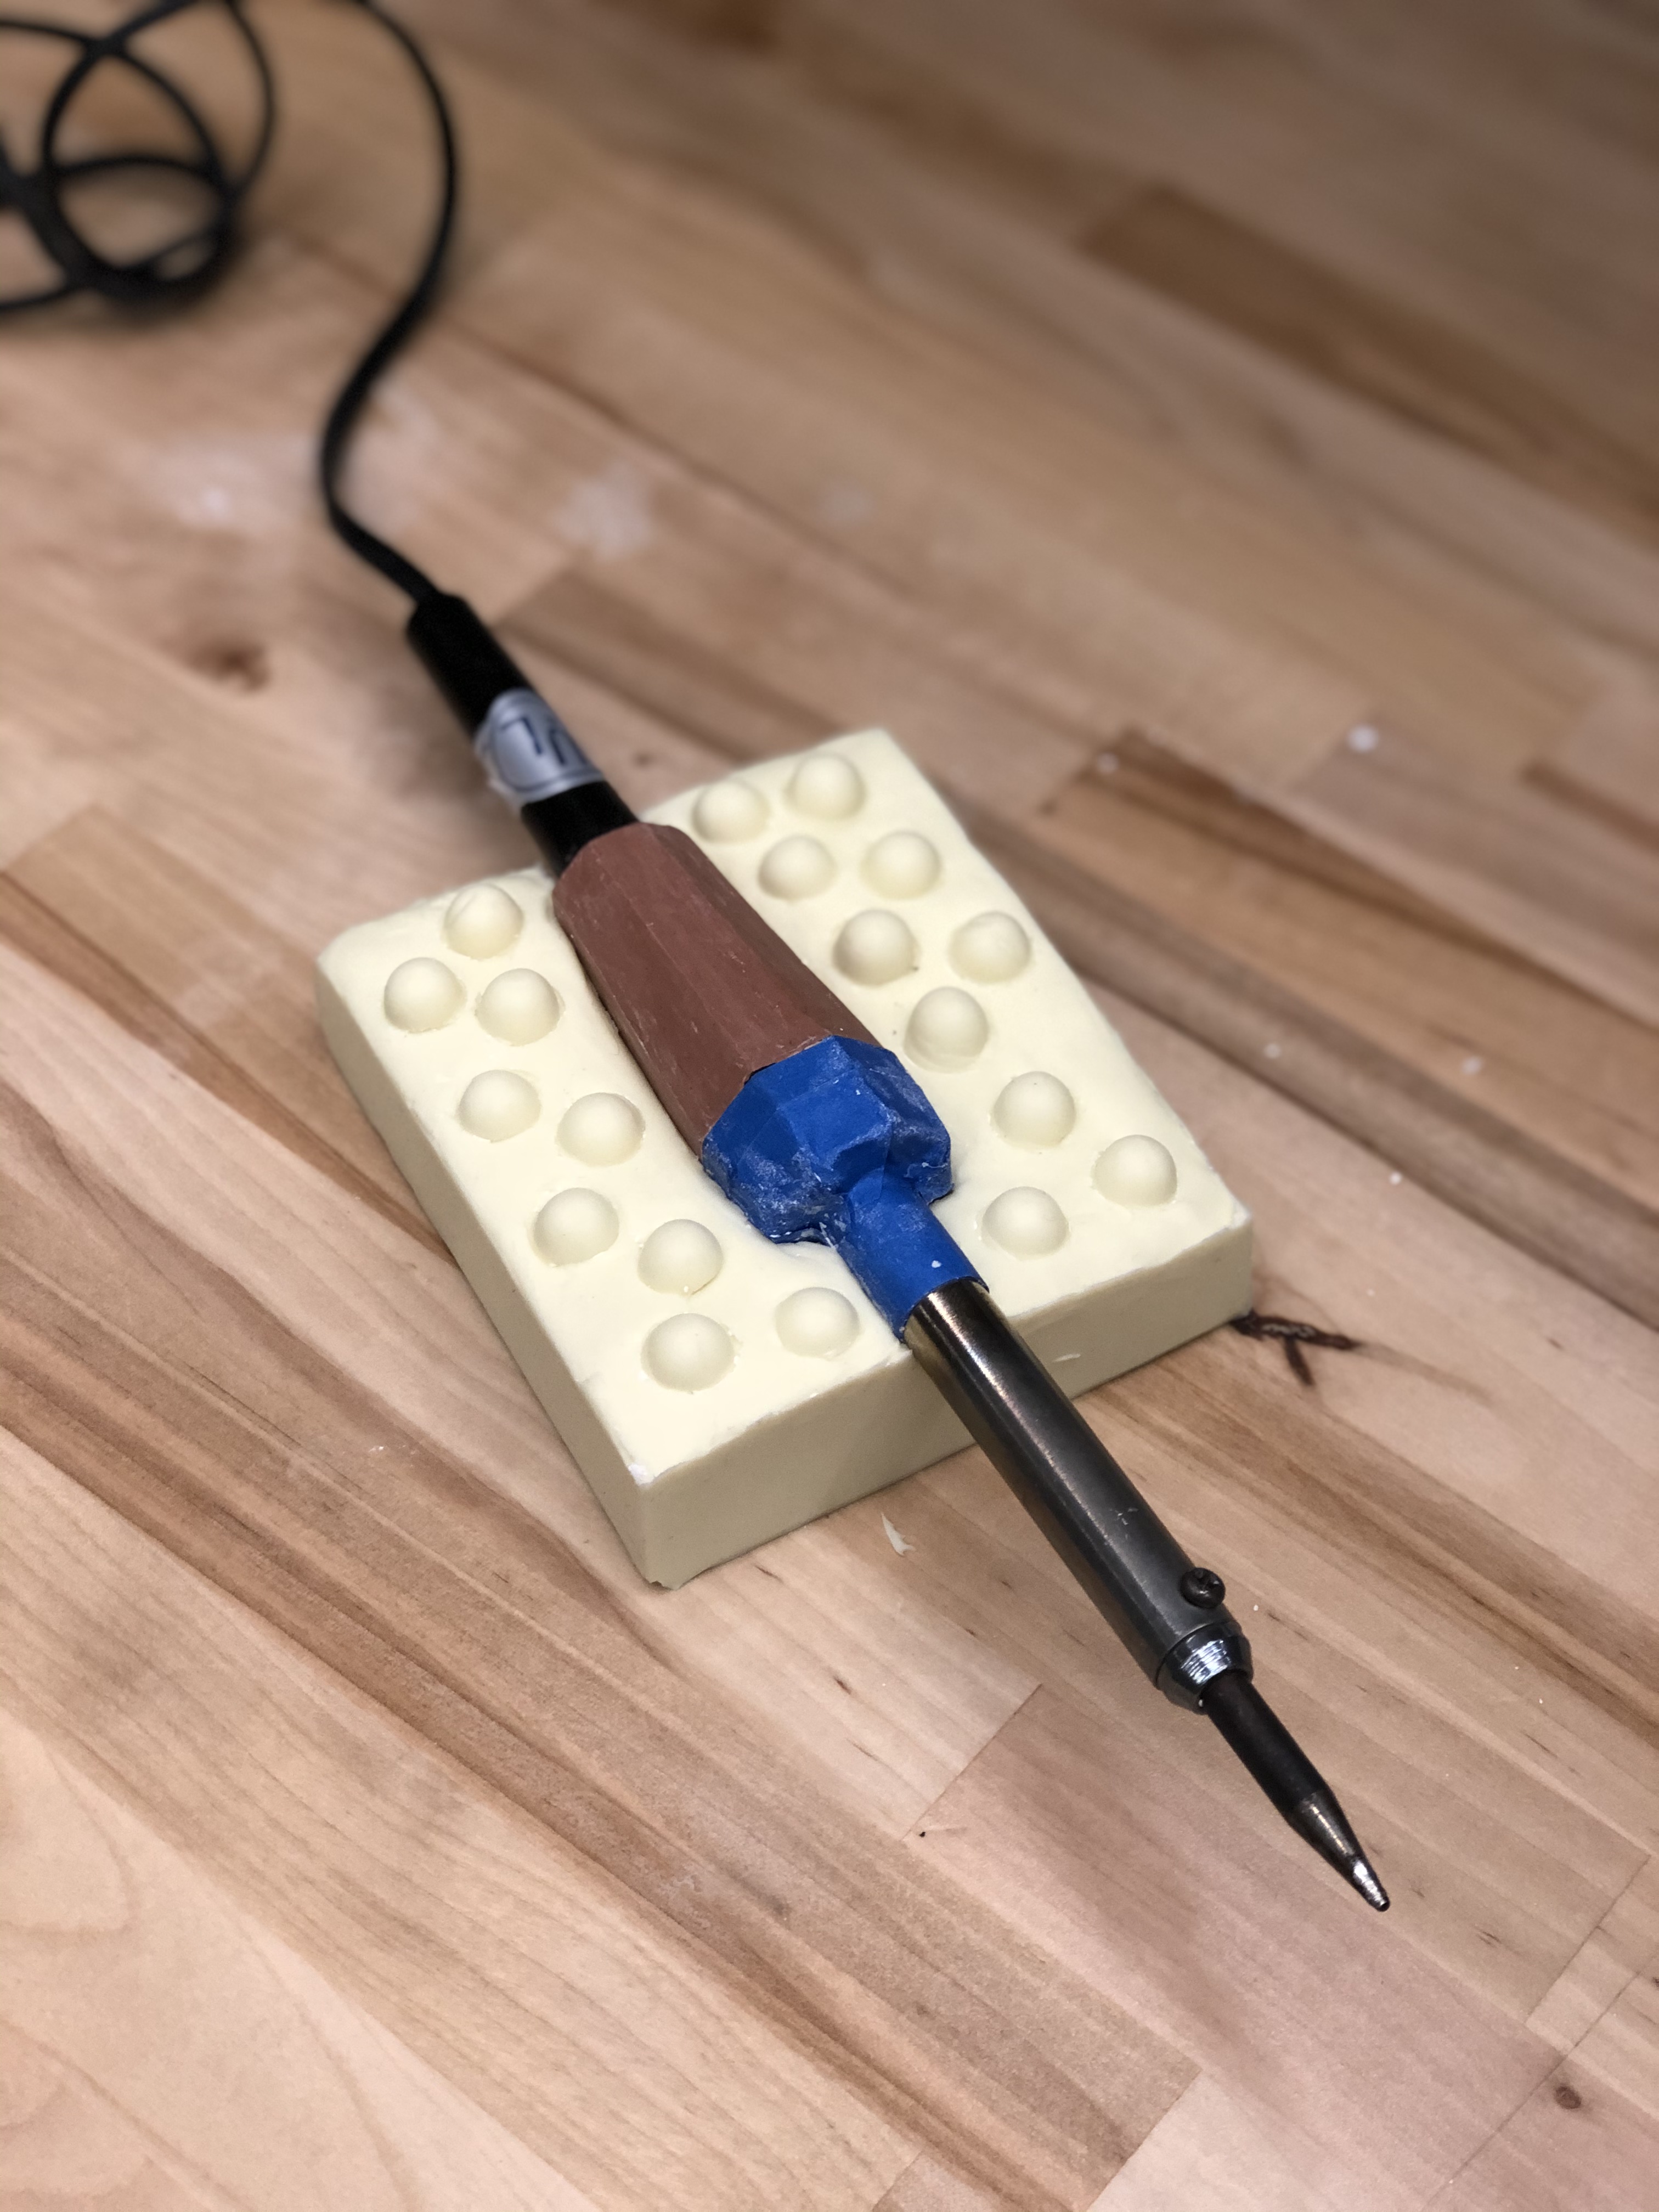
Molding the clay took some iterations in order to obtain the desired, even shape around soldering iron. First, pack a ton of clay at the base of the soldering iron and using your thumbs, you can pull clay down to obtain a diagonal slope on the grip.
The flat edge clay sculpting tool is perfect to get a flat, tightly packed surface. In order to obtain straight vertical edges, add minuscule amounts of clay along the edges and slowly grate the clay smoothly across the surface. Your eye is the most important asset to determine if something is straight and your thumb is useful to feel if a surface is flat. Over hours of eyeballing and perfecting the soldering iron grip evolved.
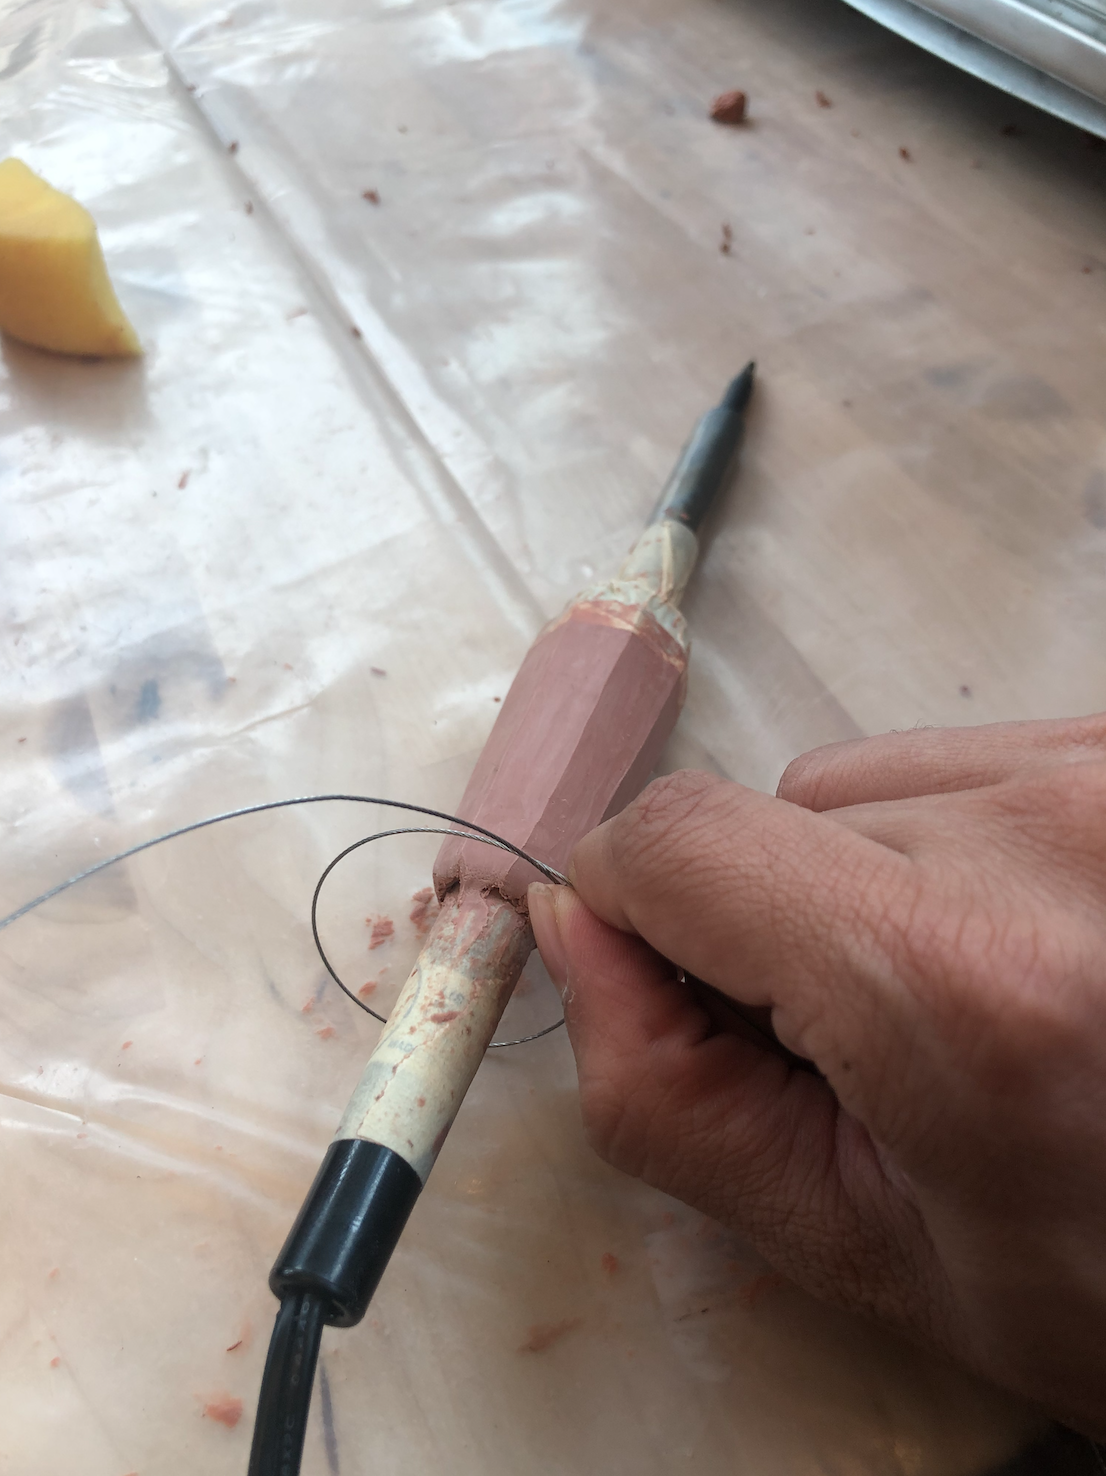
Upon achieving desired flat surfaces and straight edges, loop a wire around the base and pull to generate a flush, flat bottom. Finally, the grip is complete and we can see the square, embezzled sides of the grip.
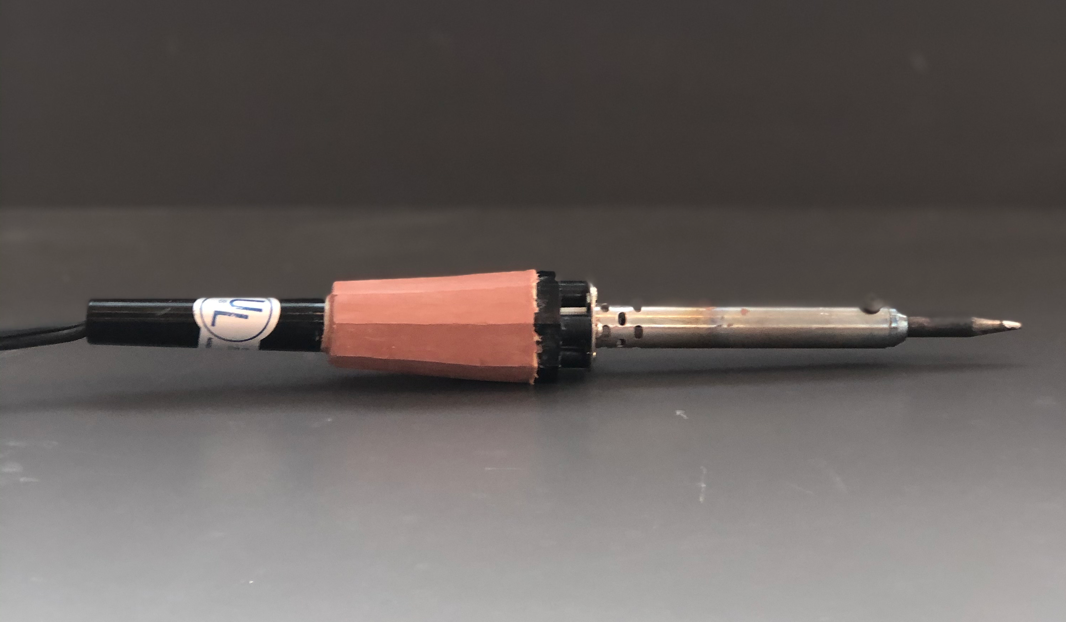
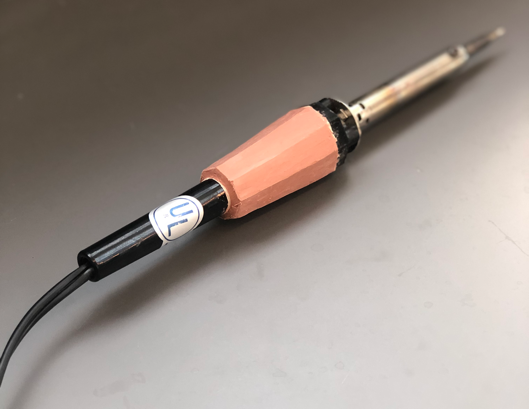
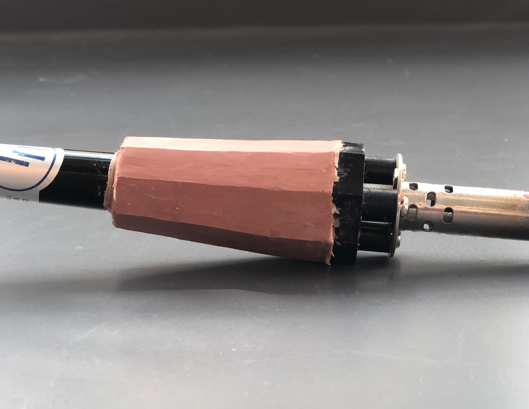
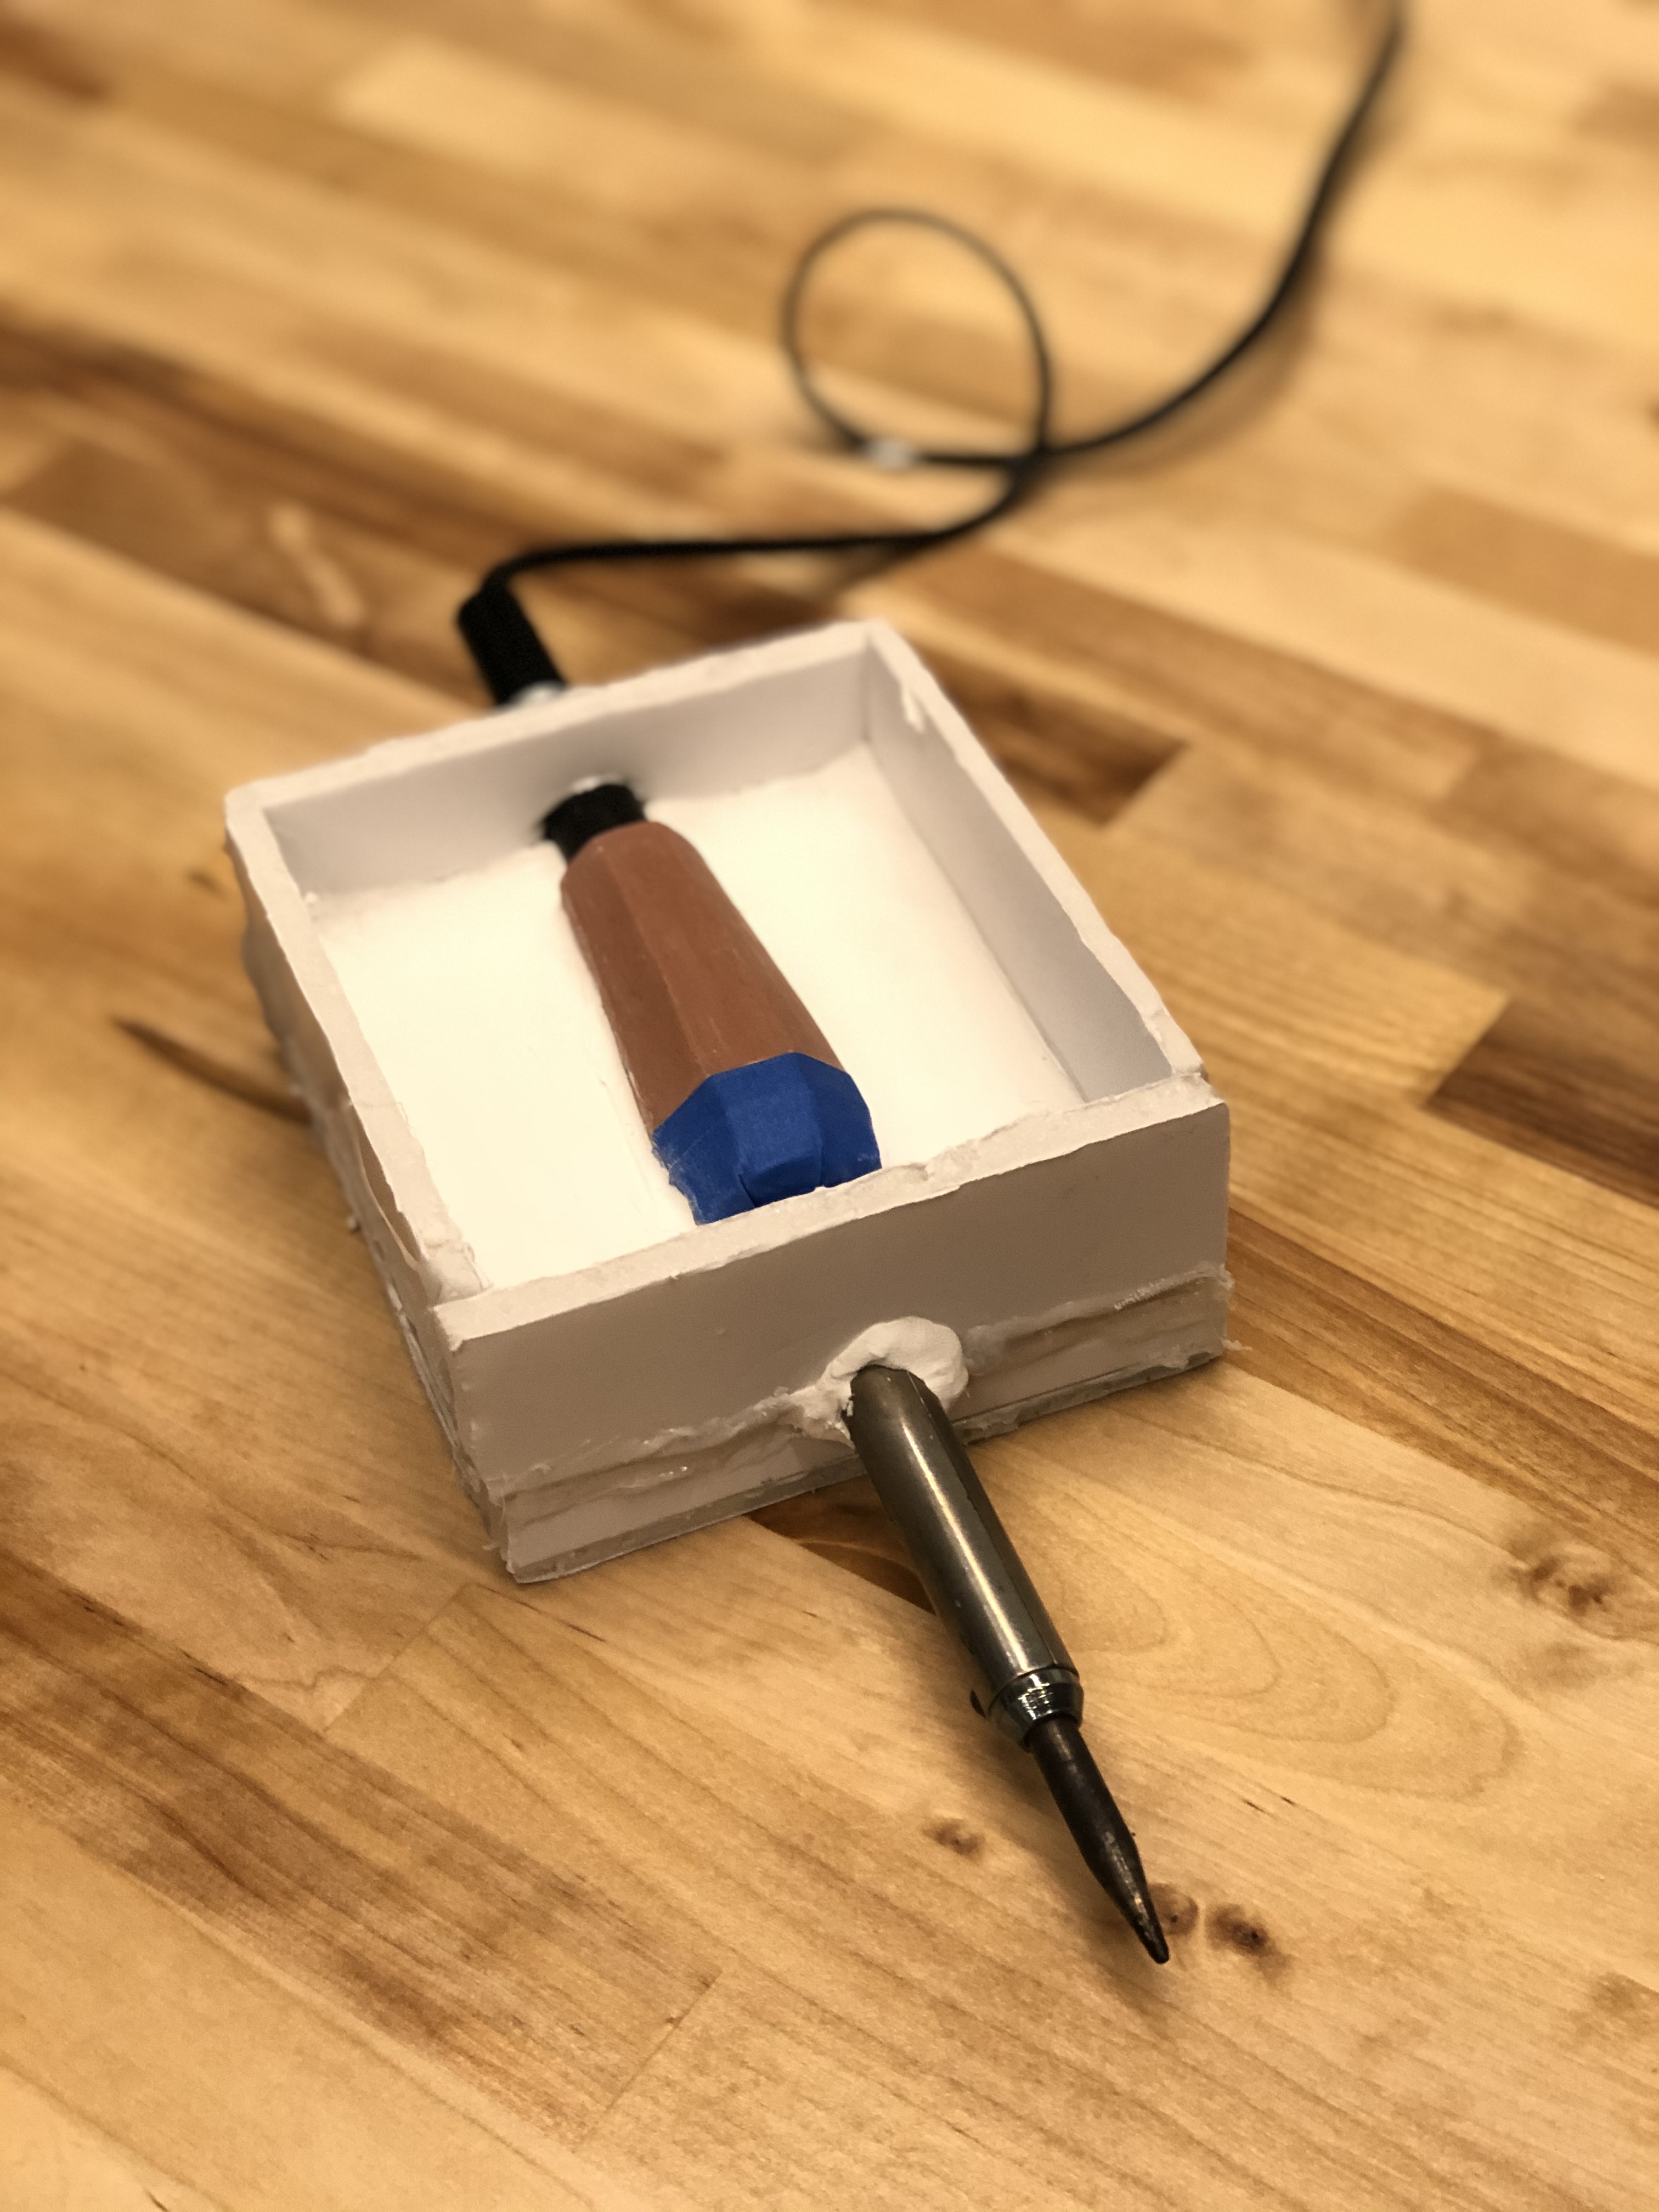
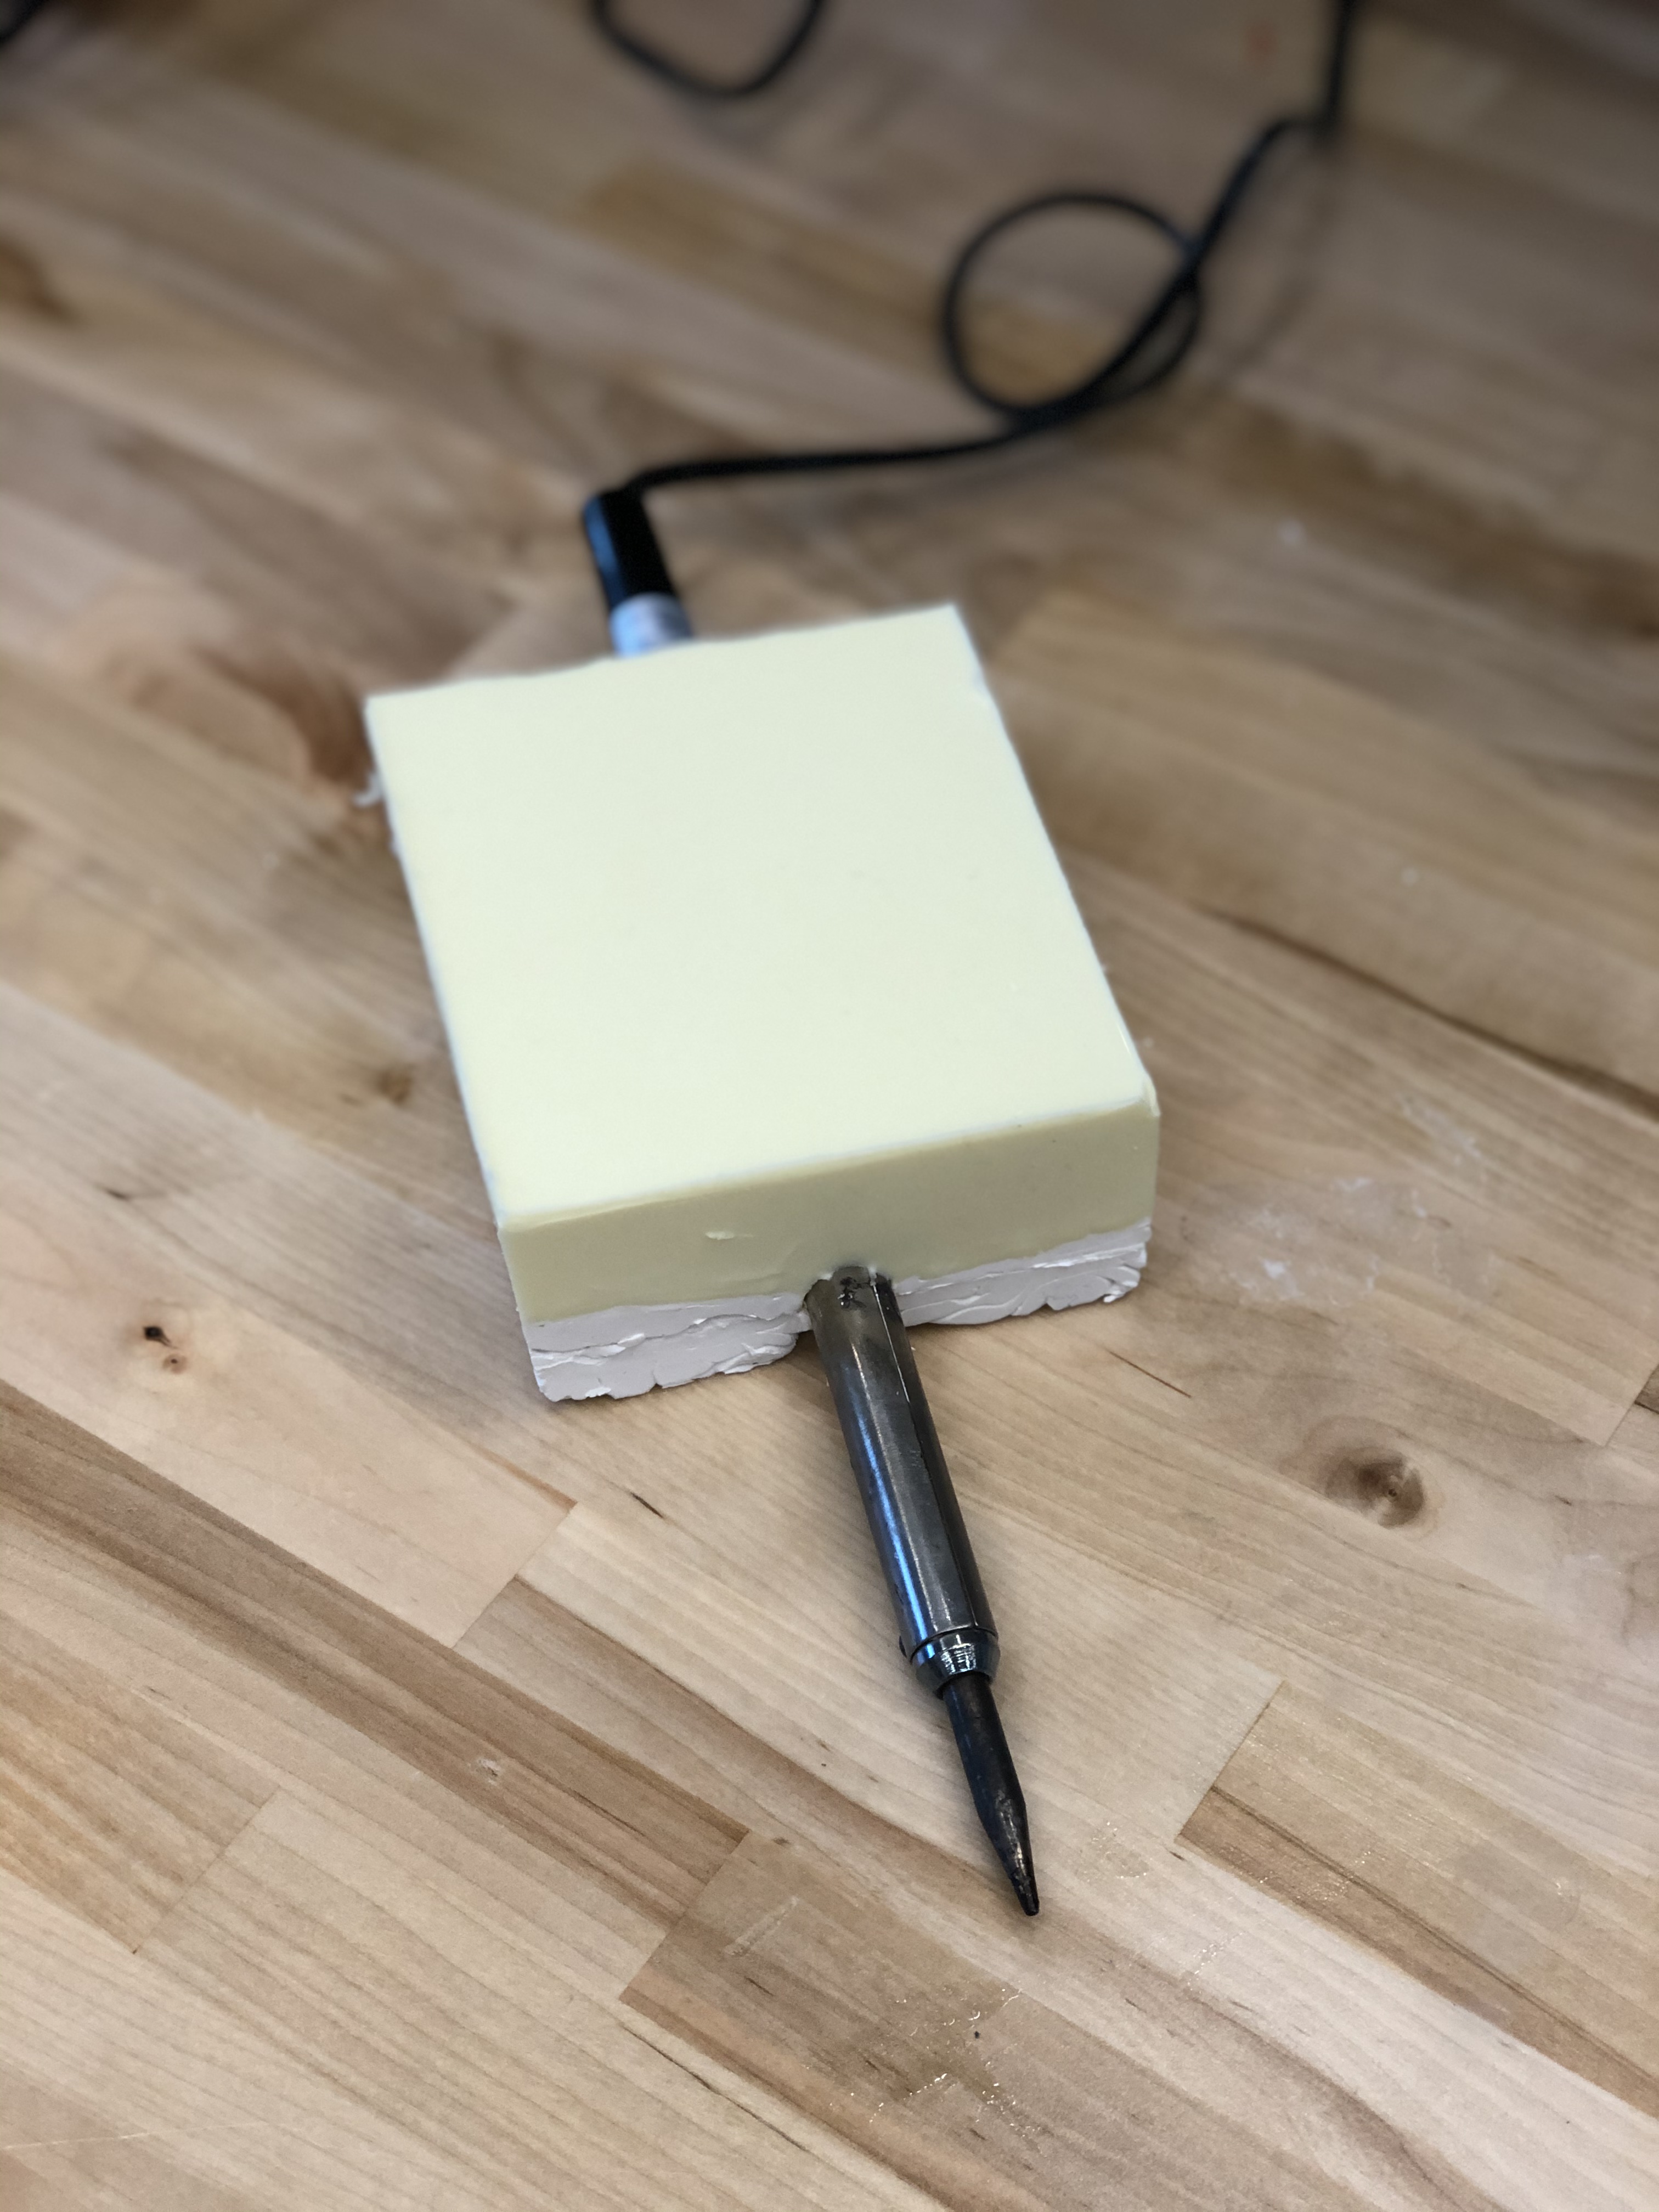
A clean soldering iron grip with an 8-sided slightly-sloped flat rectangular faces.
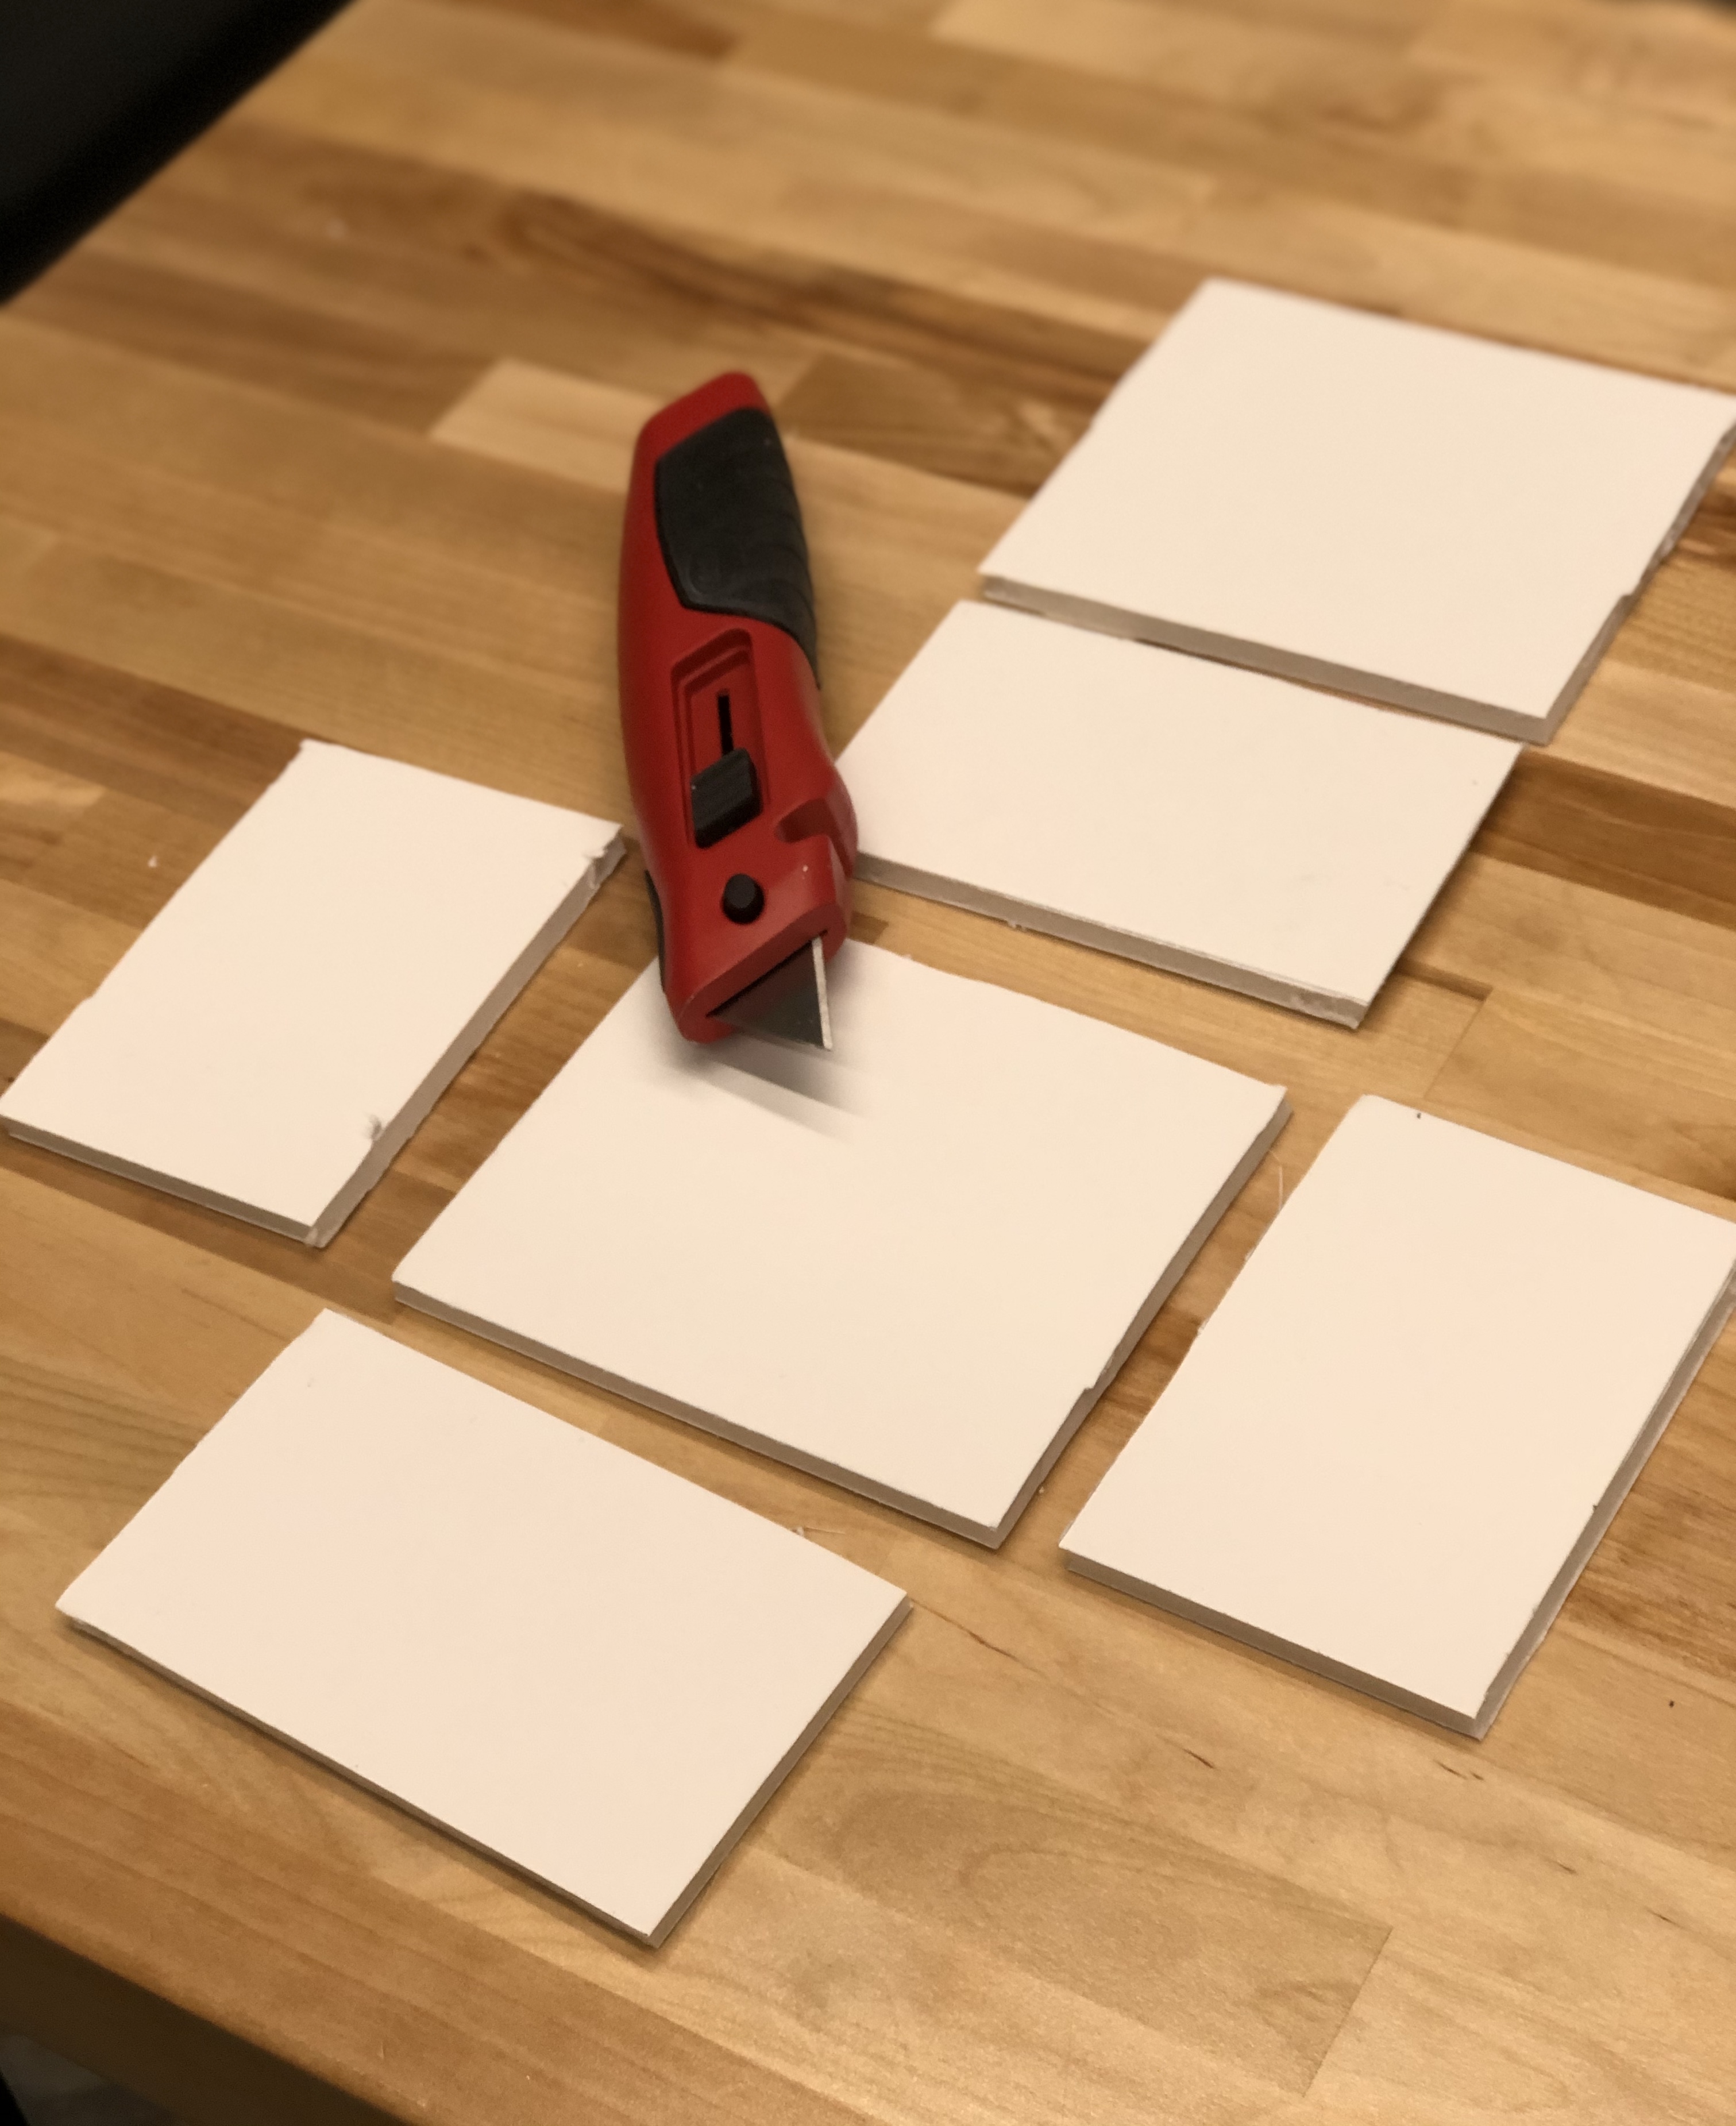
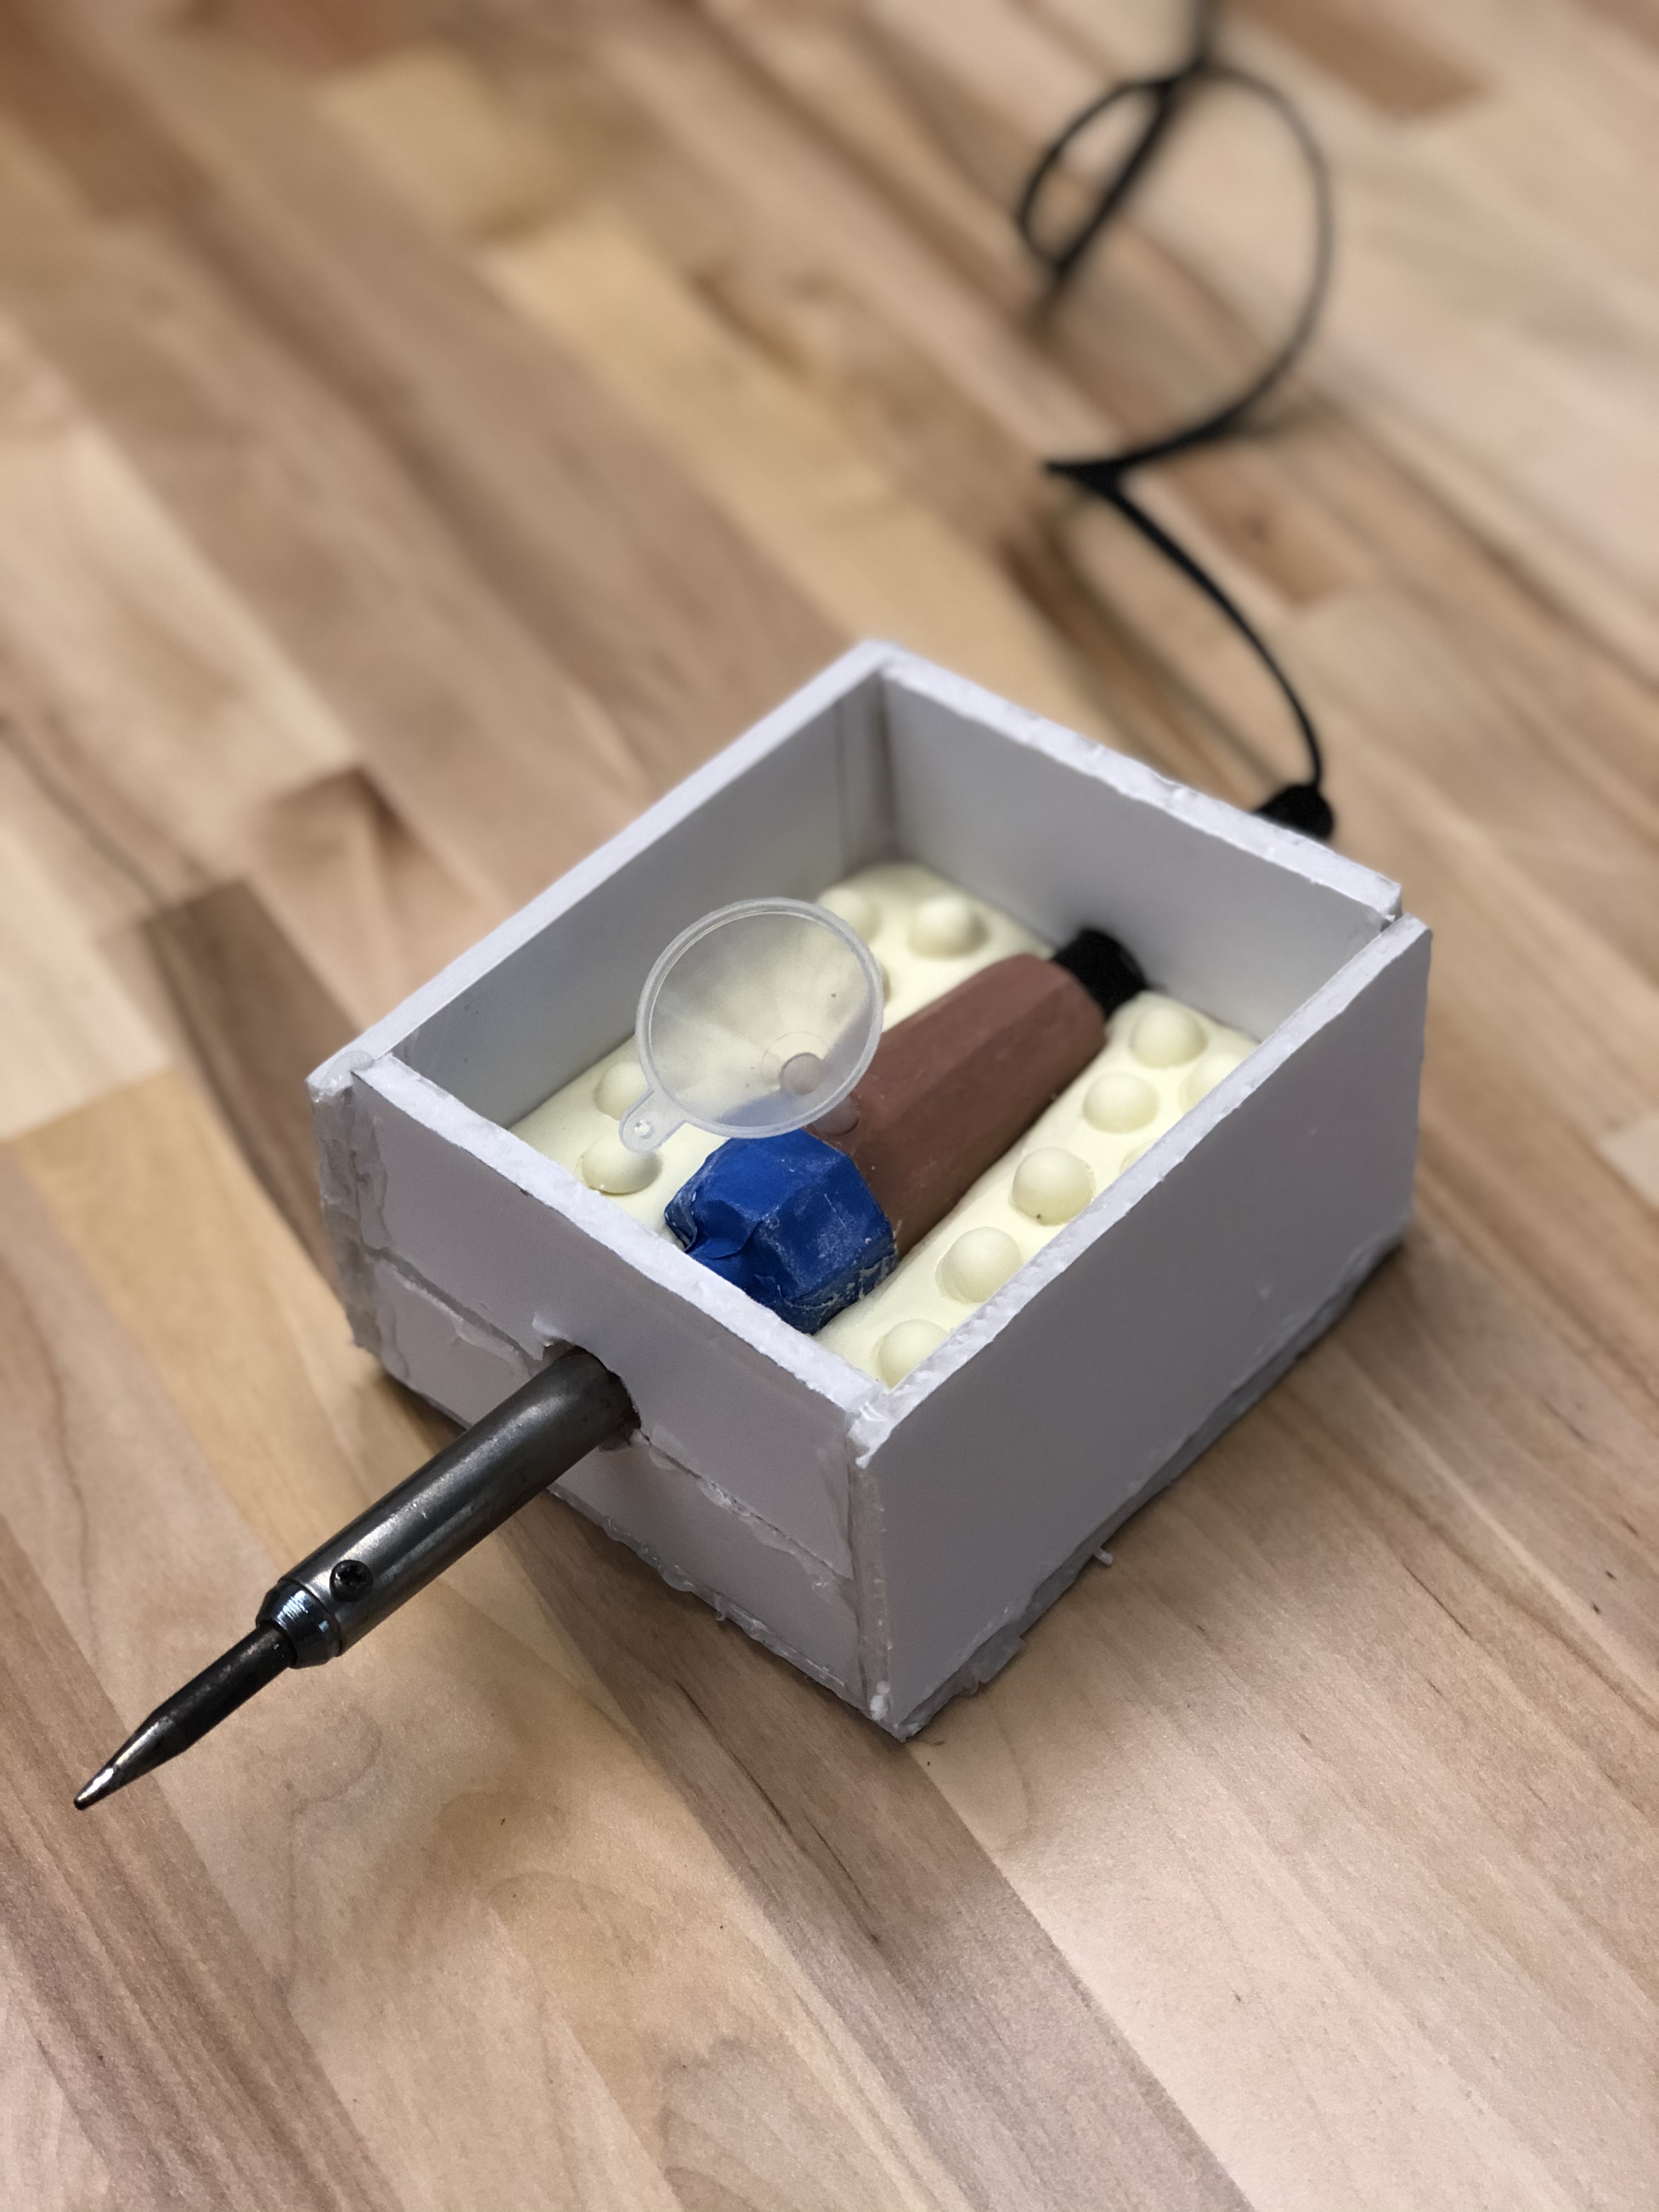
In order to surround my grip for casting, I decided to reconstruct solely the clay portion out of resin. Prior to constructing the enclosure, I accounted locations for a parting line and resin filling hole to be positioned on flat faces of my grip to allow easy sanding of the piece later. Cuts for the box are outlined with an extra 3/4" for the bottom and sides to fully envelope the piece. Soft clay is places to hold the part in place and prevent leakage, nonstick coating spray allows the part to be removed, small holes are indented to prevent the mold from moving when pouring resin, and acrylic is poured slowly left to dry overnight.


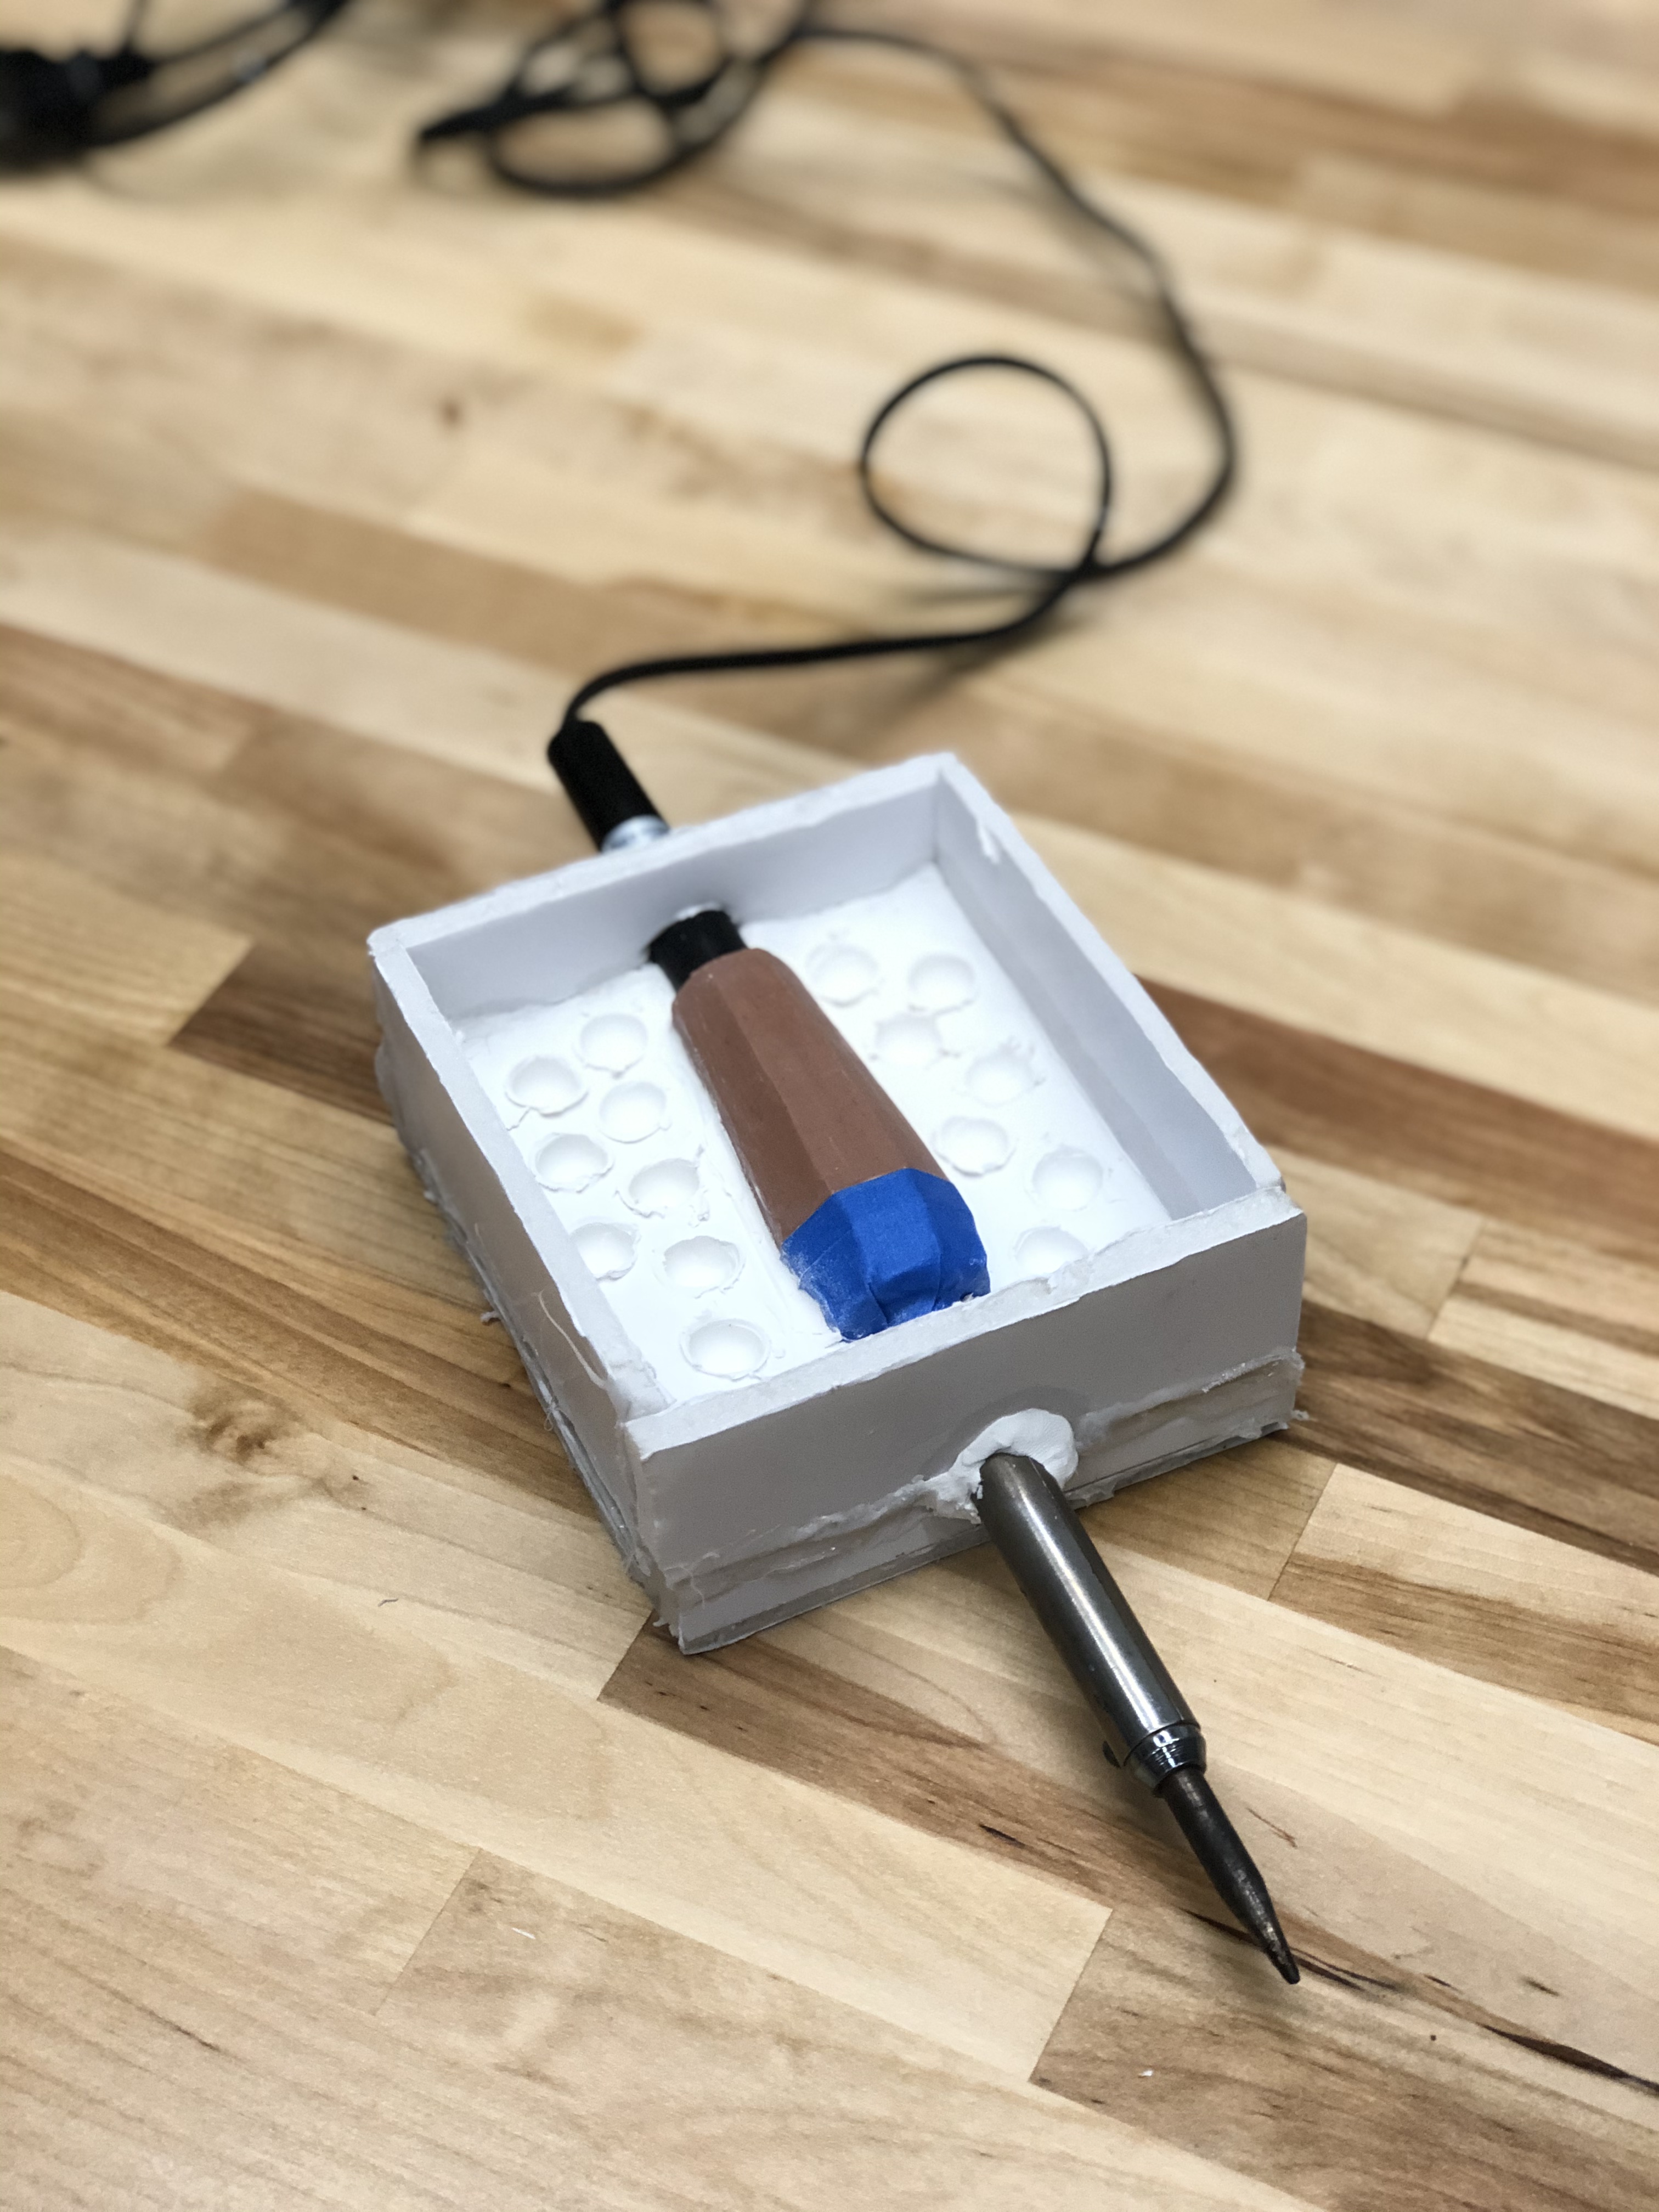
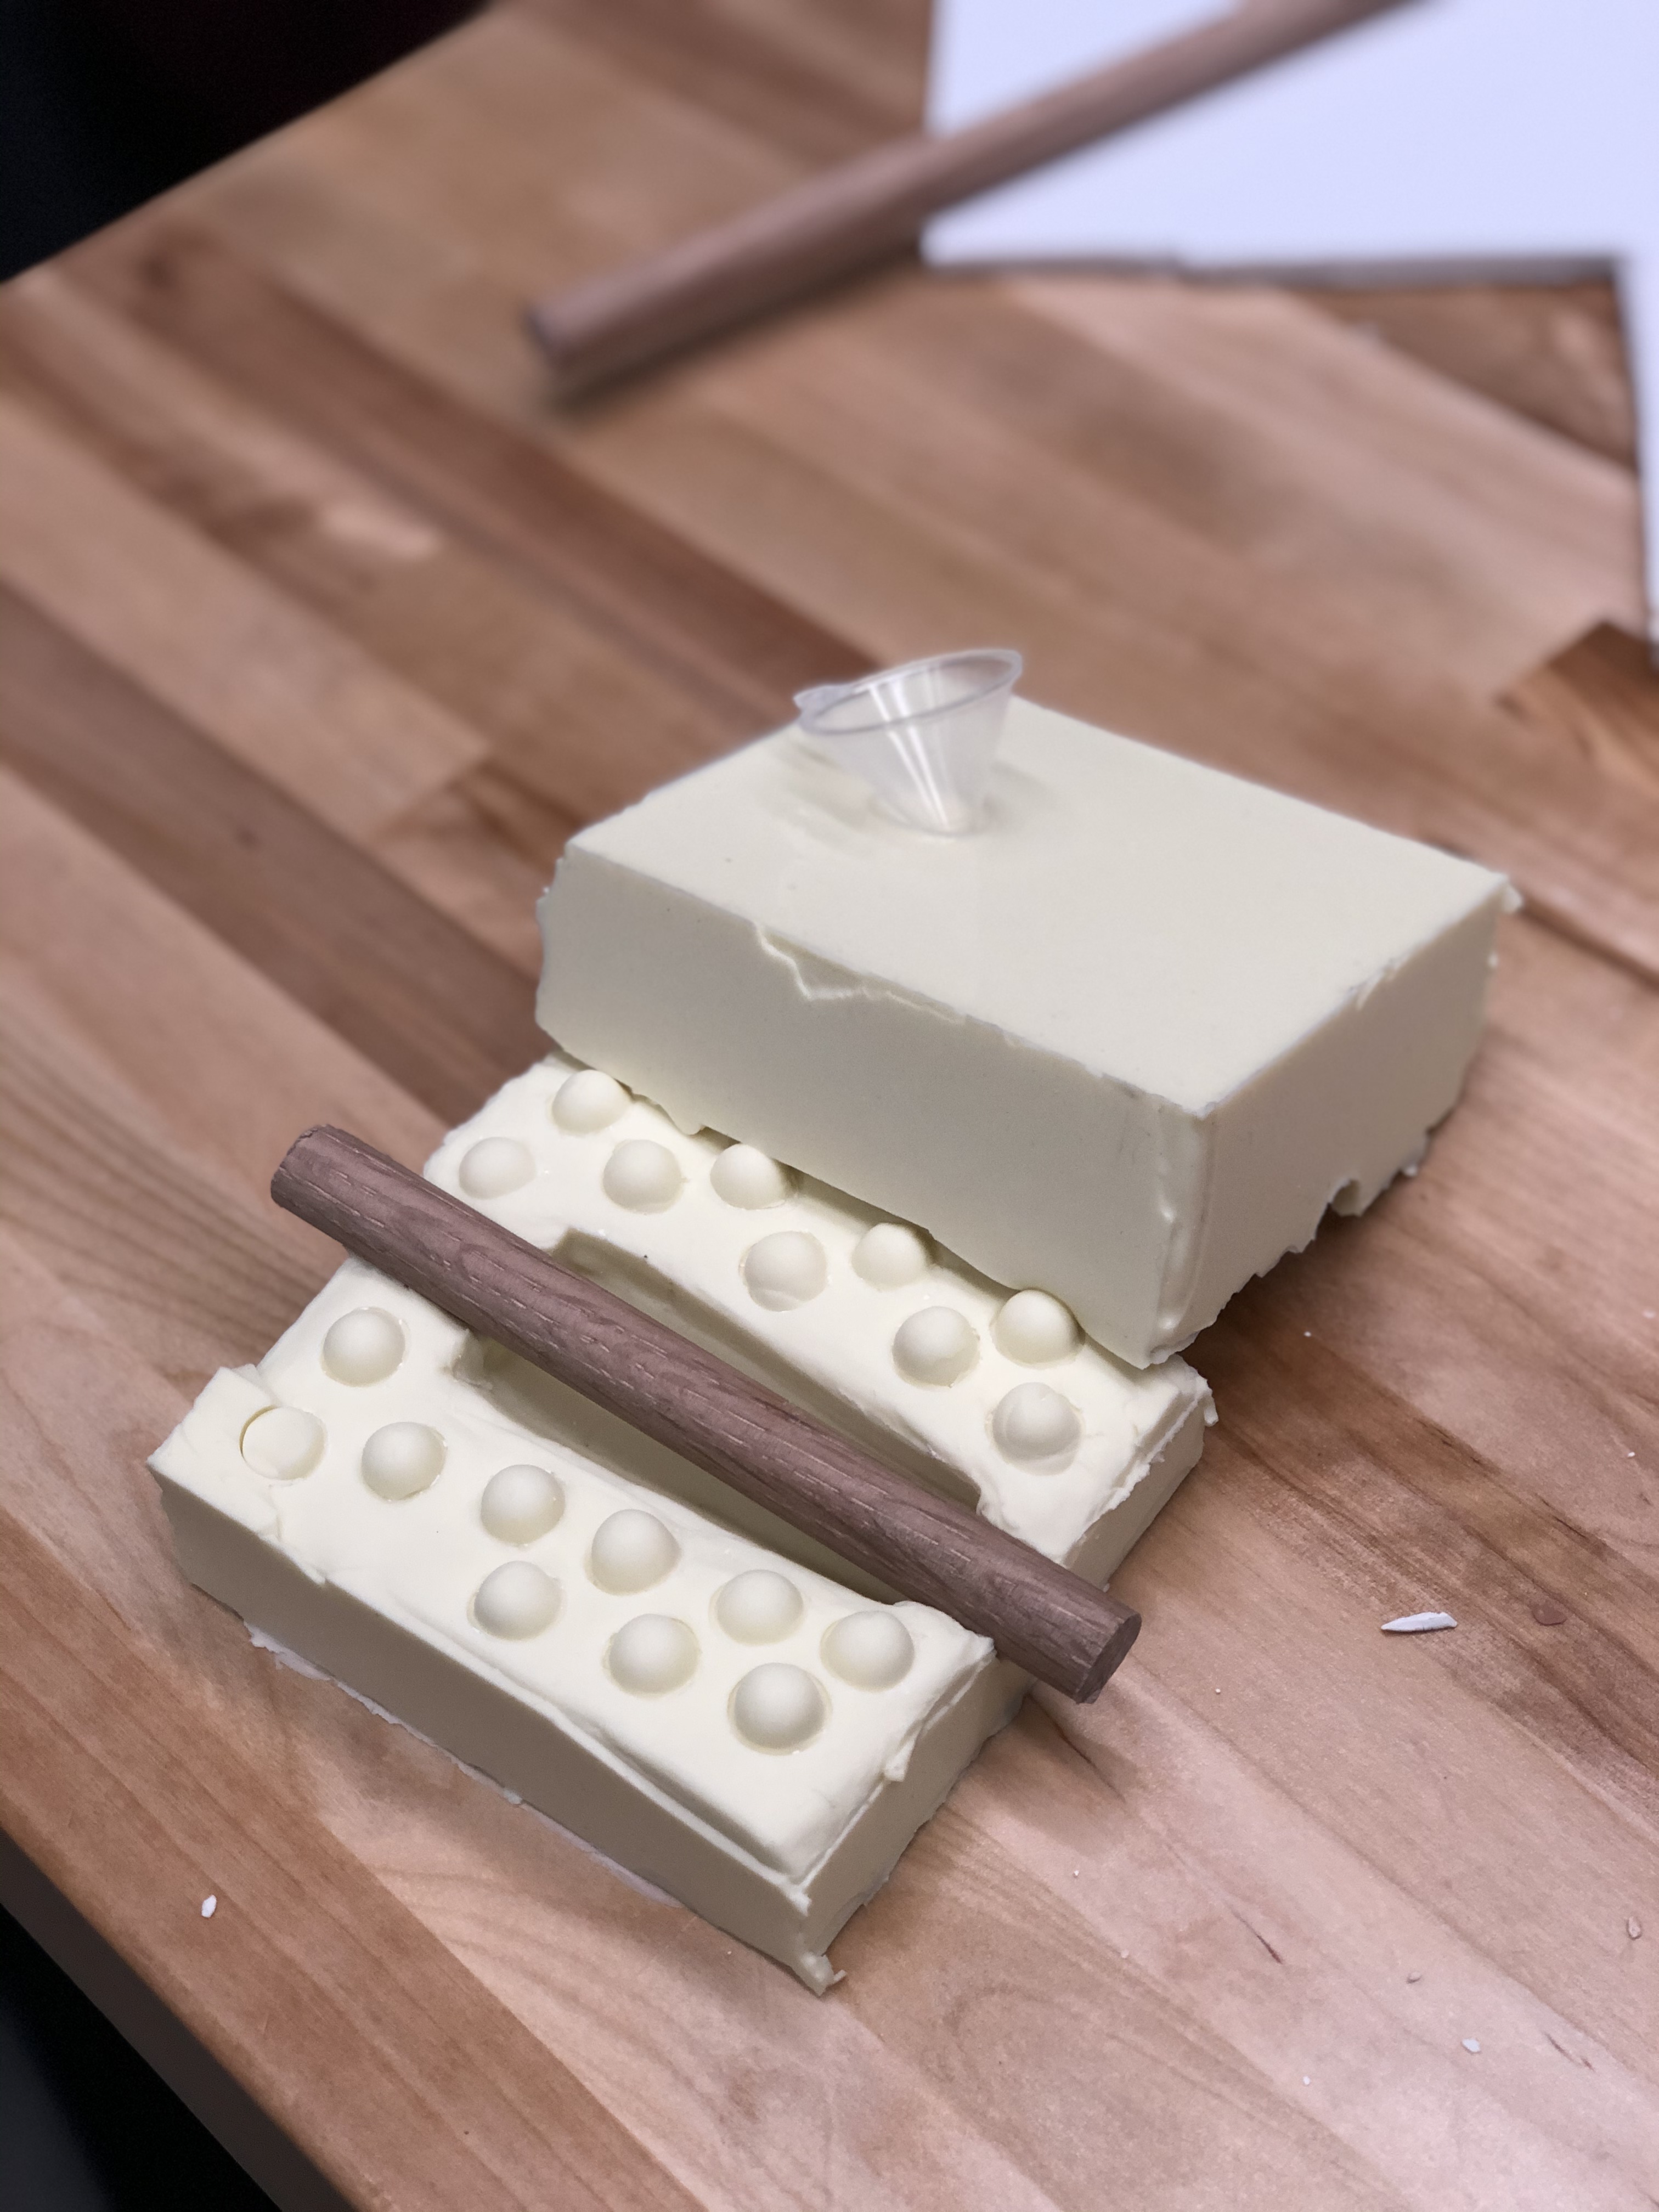
After the acrylic dries into a solid cast, remove wall structure and the soft clay. The soft clay should peel off and stuck clay can be remove with rubbing alcohol. Finally, recreate the wall structure to fill the other half with resin. Remember to use a nonstick coat again. On the second half poke in a funnel at the highest point so the negative space can be filled.
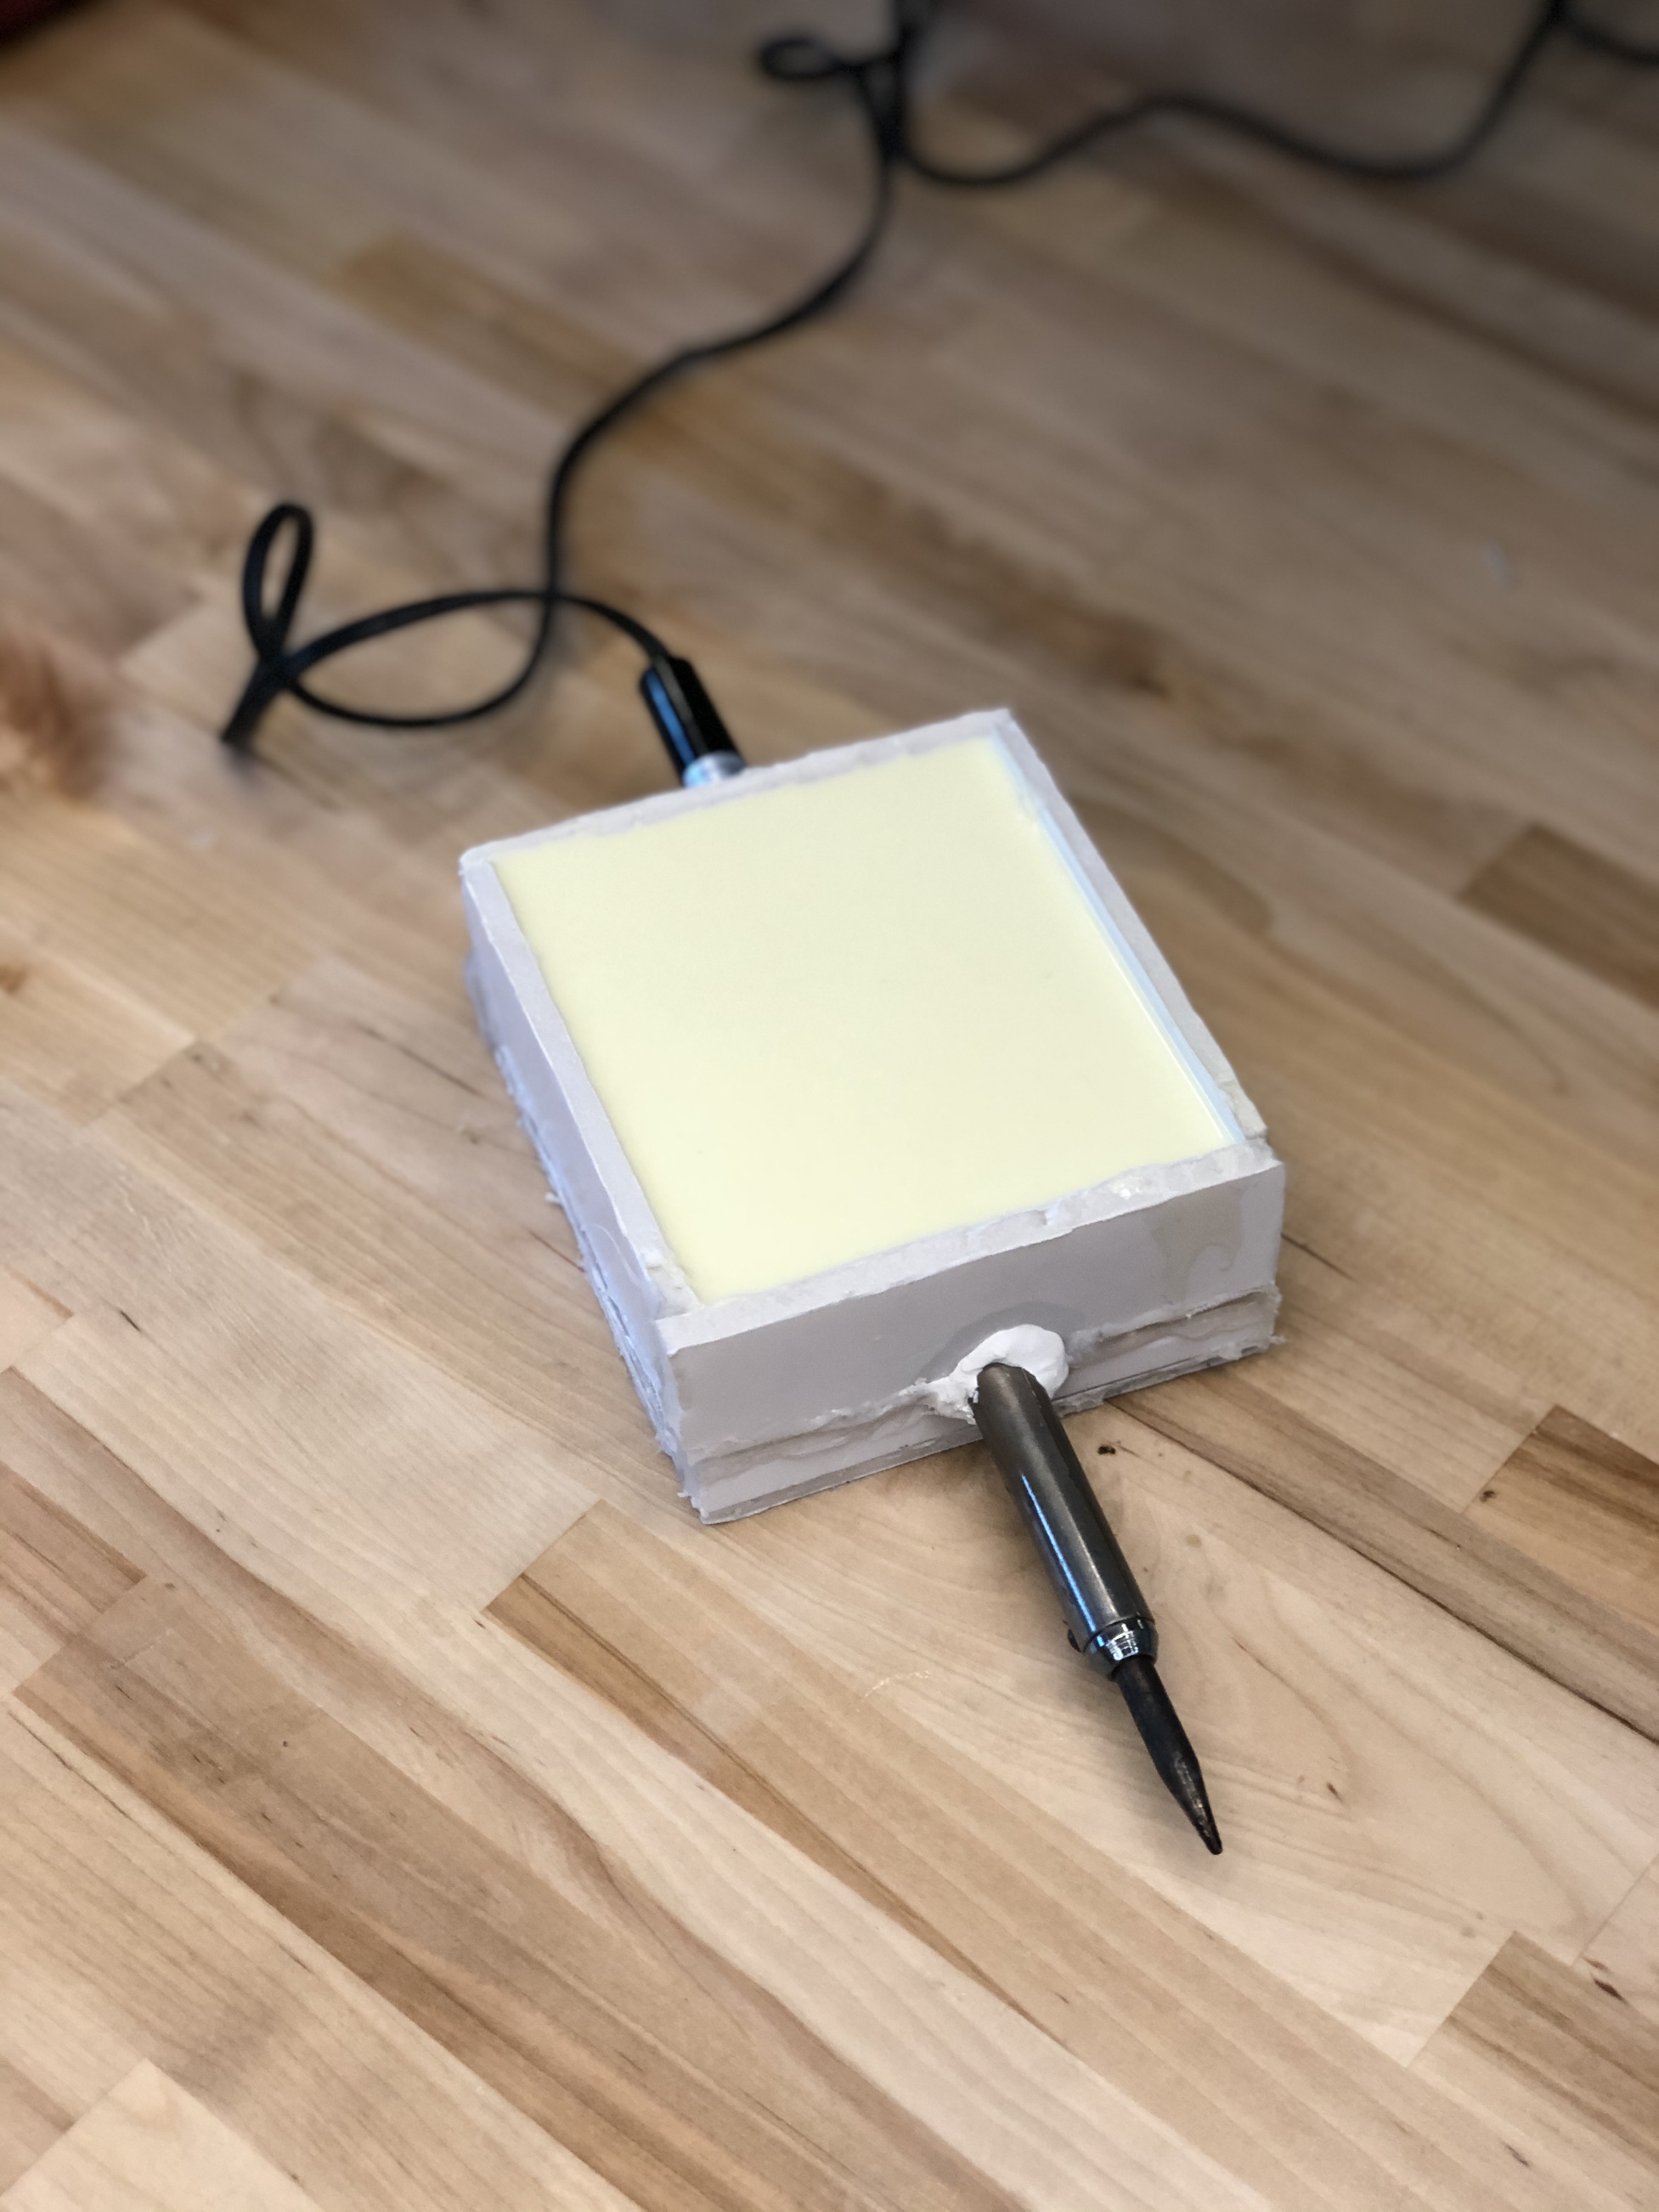
When you are happy with the acrylic form, we can begin the process of filling the hard resin mixture. Clasp the mold with two cardboard sheets combined with rubber bands to secure the parts in place. In my case, tons of rubber bands were used to prevent leakage from the cutouts of the wooden dowel on the sides.

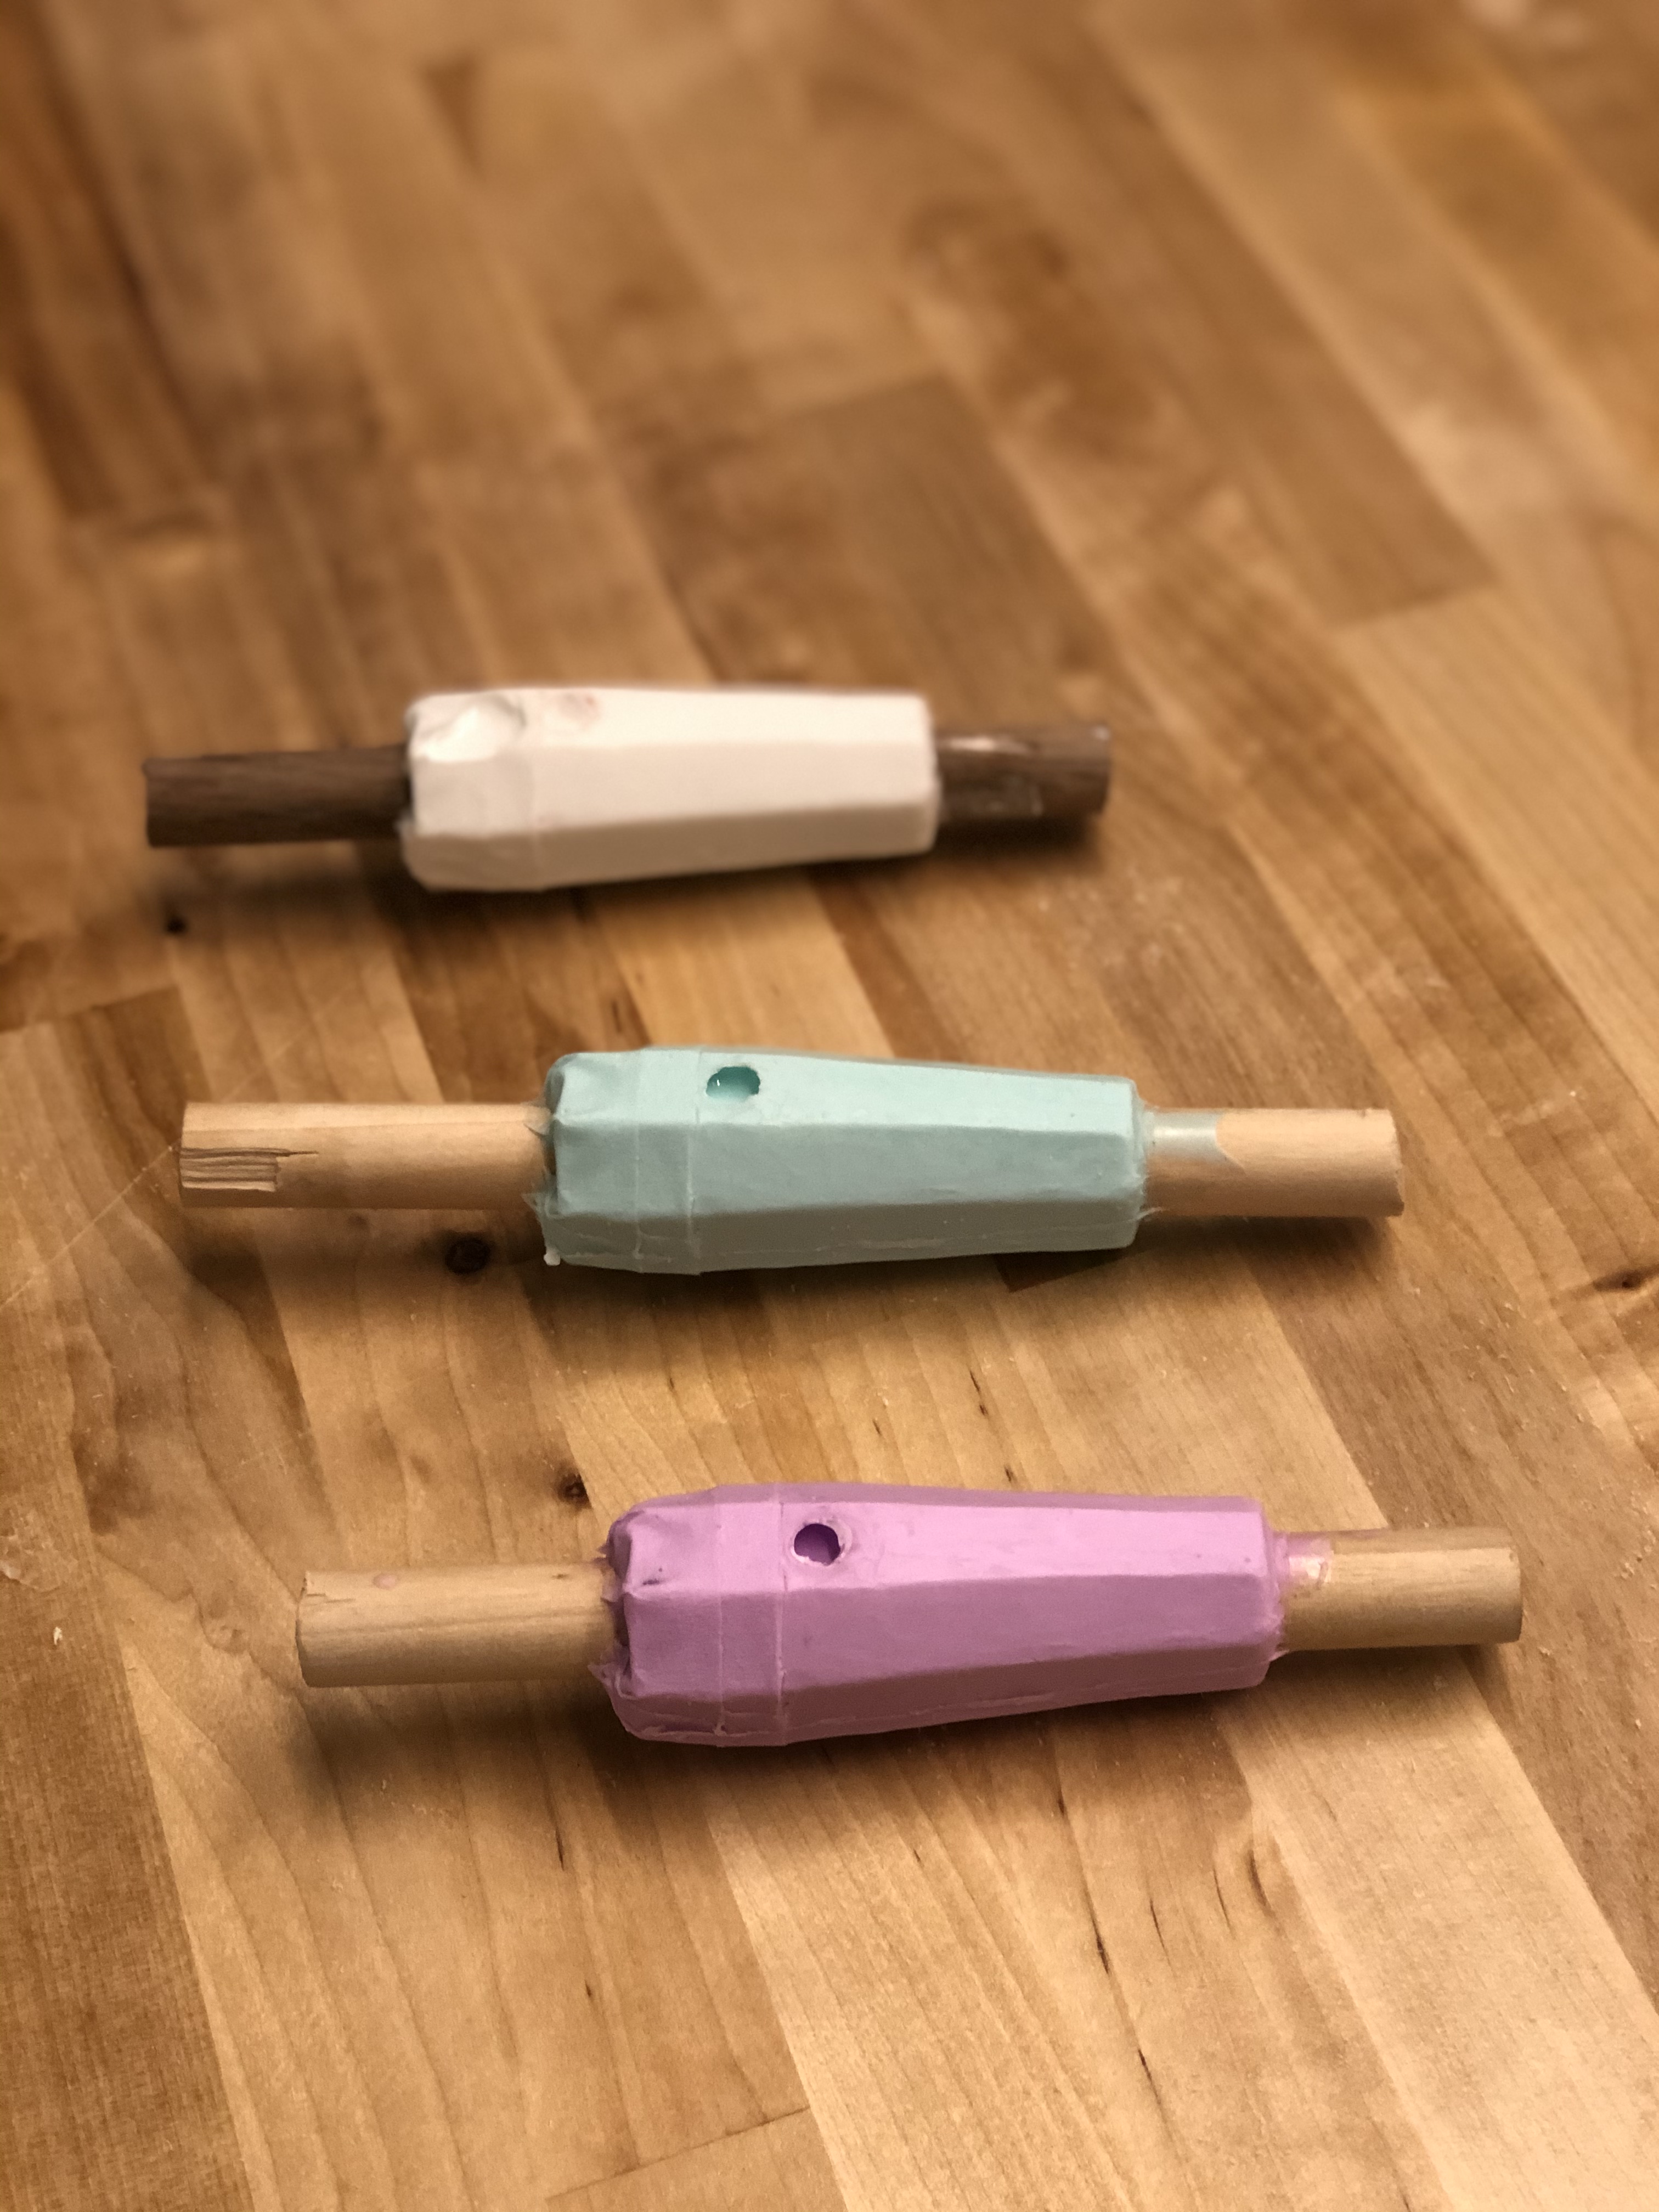
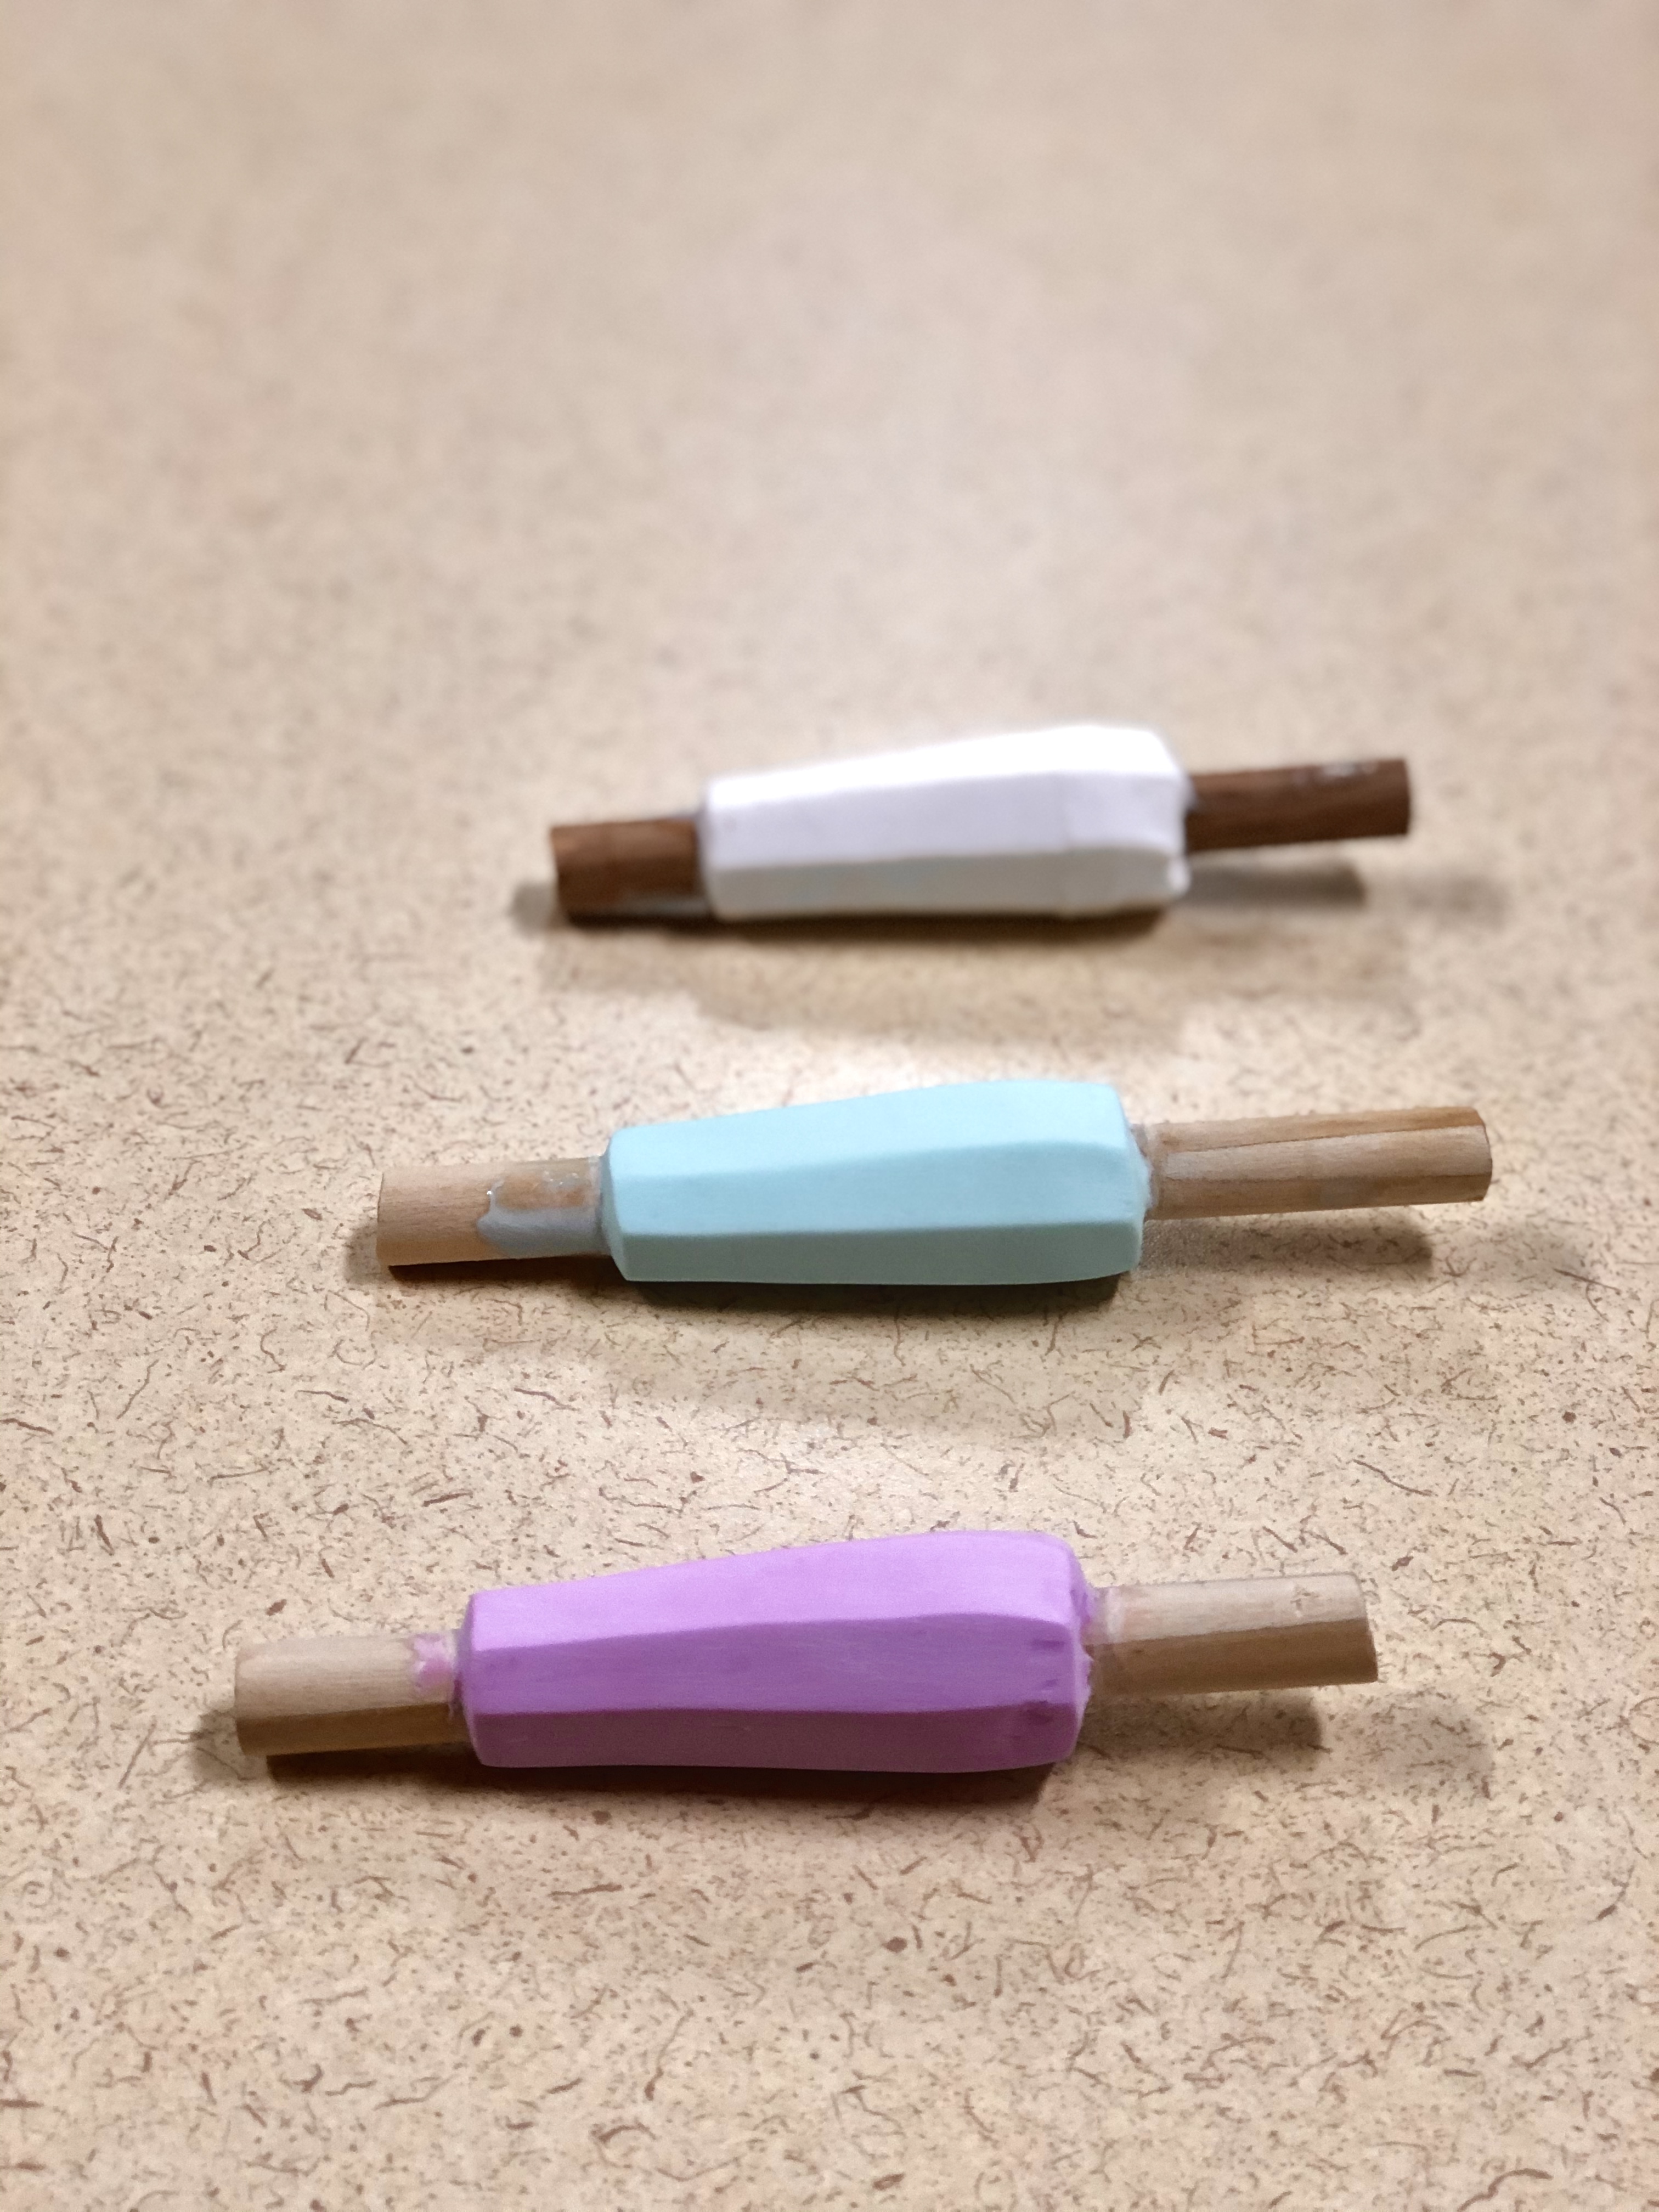
Resin pours can be poured with colored dies to add special color design. I choose three pastel colors white, aqua and lavender. After sanding with 100, 220 and 800 grit sandpaper, the part took a beautifully smooth finish.